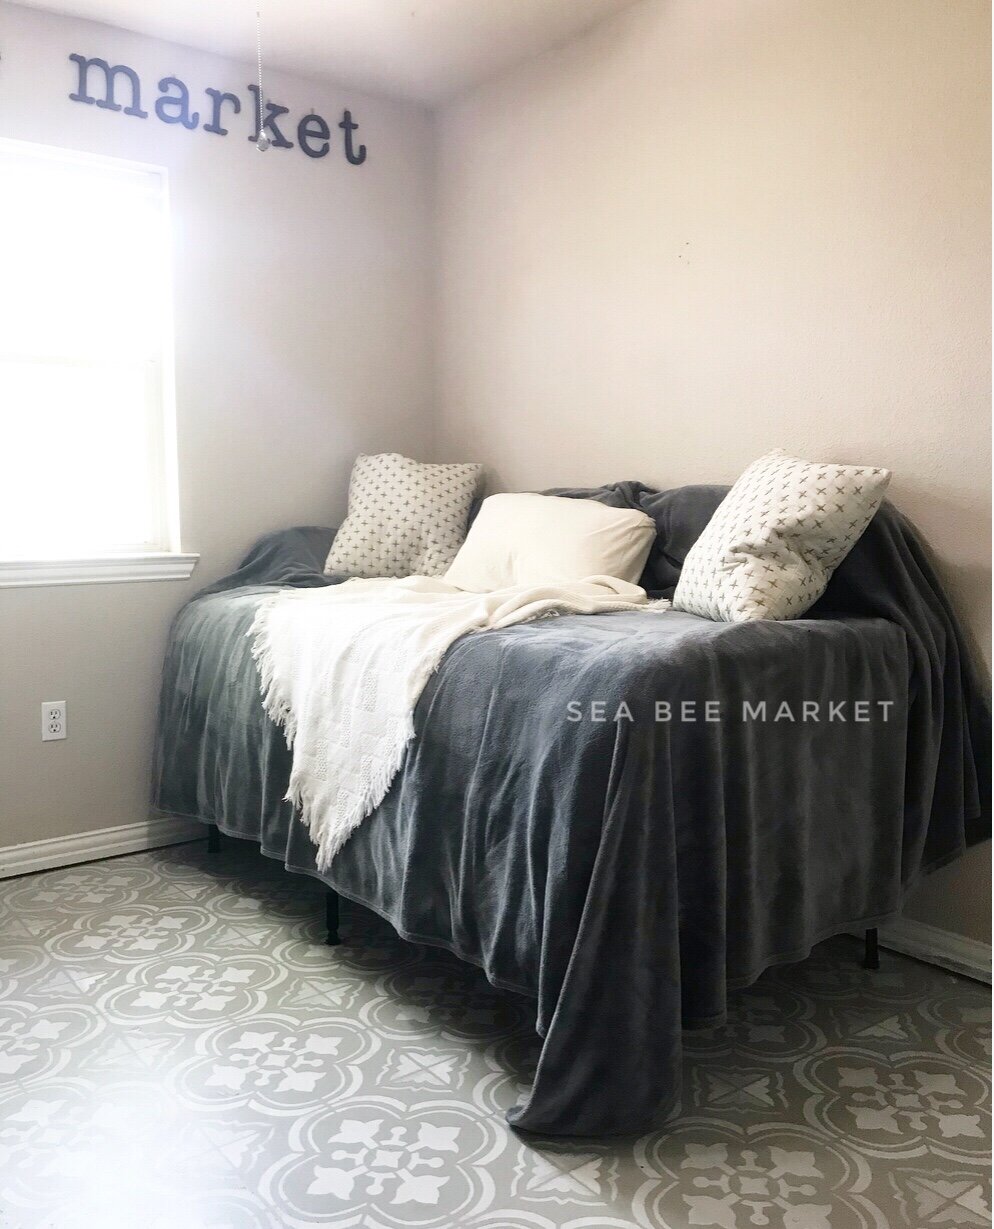
From Crusty Concrete To Crafty Retreat
Ahhhh! So a while back Rust-Oleum reaches out to me asking if I wanted to test out a new floor painting system From Rock Solid Home. In true serial-diyer fashion there was only one answer: YES PLS.
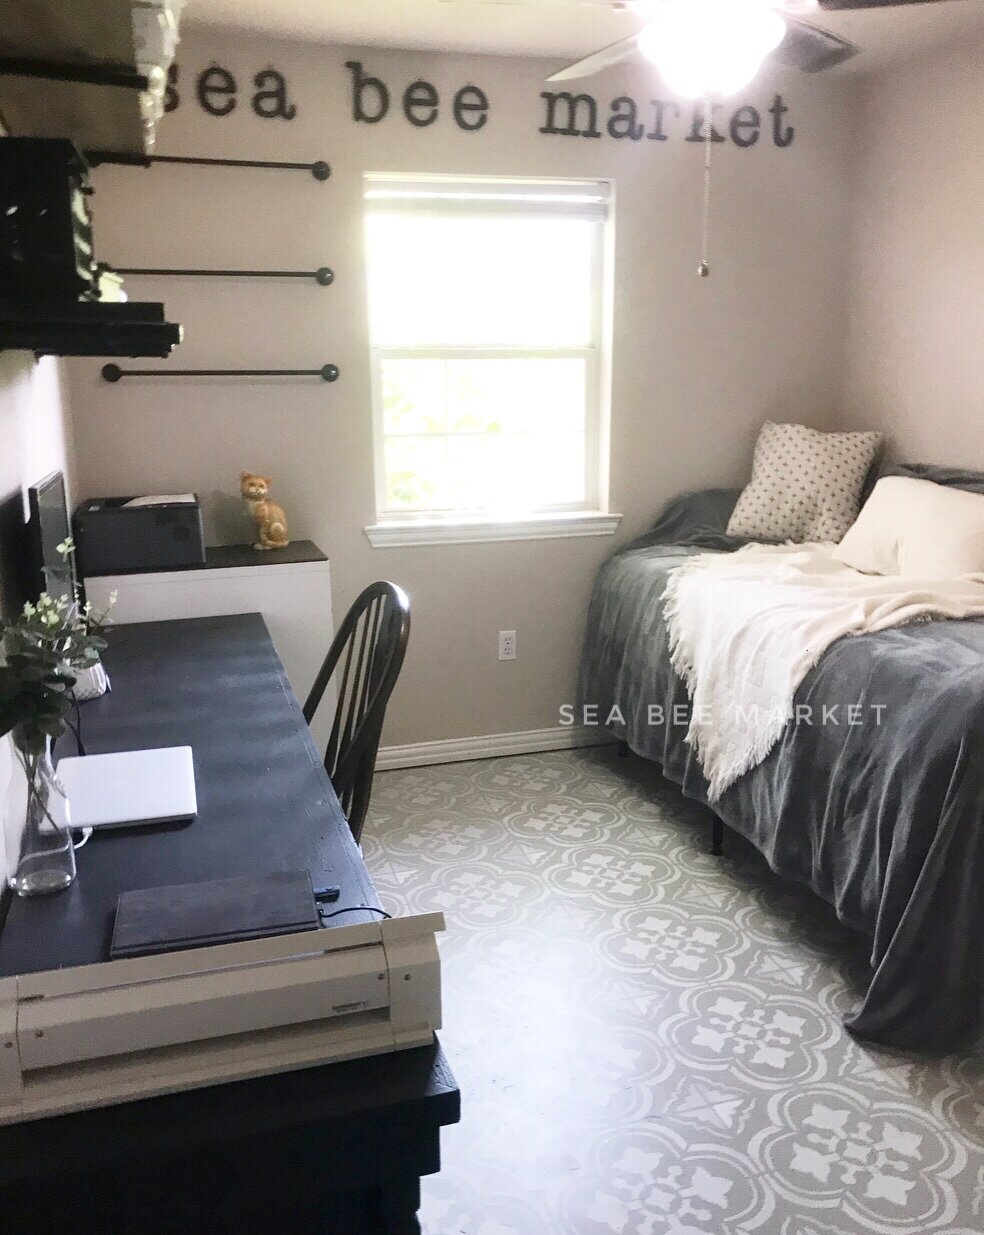
And then I had to patiently wait on my new goodies to arrive to tackle our 3rd bedroom remodel. For those of you who don’t know me personally, our 3rd bedroom is a guest room/craft room/home office hybrid. And it’s notoriously a cluster of totally disorganized chaos.
Recently we had some doggy accidents occur in said room that required us to rip out carpet and get rid of the queen size bed that was filling almost all of the available space in the room. At the time it was a bit frustrating, but looking back, it was the best set of accidents because it led to this fabulously refinished and totally usable space!!

Here’s a quick look at the project through a time lapse video 🖤:
I’ve gotten a few questions about how I redid the floor so I figured I’d make a quick walk through of the steps I took using the Rock Solid Home Floor Paint system to achieve this gorgeous stenciled finish concrete floor!

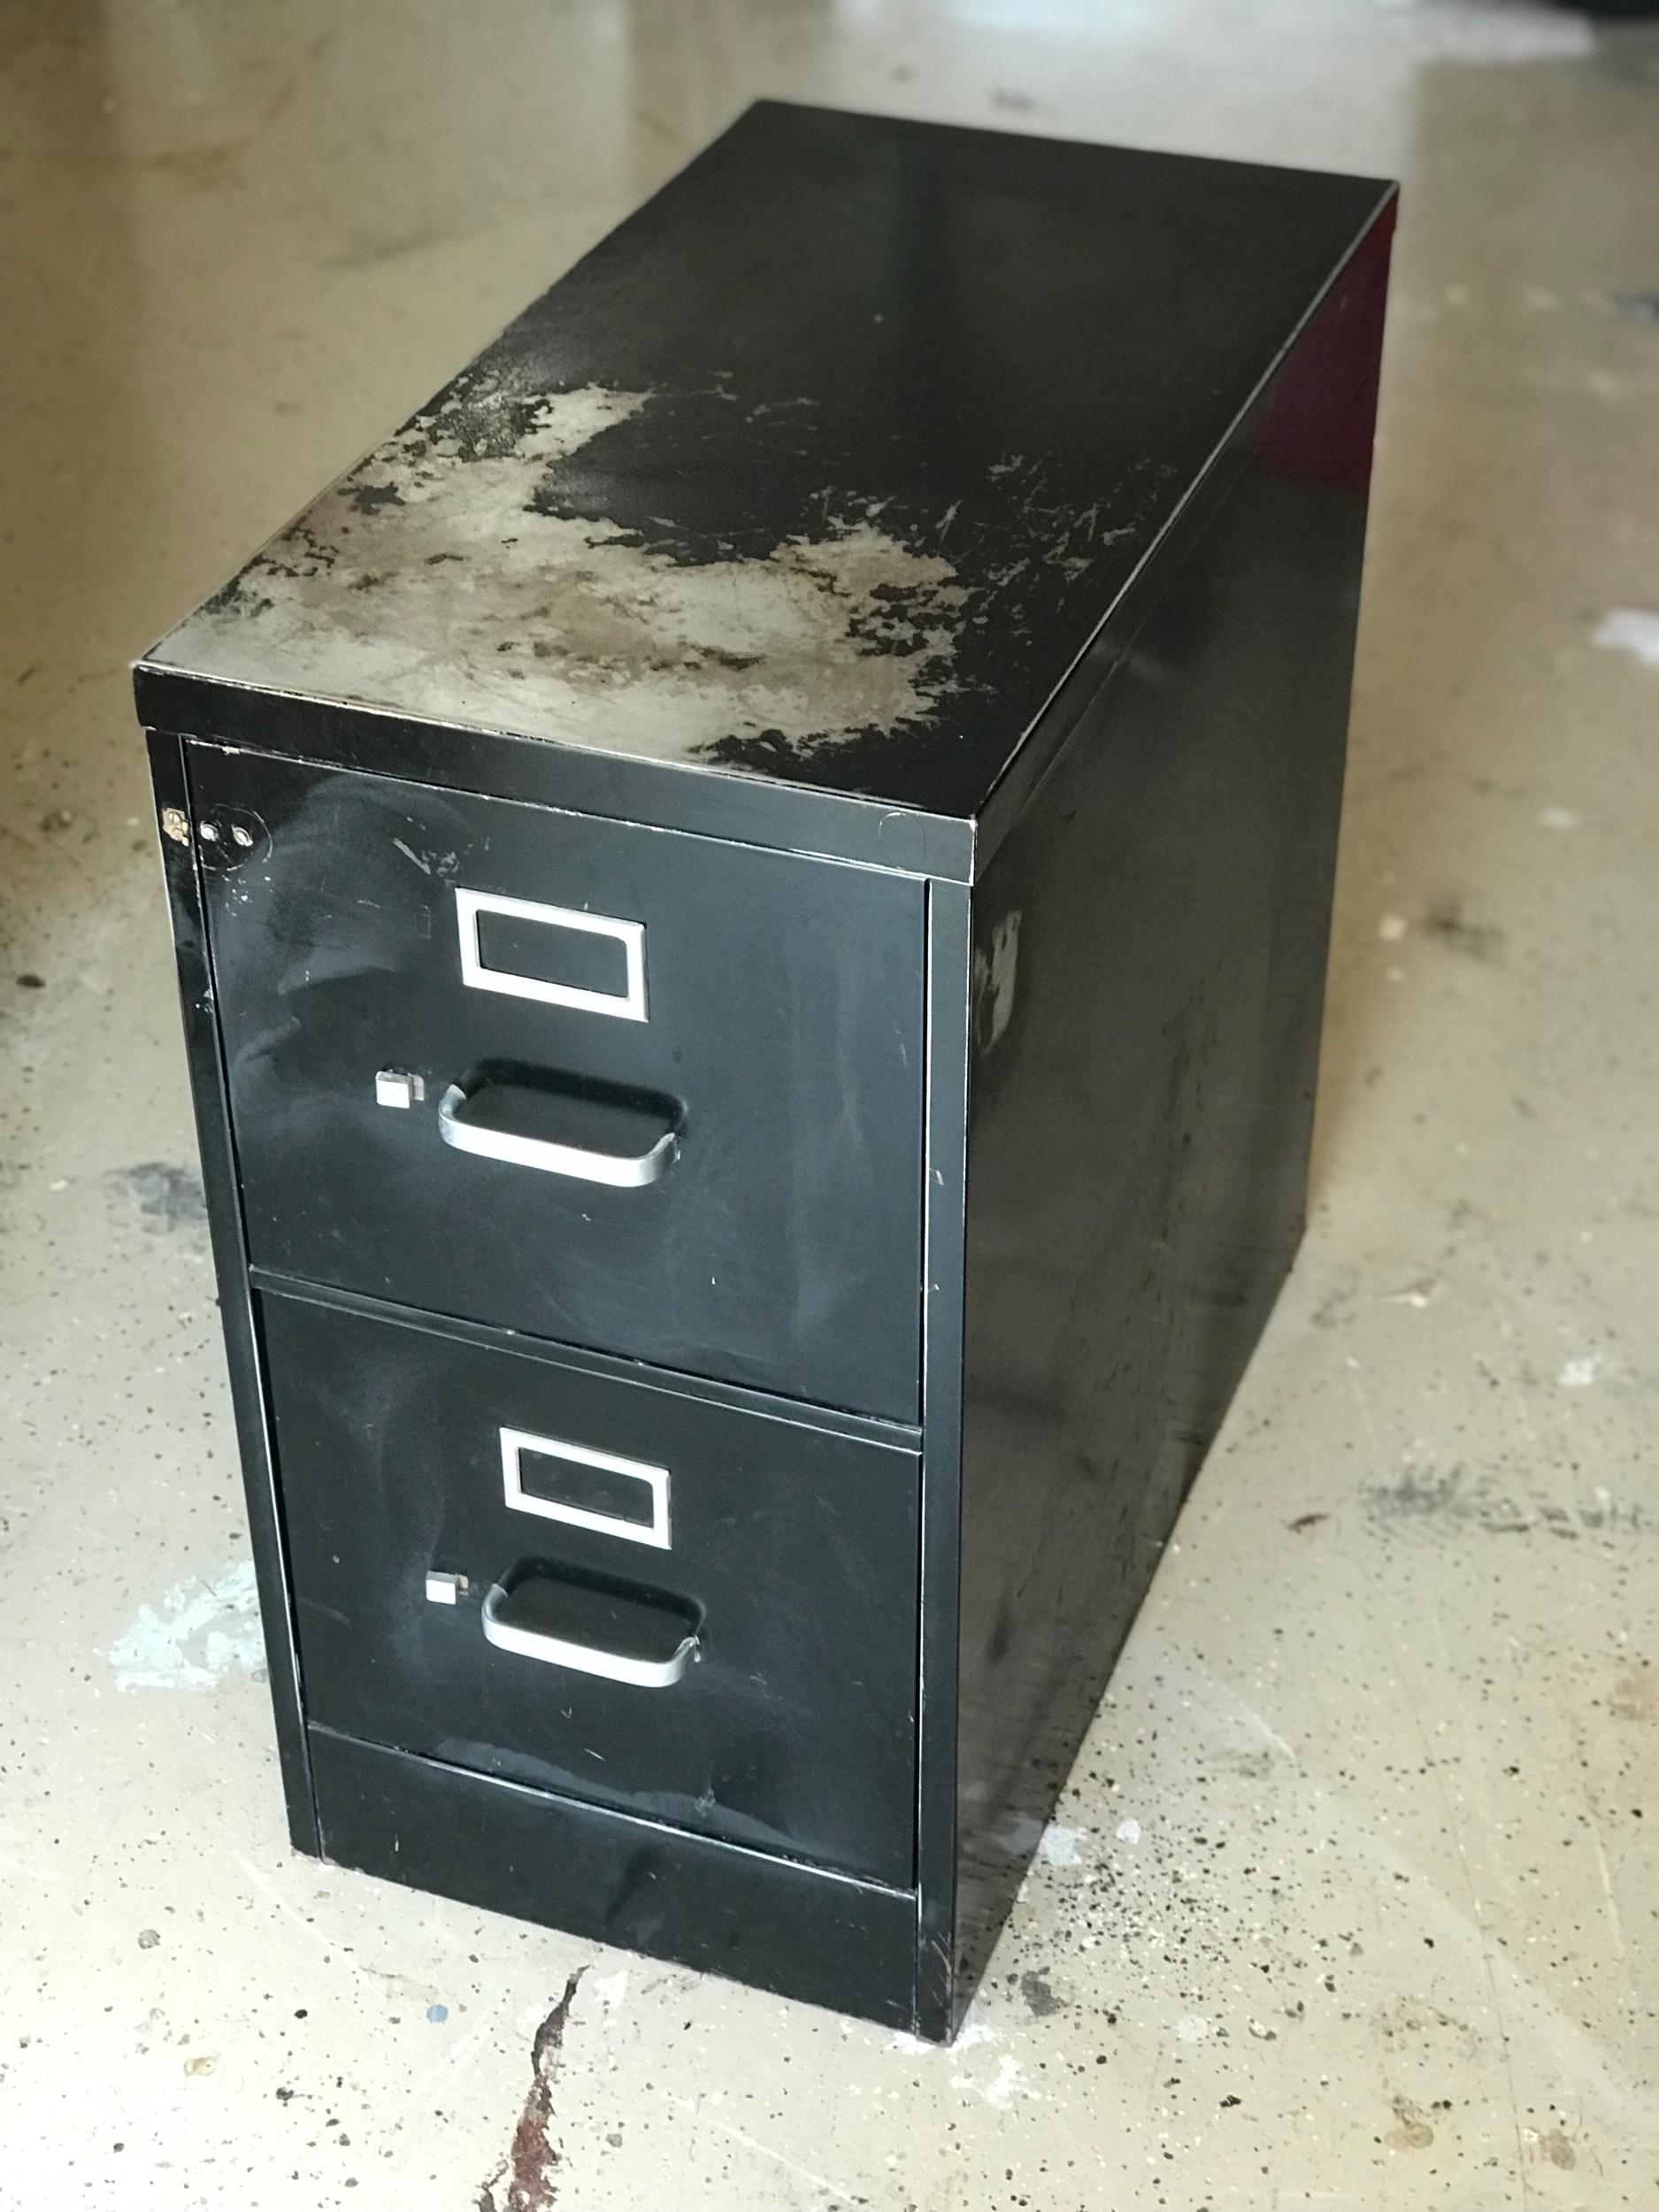
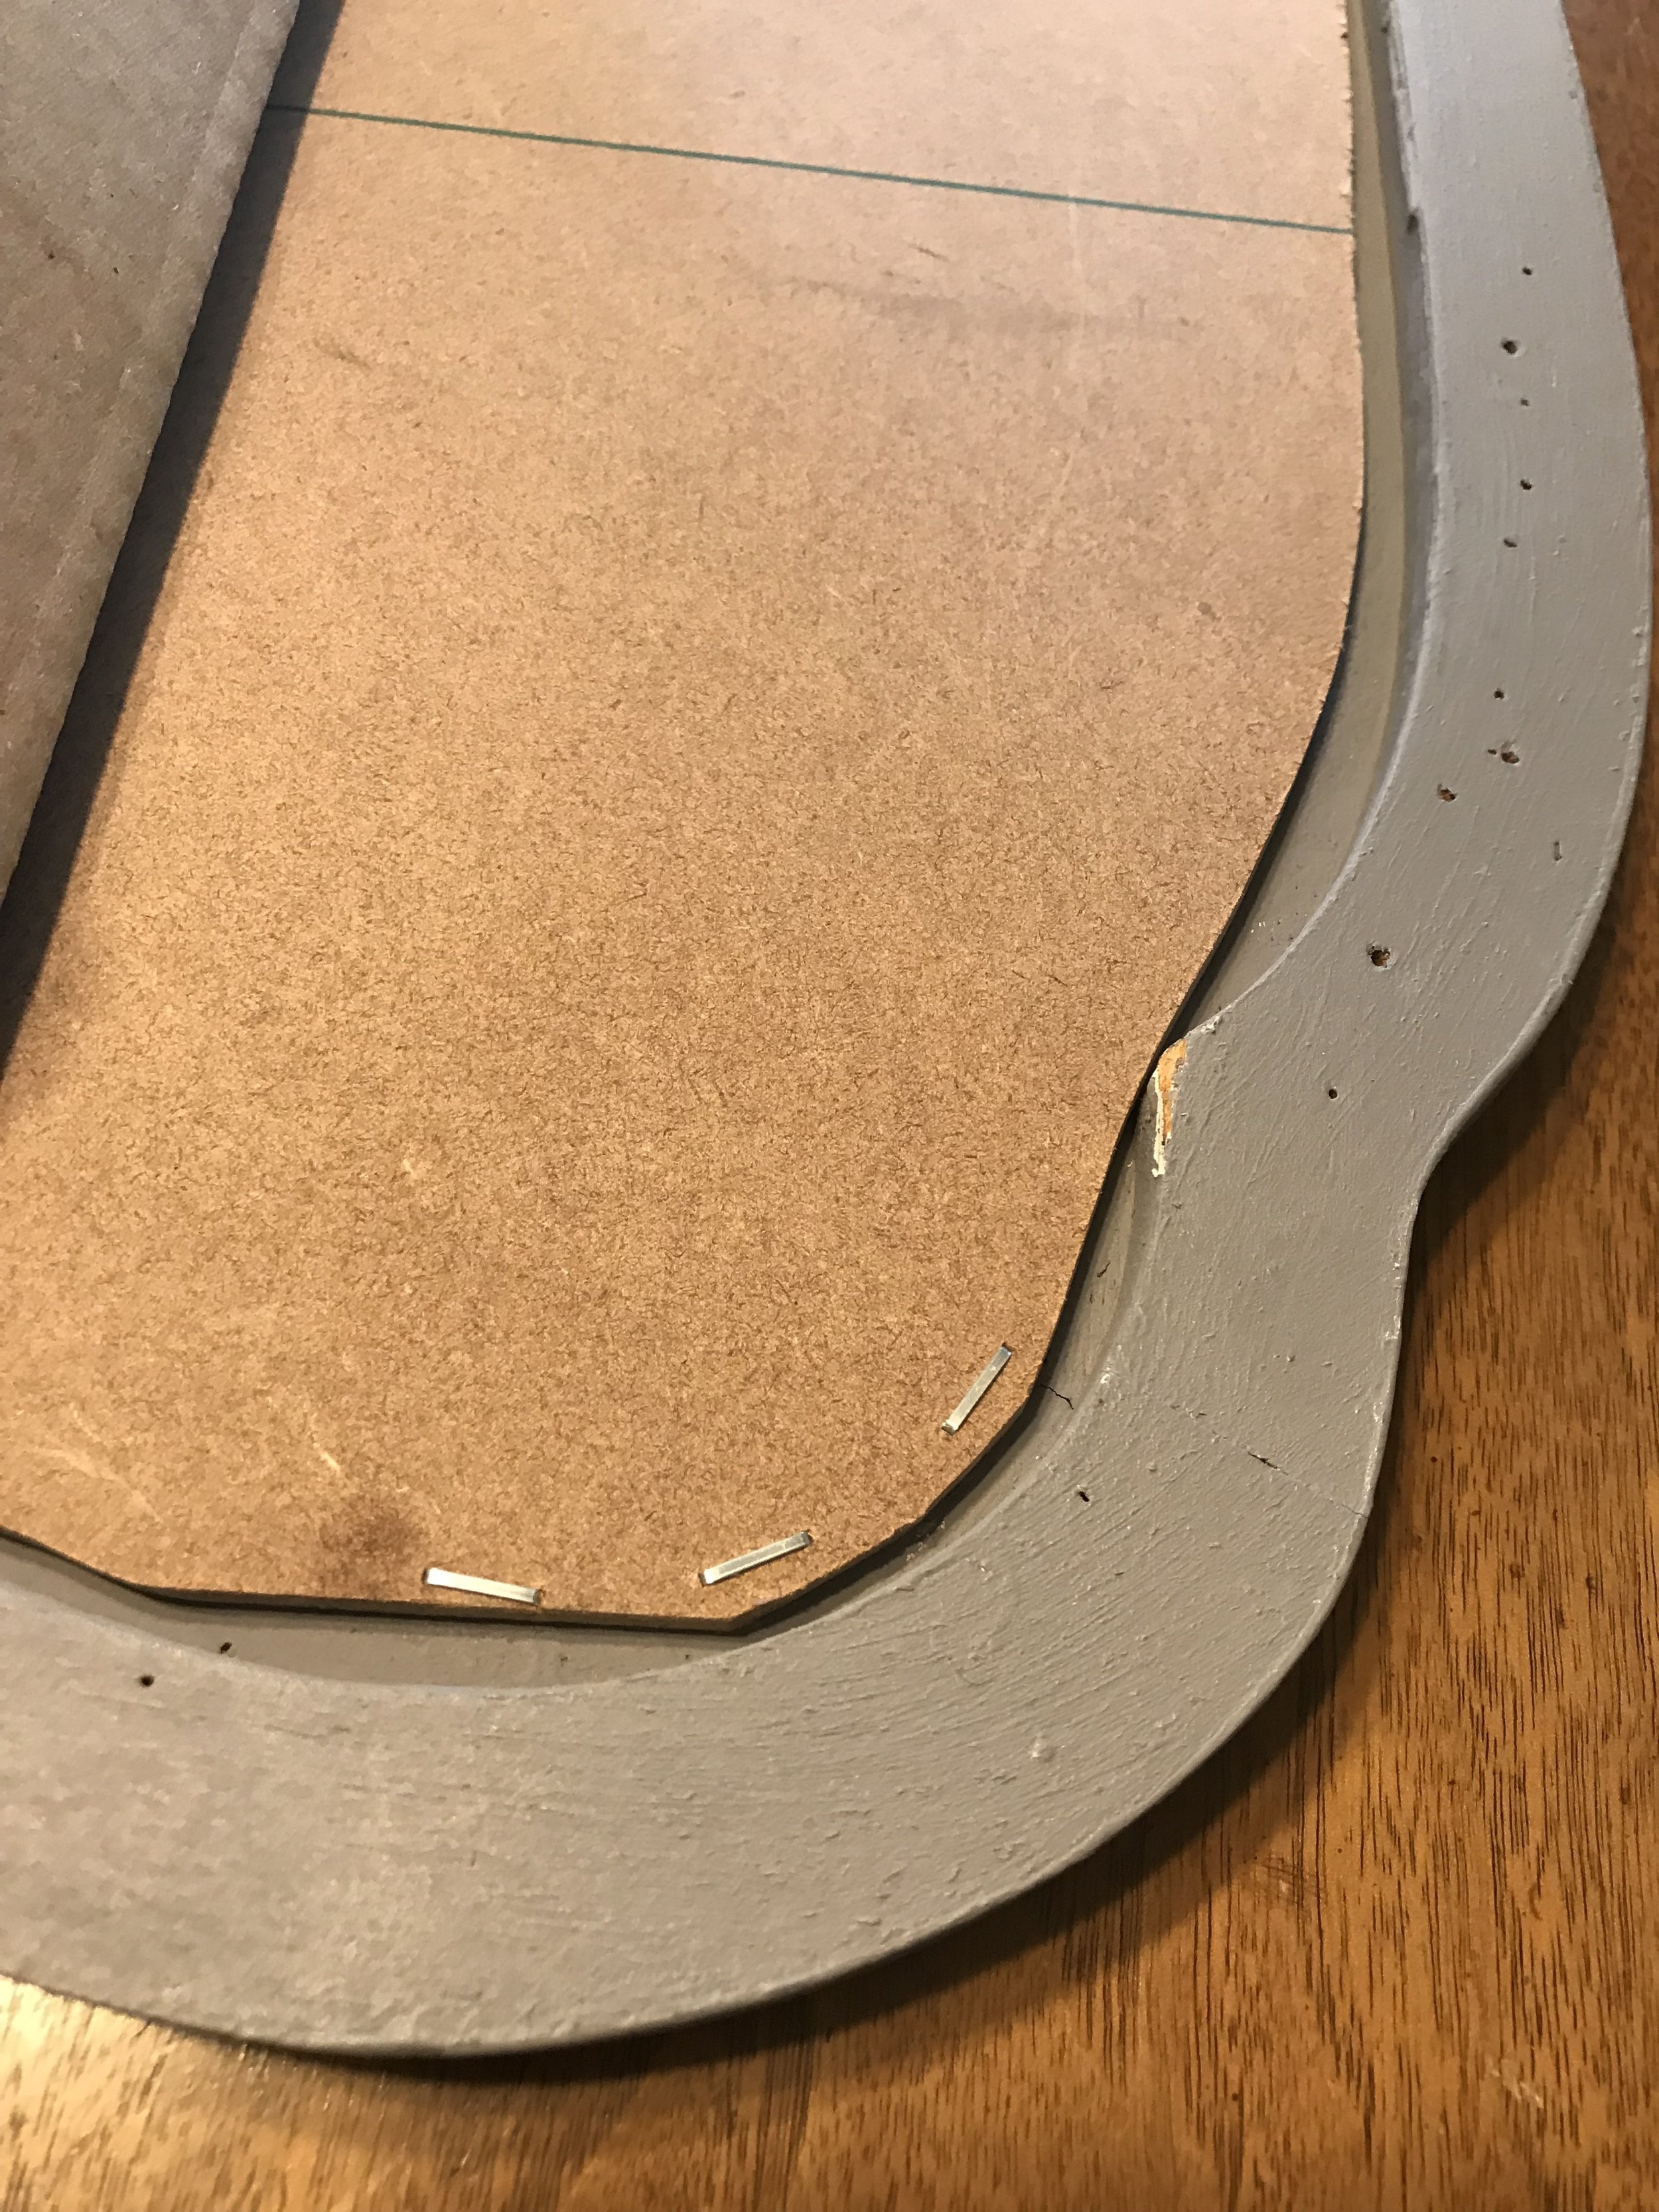
Here’s a good before shot^
As you can see, when we ripped the carpet out we were left with a pretty hideous concrete slab view. The floor had glue, discoloration, remnants, holes from the tack strips, etc. All in all just not a good look.
With any project - preparation is everything!

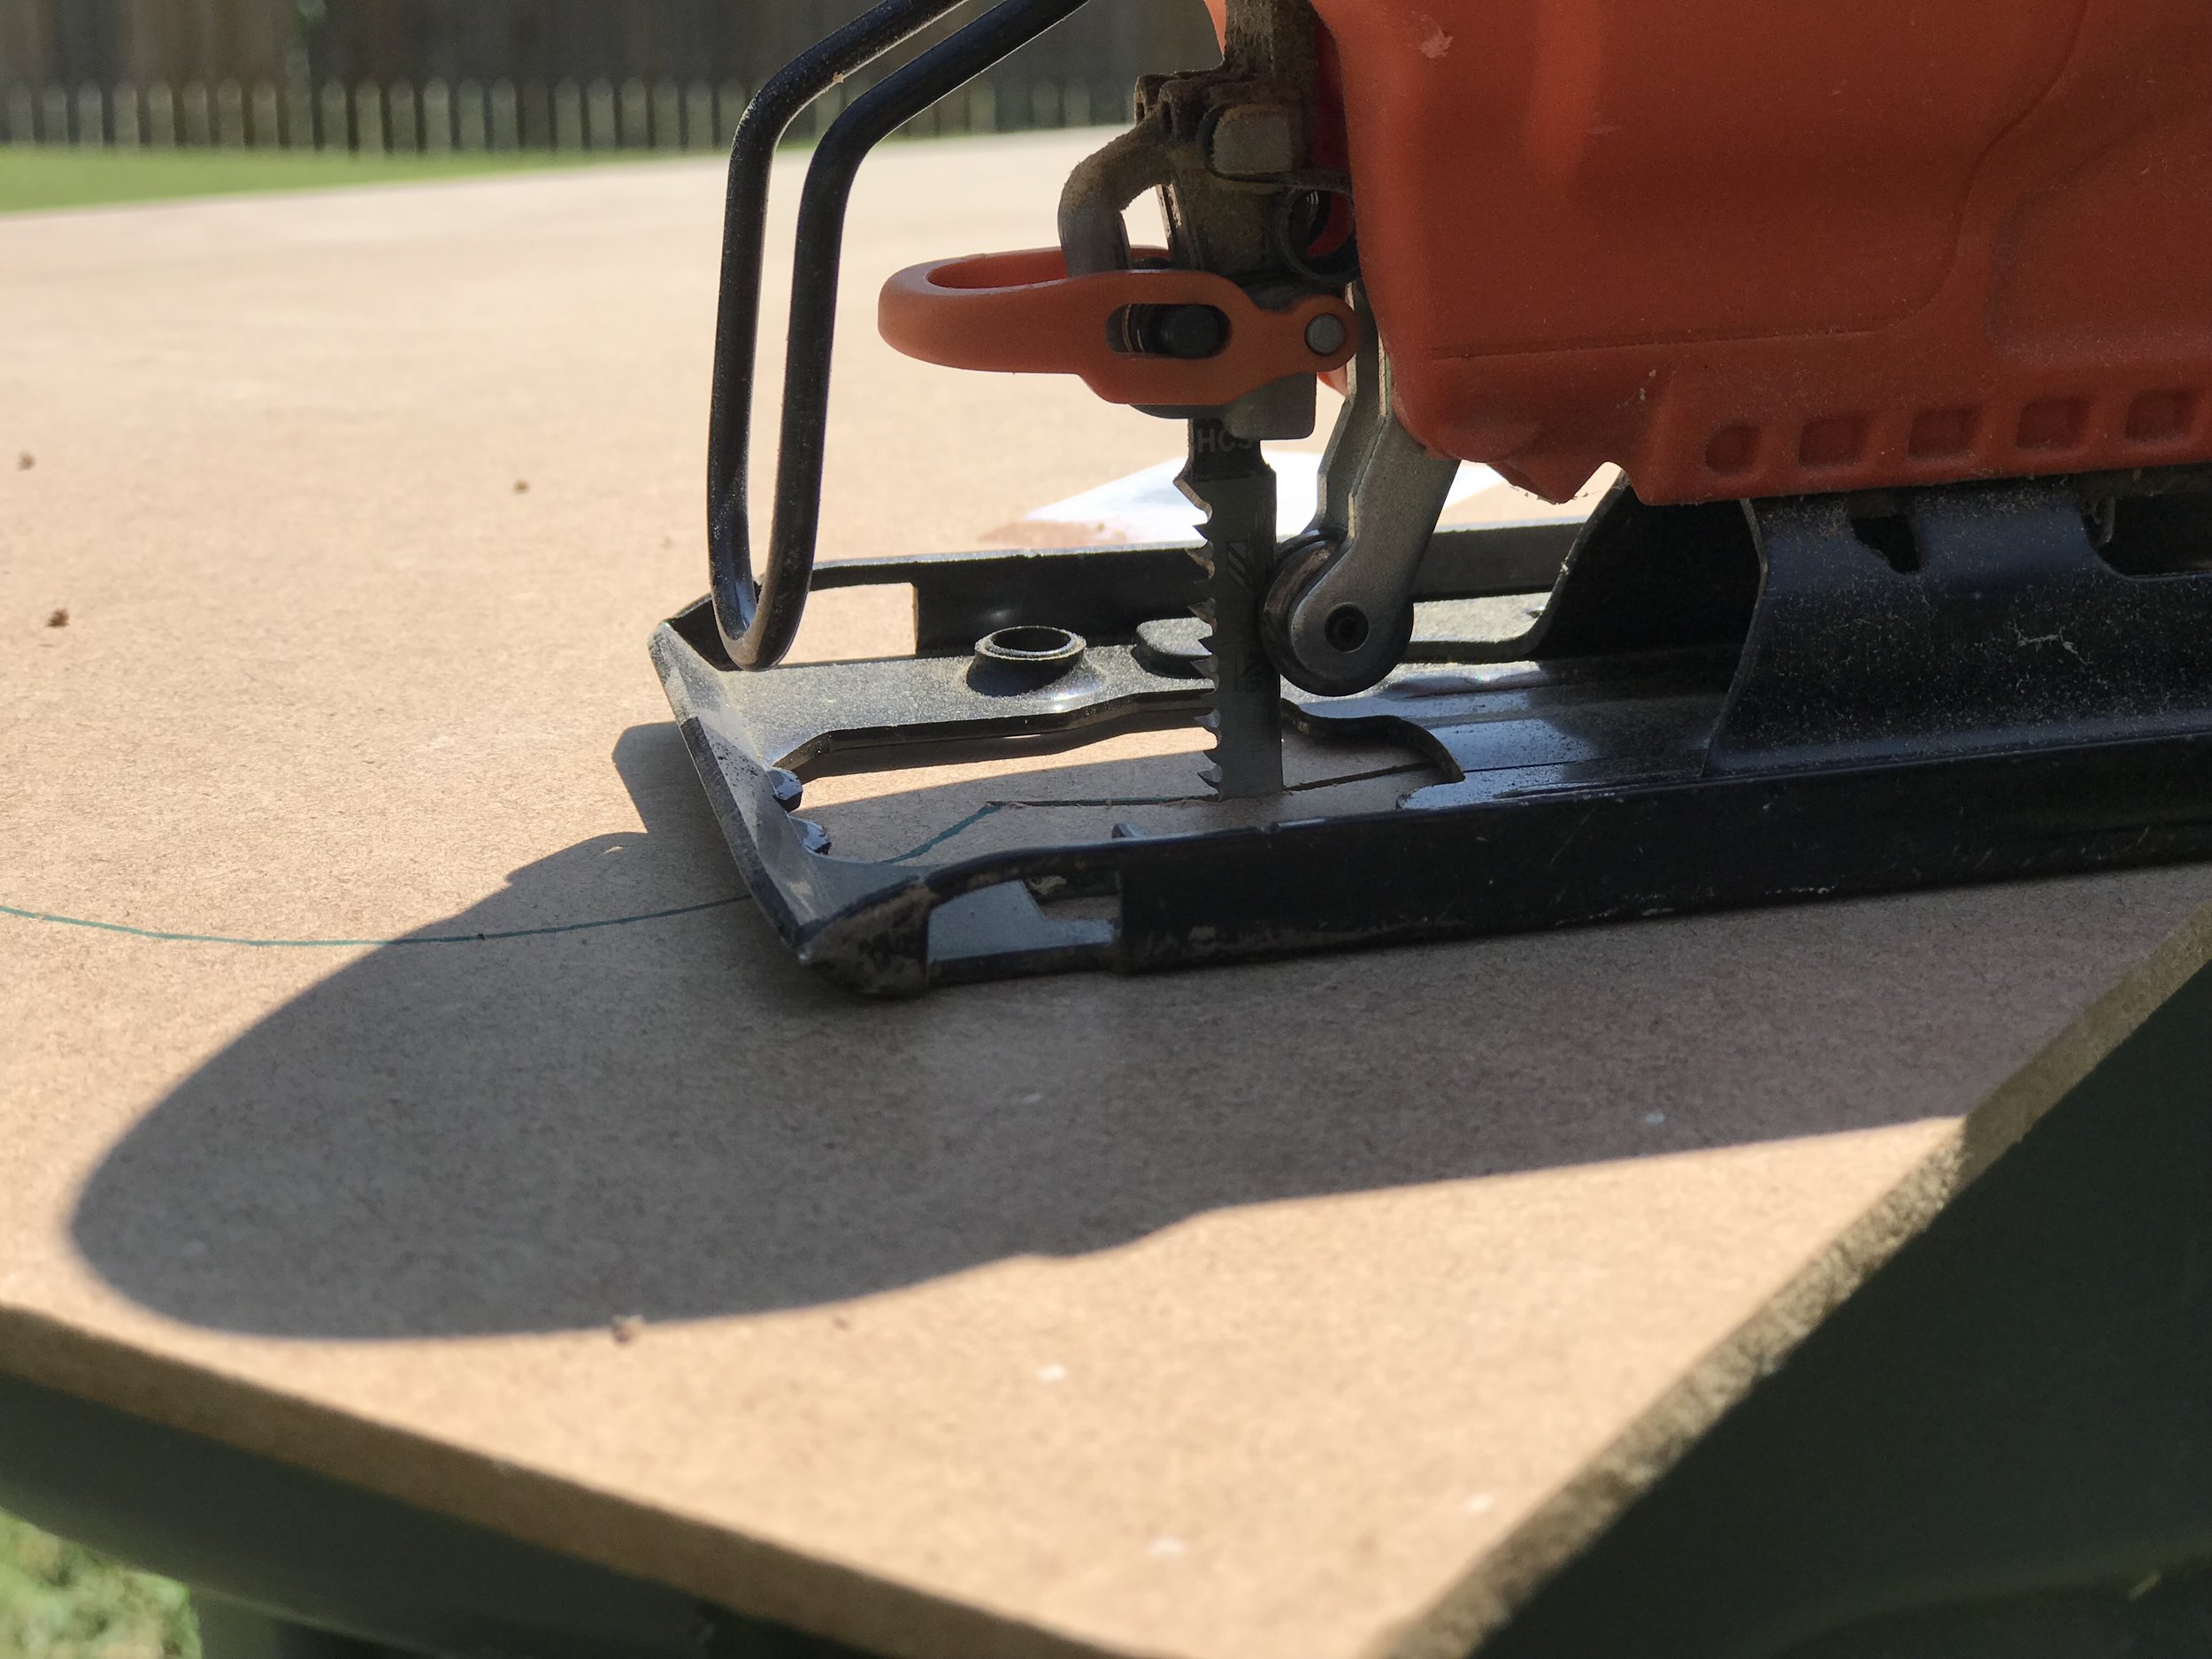
First, we patched the holes in the concrete using a ready-mix concrete patch & let it dry.

Next, we used a palm sander & 150 grit sandpaper to sand down all of the rough and uneven spots in the room.

Now I got to cleaning! I swept the floor about 15 times and then mopped all of the concrete dust up with a TSP solution, following the dilution suggestions on the box.

And then I mopped it again. And again. Concrete creates A LOT of dust when it’s sanded and you don’t want all of that crud junking up your paint or causing it not to stick.
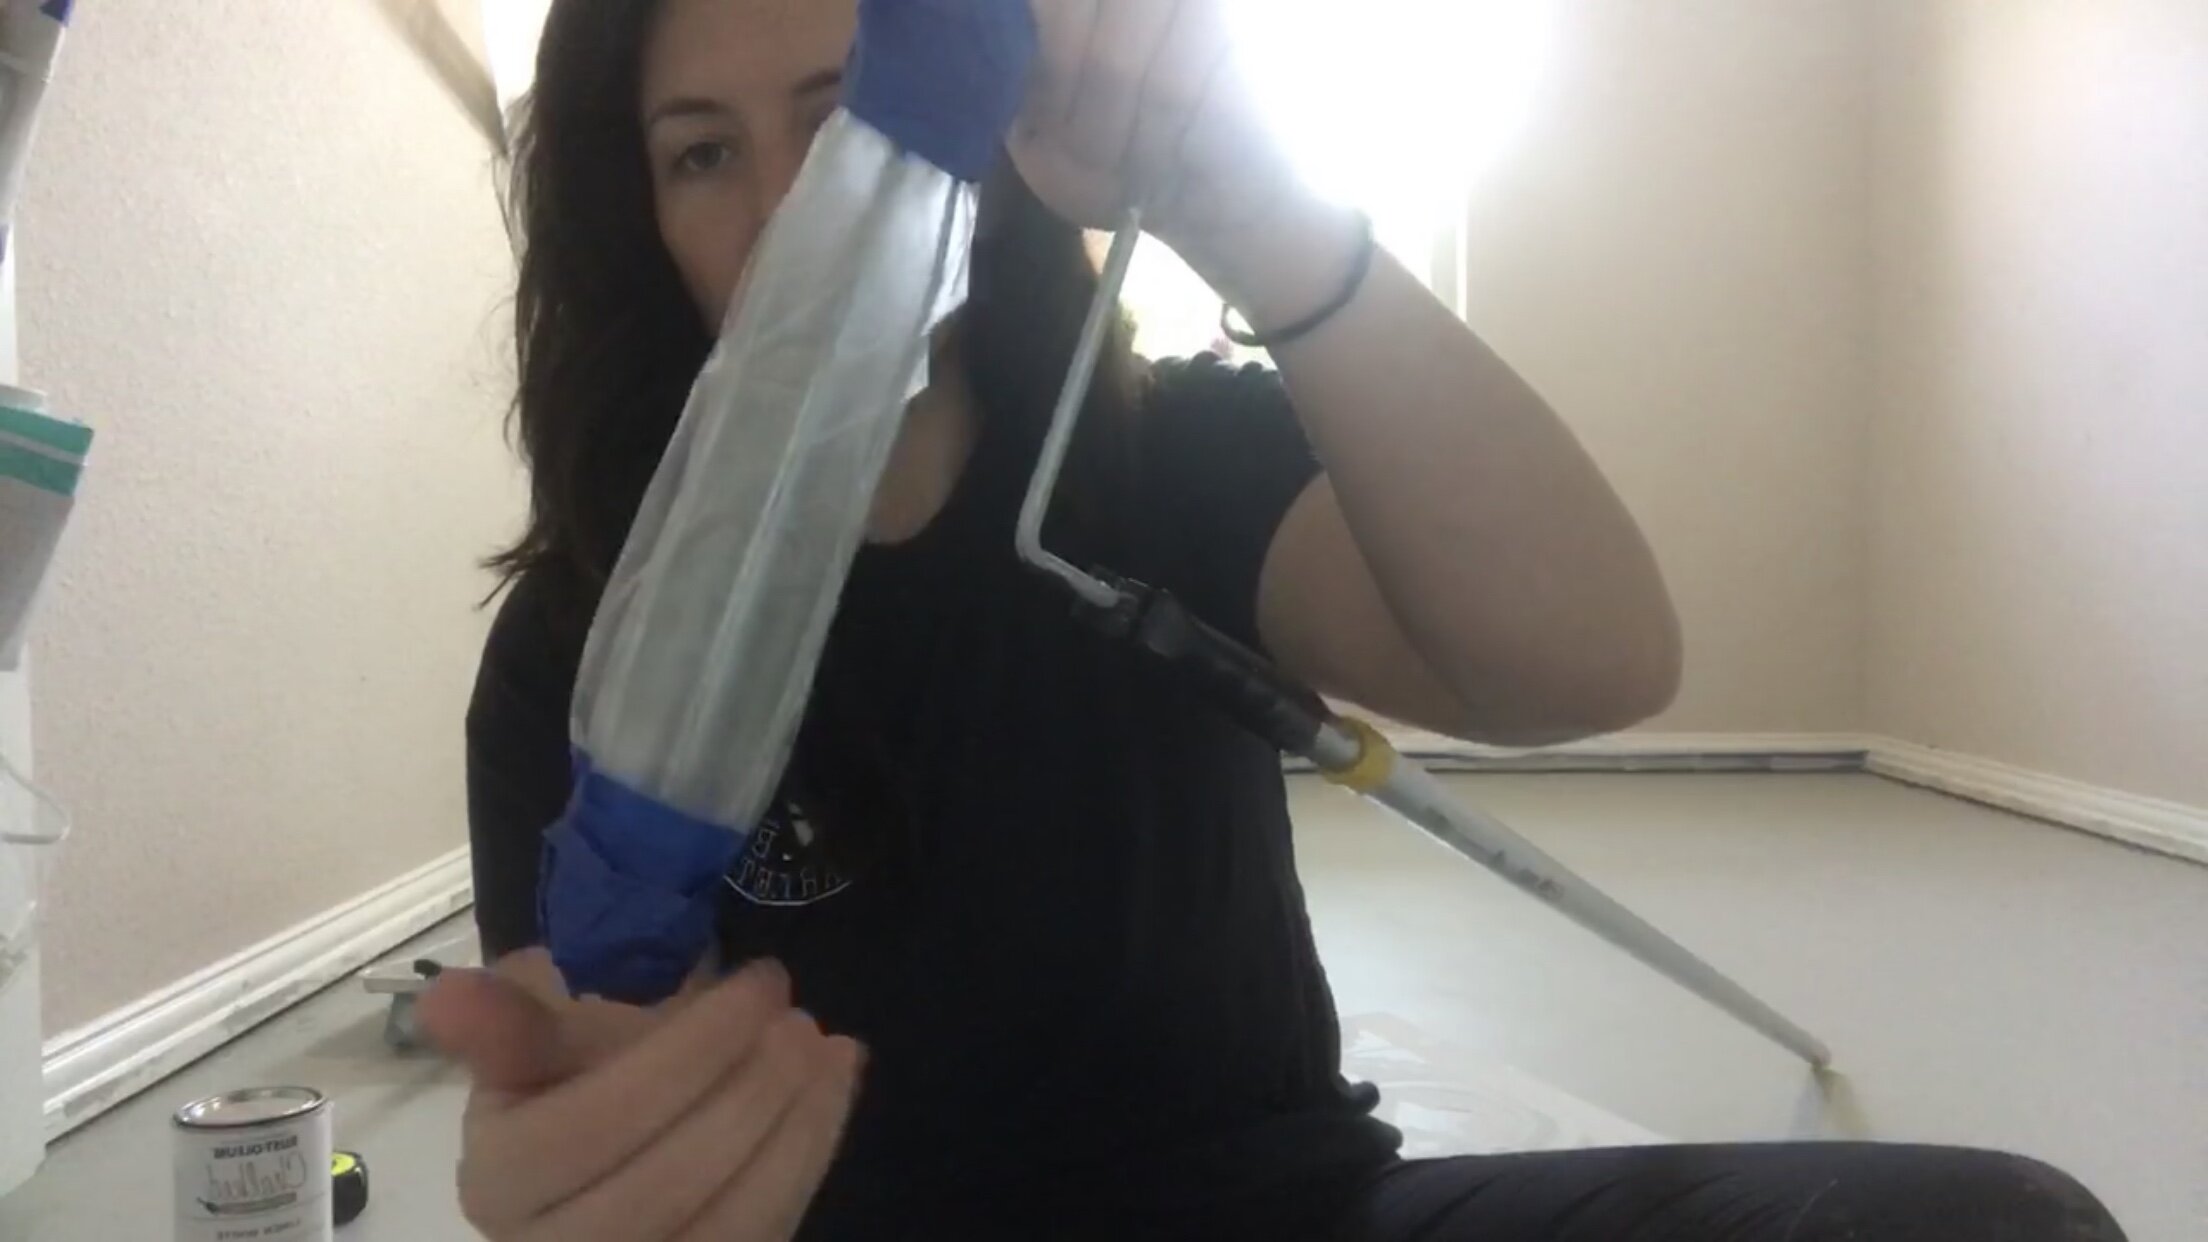
Before I painted and in between each coat I used a homemade giant lint roller to pick up pet hair, debris, etc. that wasn’t coming up with a broom. I used my long arm paint roller wrapped with clear drawer liner. The alternative to this is going around the floor with tape and patting the floor.
Here’s the live video from my Facebook that goes over how I made the giant lint roller, what paint/roller/technique I used for the stenciled portion of the project, and shows the stencil I purchased from Cutting Edge Stencils.
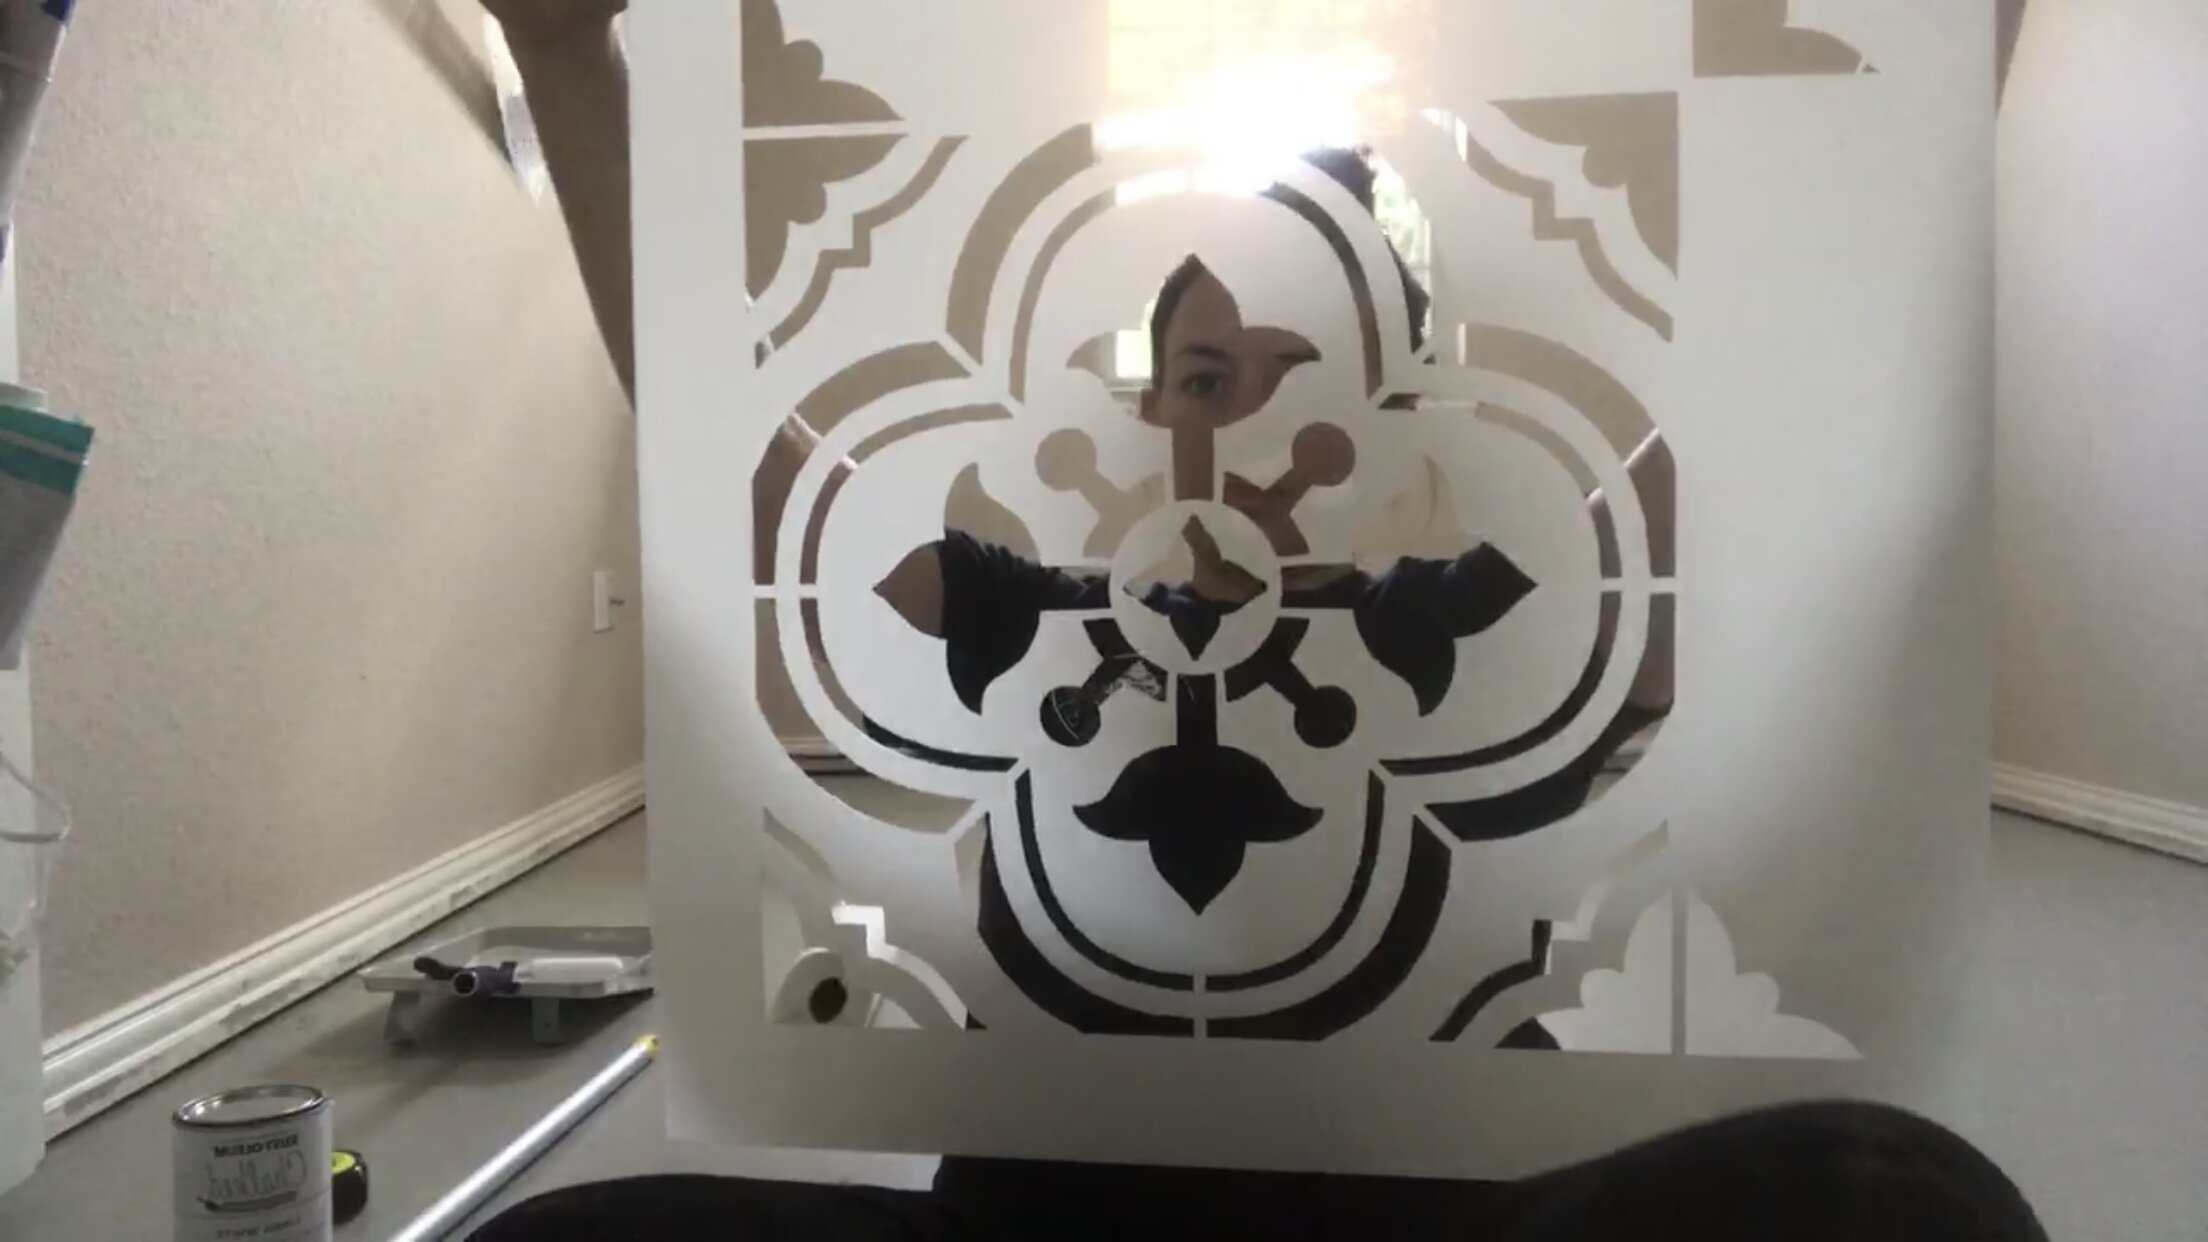
Big Ol’ Stencil 😂

After the floor was totally free of debris I took a long armed edger and cut in all the sides of the floor with a white Adhesion or Bonding Primer. The Rock Solid Home floor paint system does not require a primer. But I’m the kind of person who doesn’t half-a$$ anything (lies) and I opted to use a bonding primer anyway. I used a long arm edger to cut in the sides near the baseboards first. Using an edger helps get clean lines & reduce the need to tape off areas of your floor.
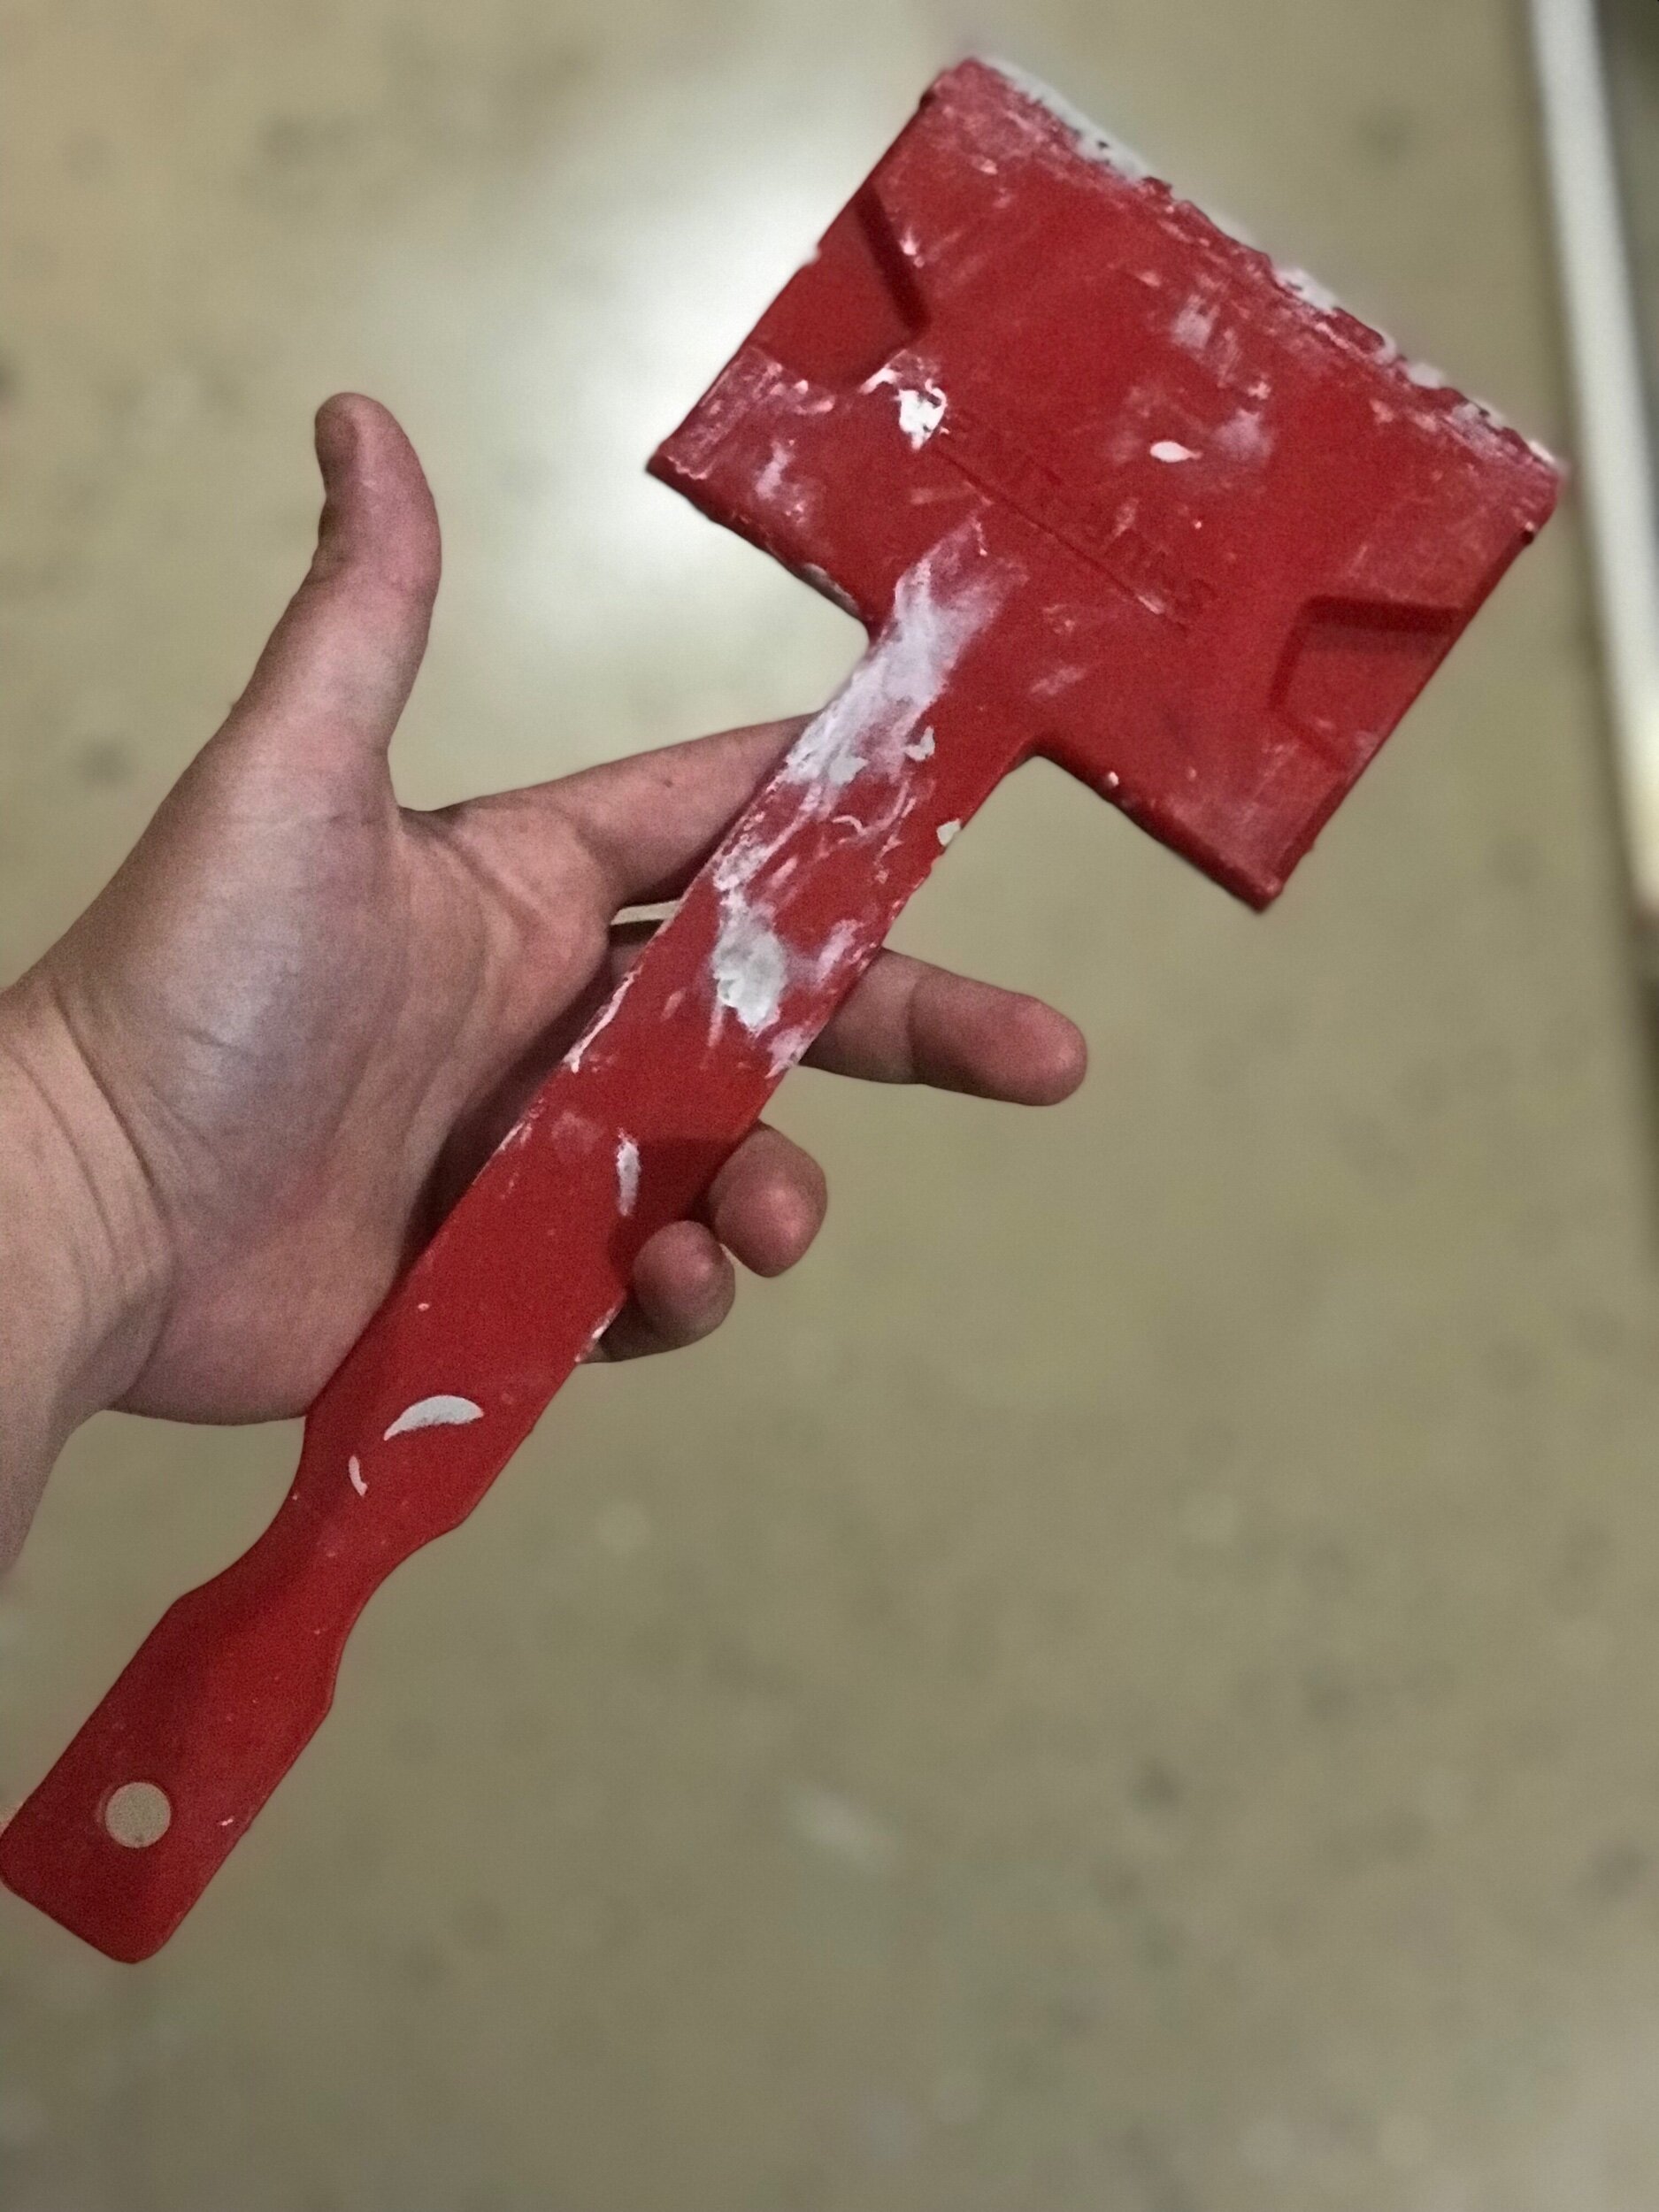

Once I had all of the edges cut in I used a high quality shed-free paint roller affixed to a long armed paint roller and painted the remainder of the concrete floor in a nice thin coat of the bonding primer.
Now we move on to color!!
(Excuse the lack of better before photos with the paint cans, I suck and forgot to take them 😩)

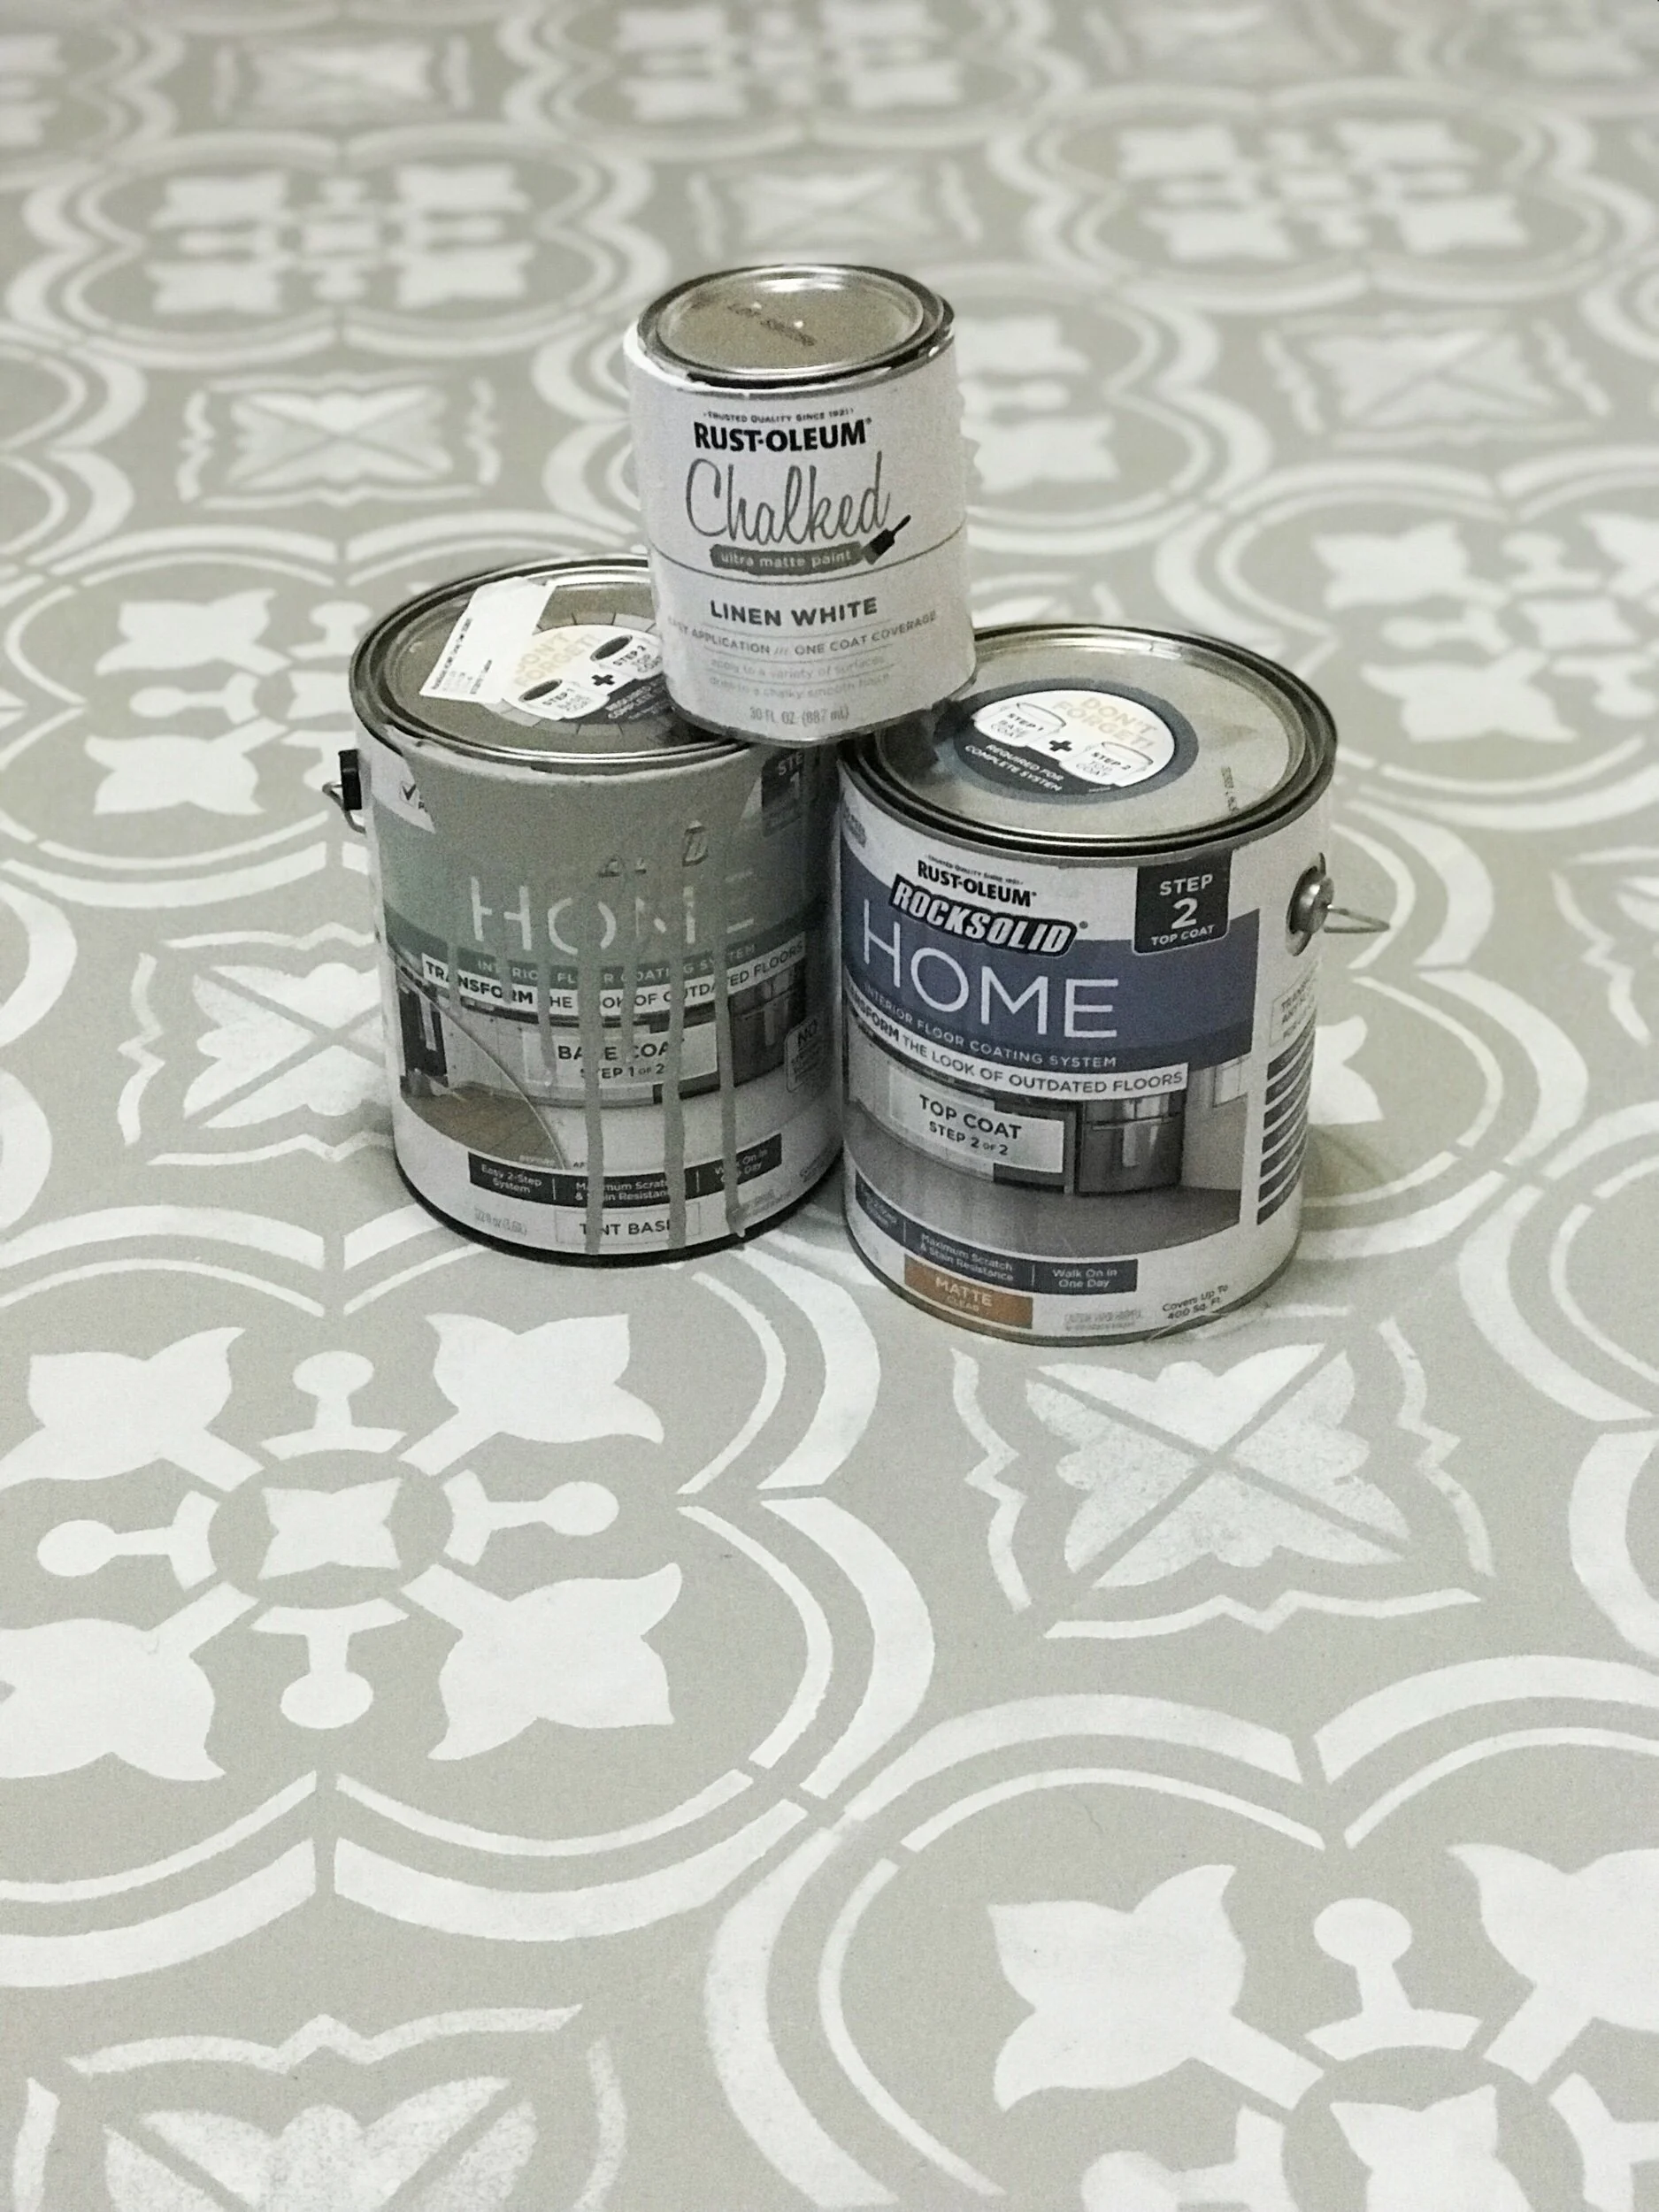
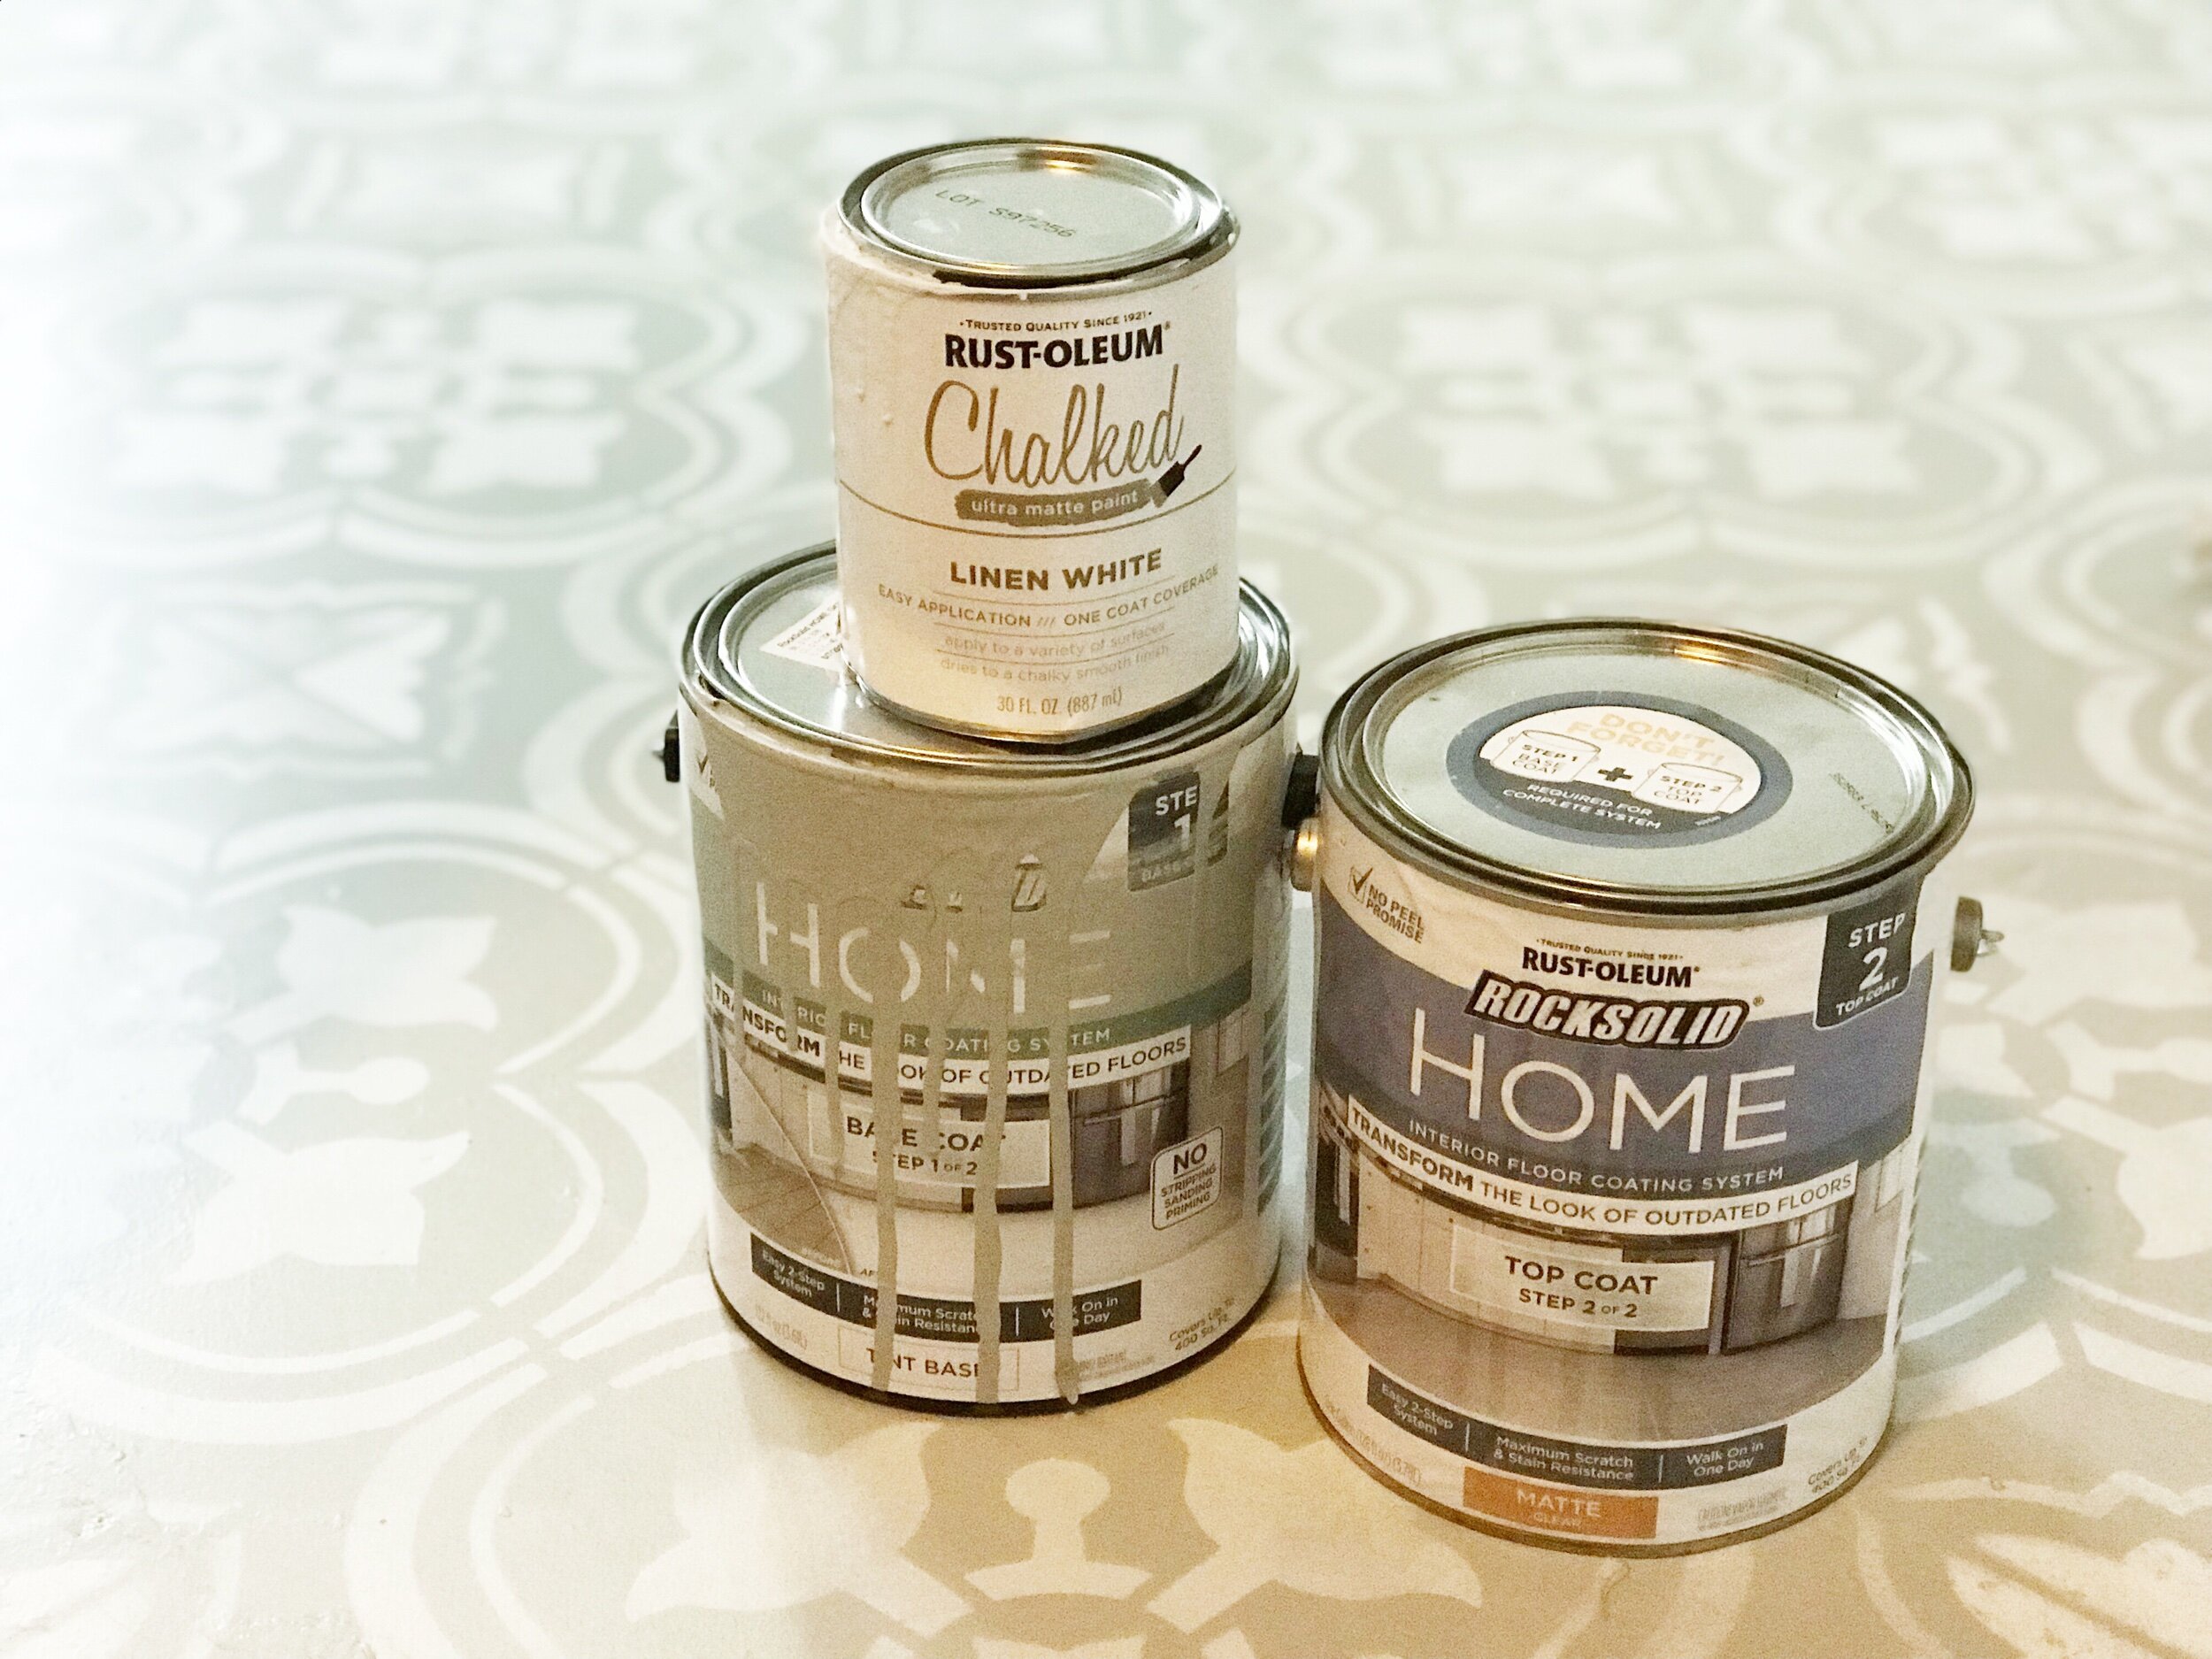
I did one coat of the bonding primer and moved on to the Rock Solid Home Floor Paint System. I chose Grey Owl for the base color and Clear Matte for the sealant. The stenciled portion is done in Rust-Oleum’s Chalked Linen White. Basically at this point I’m repeating the same steps as the primer, but this time with the actual colored floor paint. I opted to do two coats of the Grey Owl floor paint using the following steps:
•Wait for the previous paint coat to totally dry (refer to the can for drying and next coat time)
•Sweep & Lint roll the floor between each coat of paint
•Cut in the edges using an edger or paint brush
•Paint a full thin coat using a high quality roller and a long armed roller handle.

Zoom Zoom
Once you have the floor painted with two coats of the base color you can move on to stenciling
Once that stuff is dry, of course!
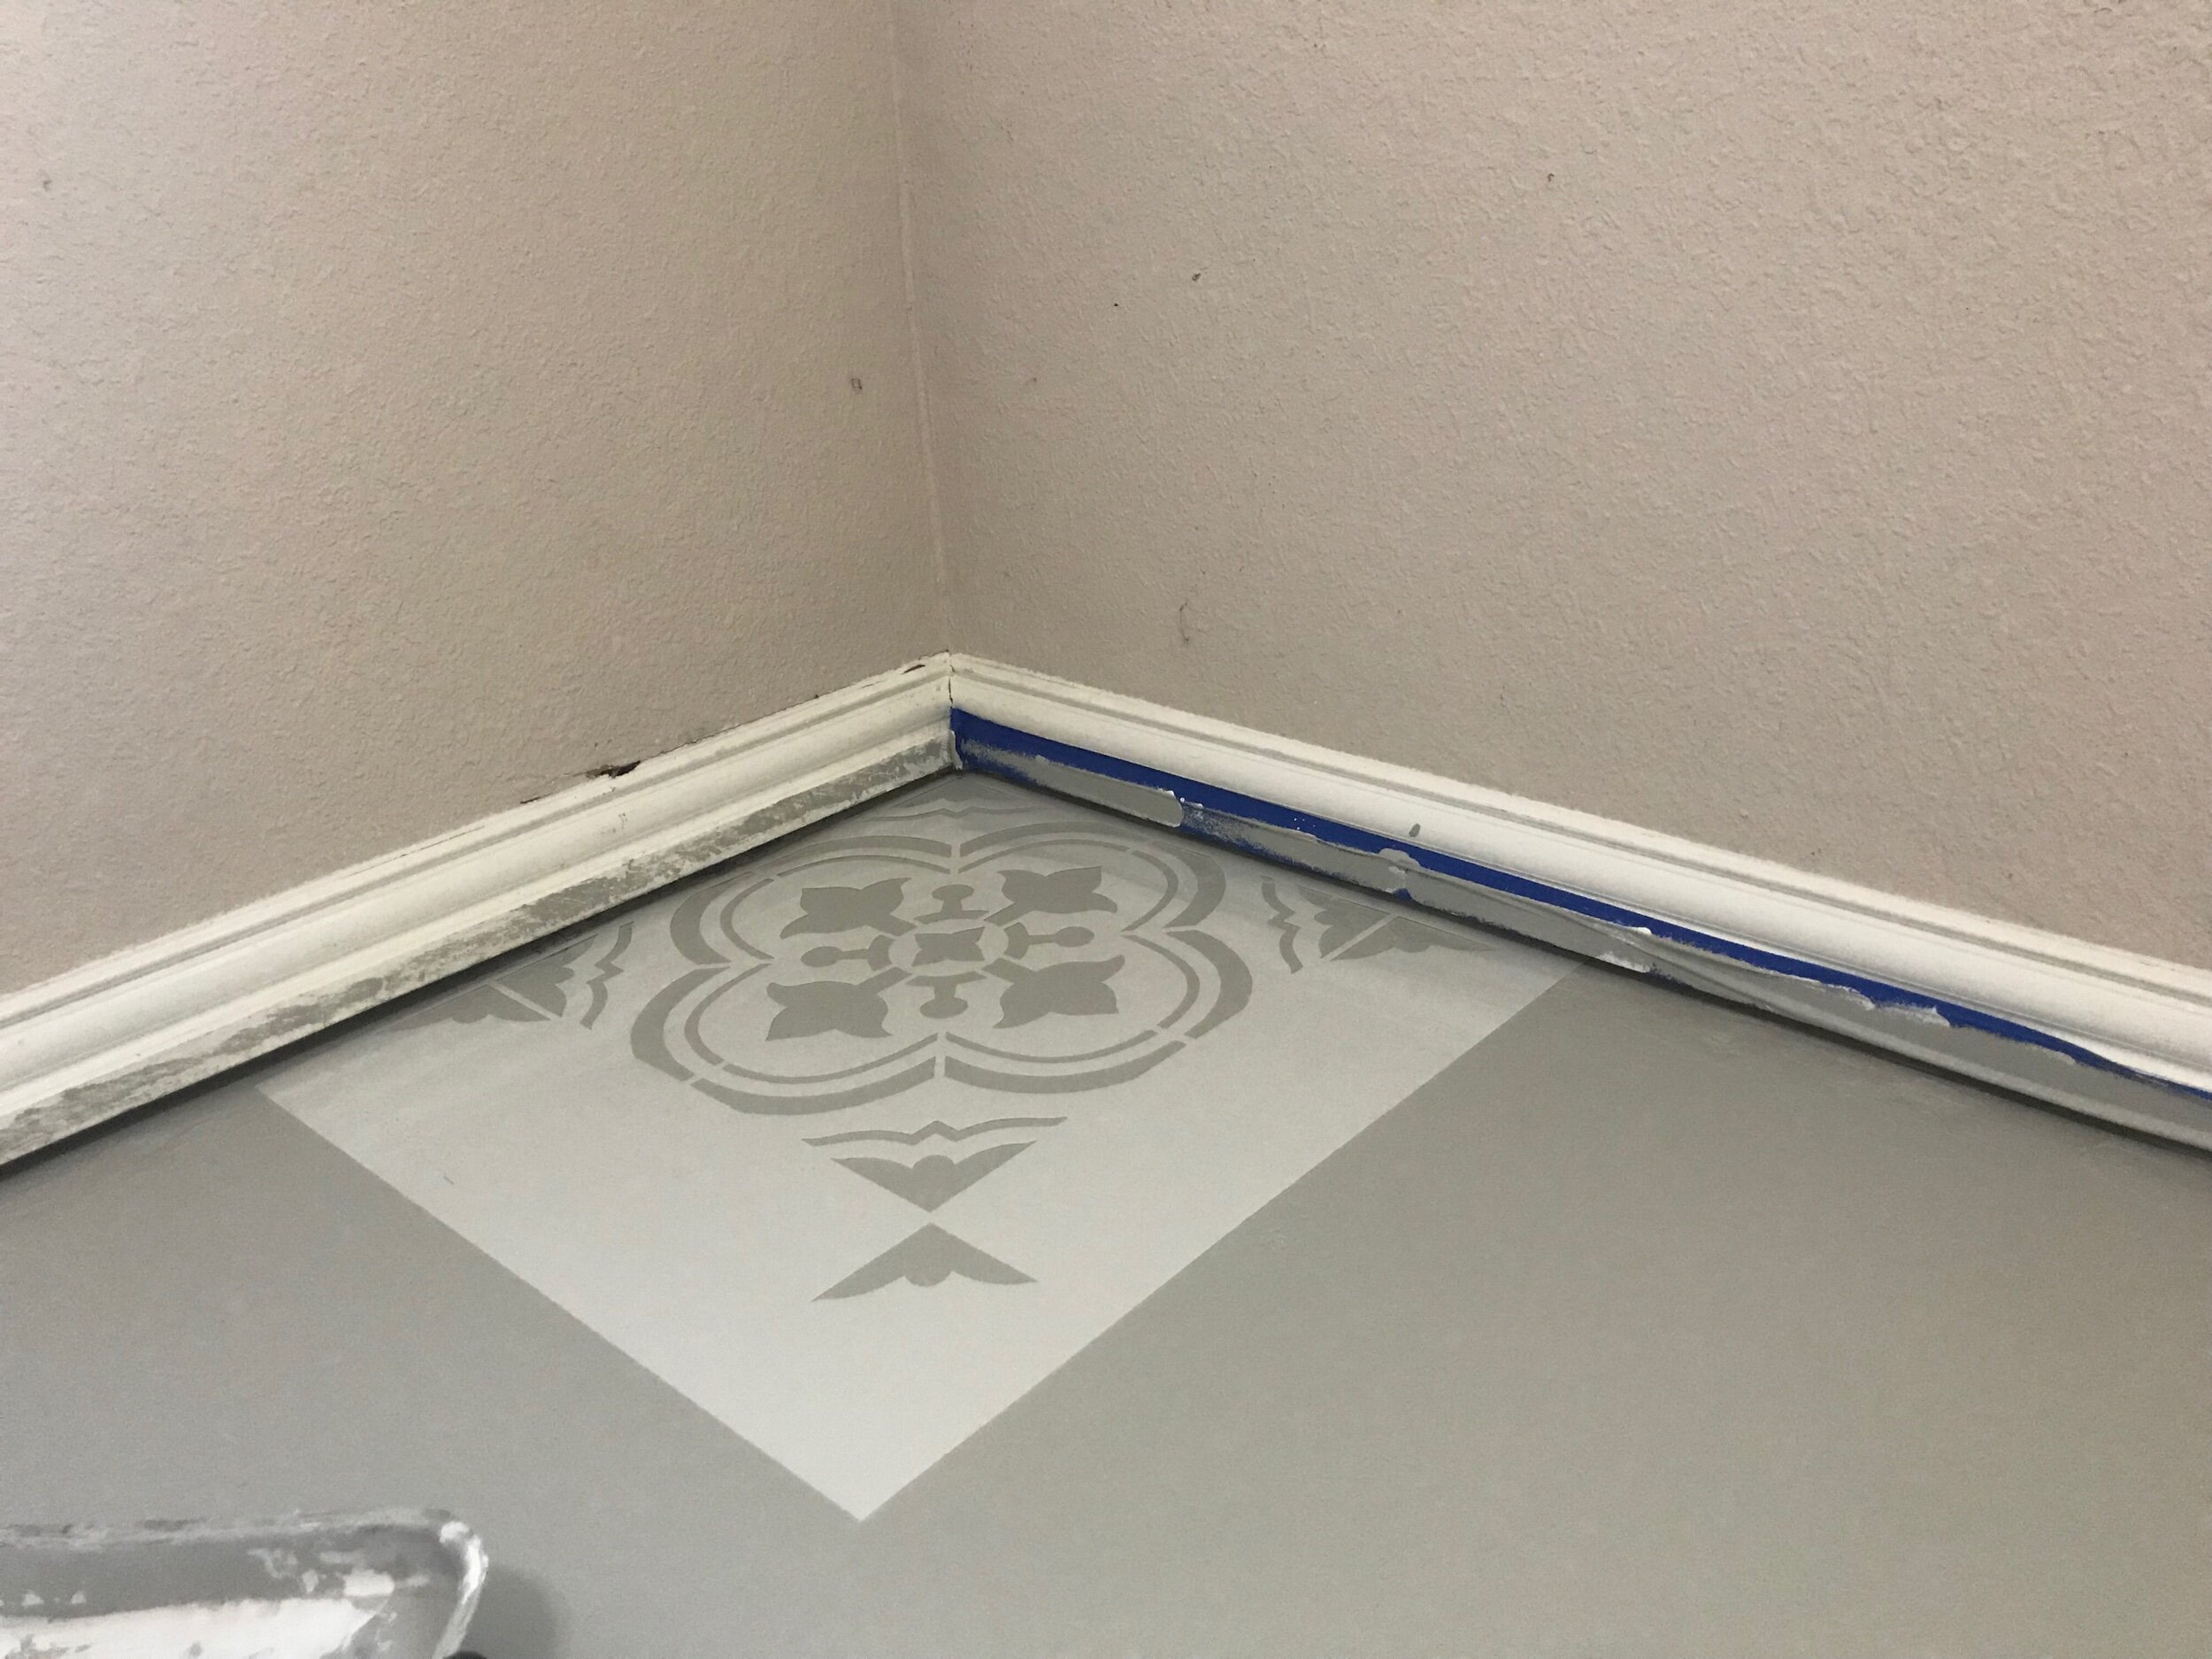
Okay so now the real fun begins!! I ordered a stencil from Cutting Edge Stencils. Their stencils are pretty convenient to use because they come preset with your “overlap” lines to help you keep your stenciled tiles straight. This is super crucial with a concrete floor because there are no existing lines to go off of. The downside to this stencil is, because of the overlap, it’s hard to get a nice butted up edge on the ends of your row. I opted to go ahead and cut one side of the stencil off so I could start with a clean edge line on the one side and only have to worry about cutting in the edges on the far end of the floor.
Use chalk paint for the stencil!!
Stencil painting tips!:
•Use chalk paint to help reduce bleeds of paint under the stencil (it’s thicker and dries faster than latex or acrylic paint).
•Apply chalk paint using a small foam roller in thin coats with light pressure.
•Use as little paint as possible. The less paint on your roller the less likely you are to have paint bleeds.
•When applying paint to the roller, roll excess paint off onto a paper towel or similar before painting the stencil.
•Use tape on at least two sides of the stencil to help keep it from slipping during the painting process.
•In between tiles, set the stencil down on a stack of paper towels or cardboard to help wipe off paint that made it way to the bottom side of the stencil. This way, when you set the stencil back down for the next tile you won’t end up with accidental paint smears.


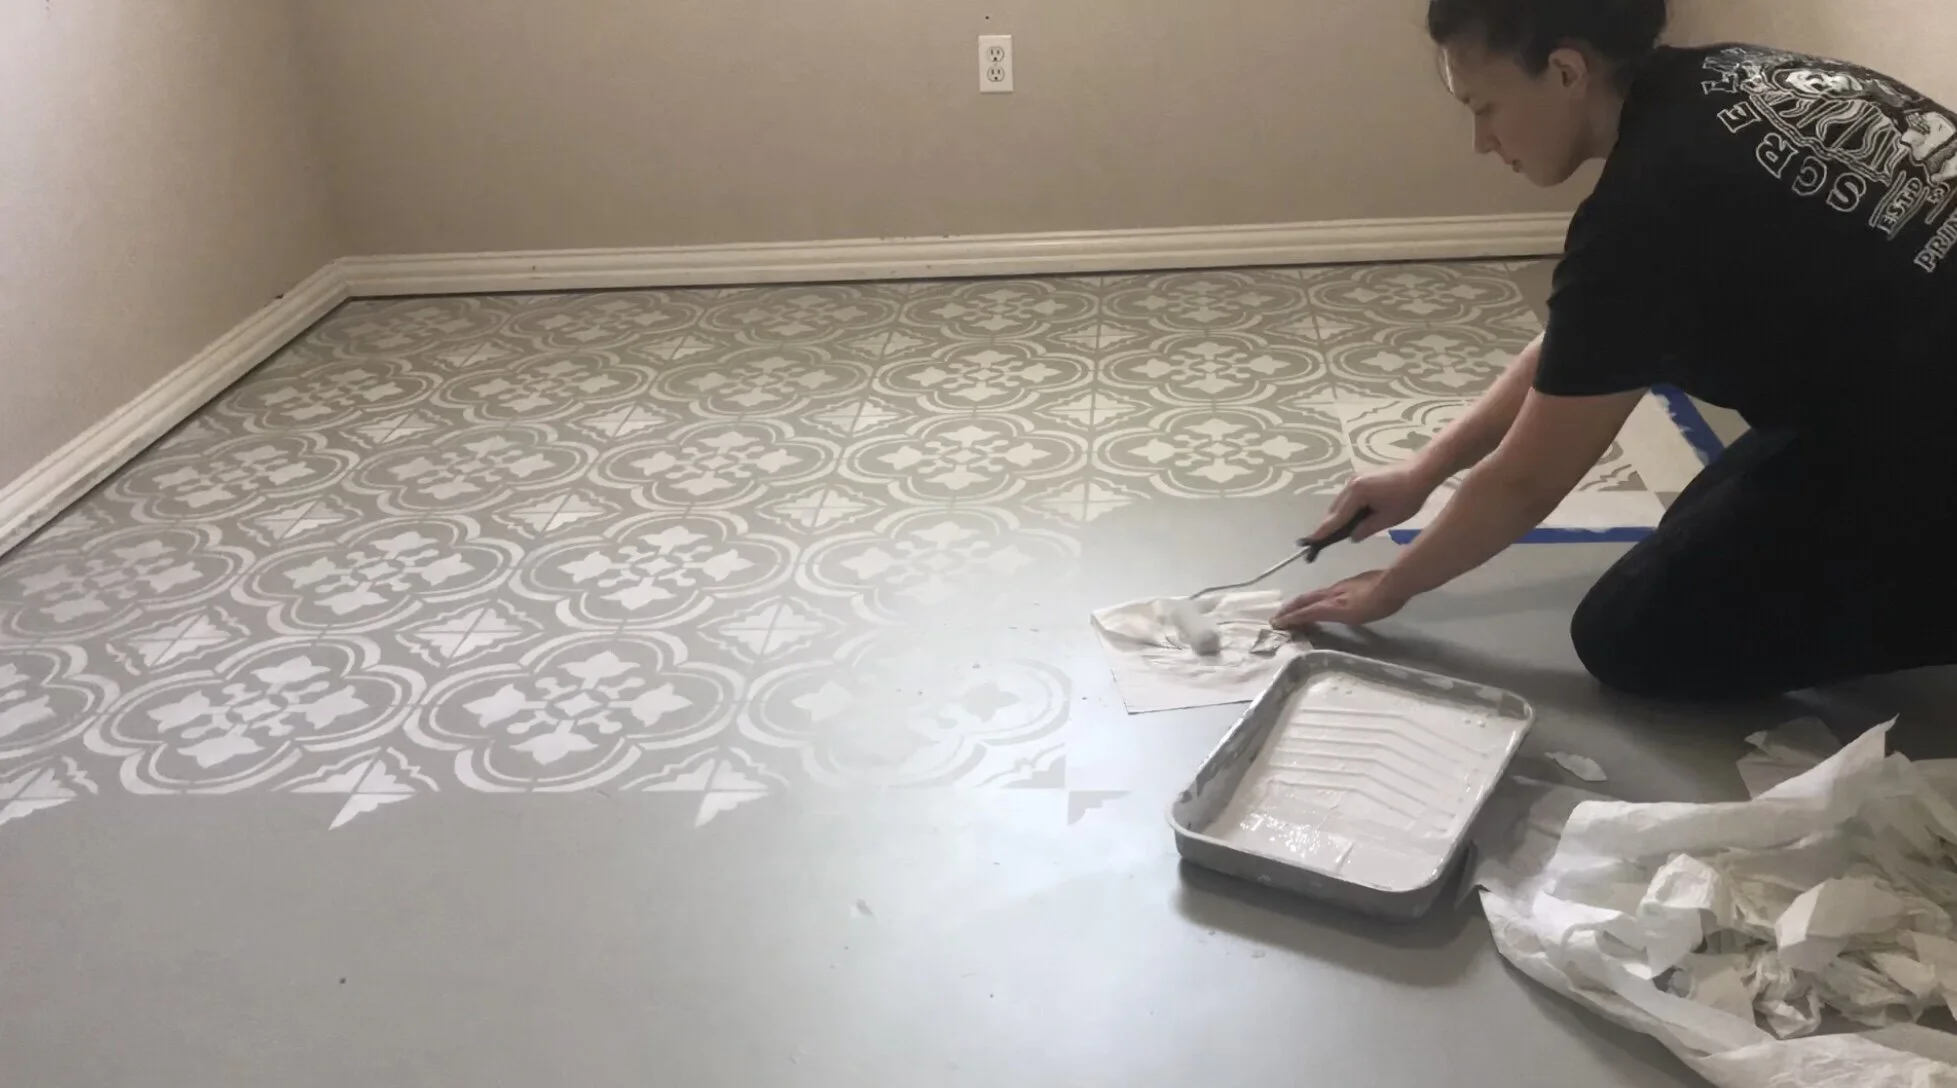
I started by doing small rows

Set stencil down on paper towels and dab off excess paint from the bottom of the stencil as you go.
Use a paper towel to roll off excess paint every time you reapply or as needed to help reduce paint bleeds.

Use the guides on the stencil to help keep your lines straight!

Repeat, repeat, repeat as you paint yourself out of the room. If you have any short edges leave them until the end.

When you get to the point that you’ve done all of the full sizes of tile possible, start working in your smaller stenciled edges. For my ease of use I decided to actually cut the stencil to size for the larger edge tiles.
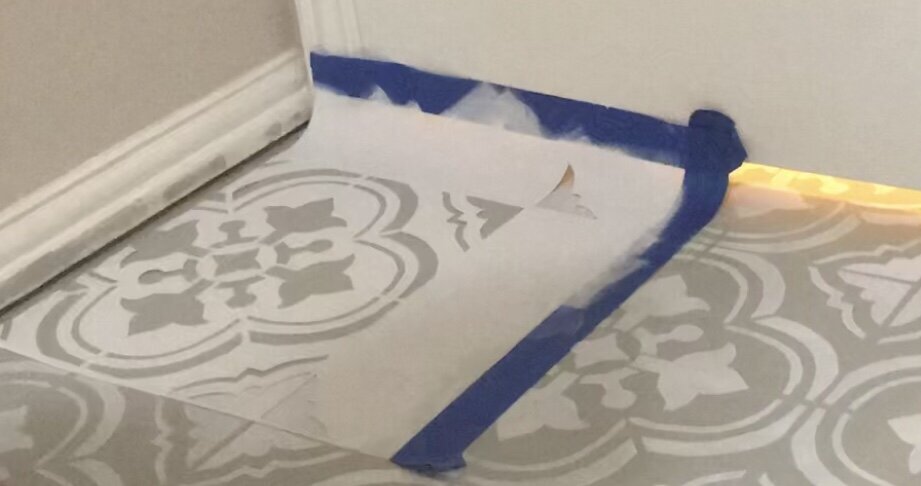
You can see the trimmed stencil here.
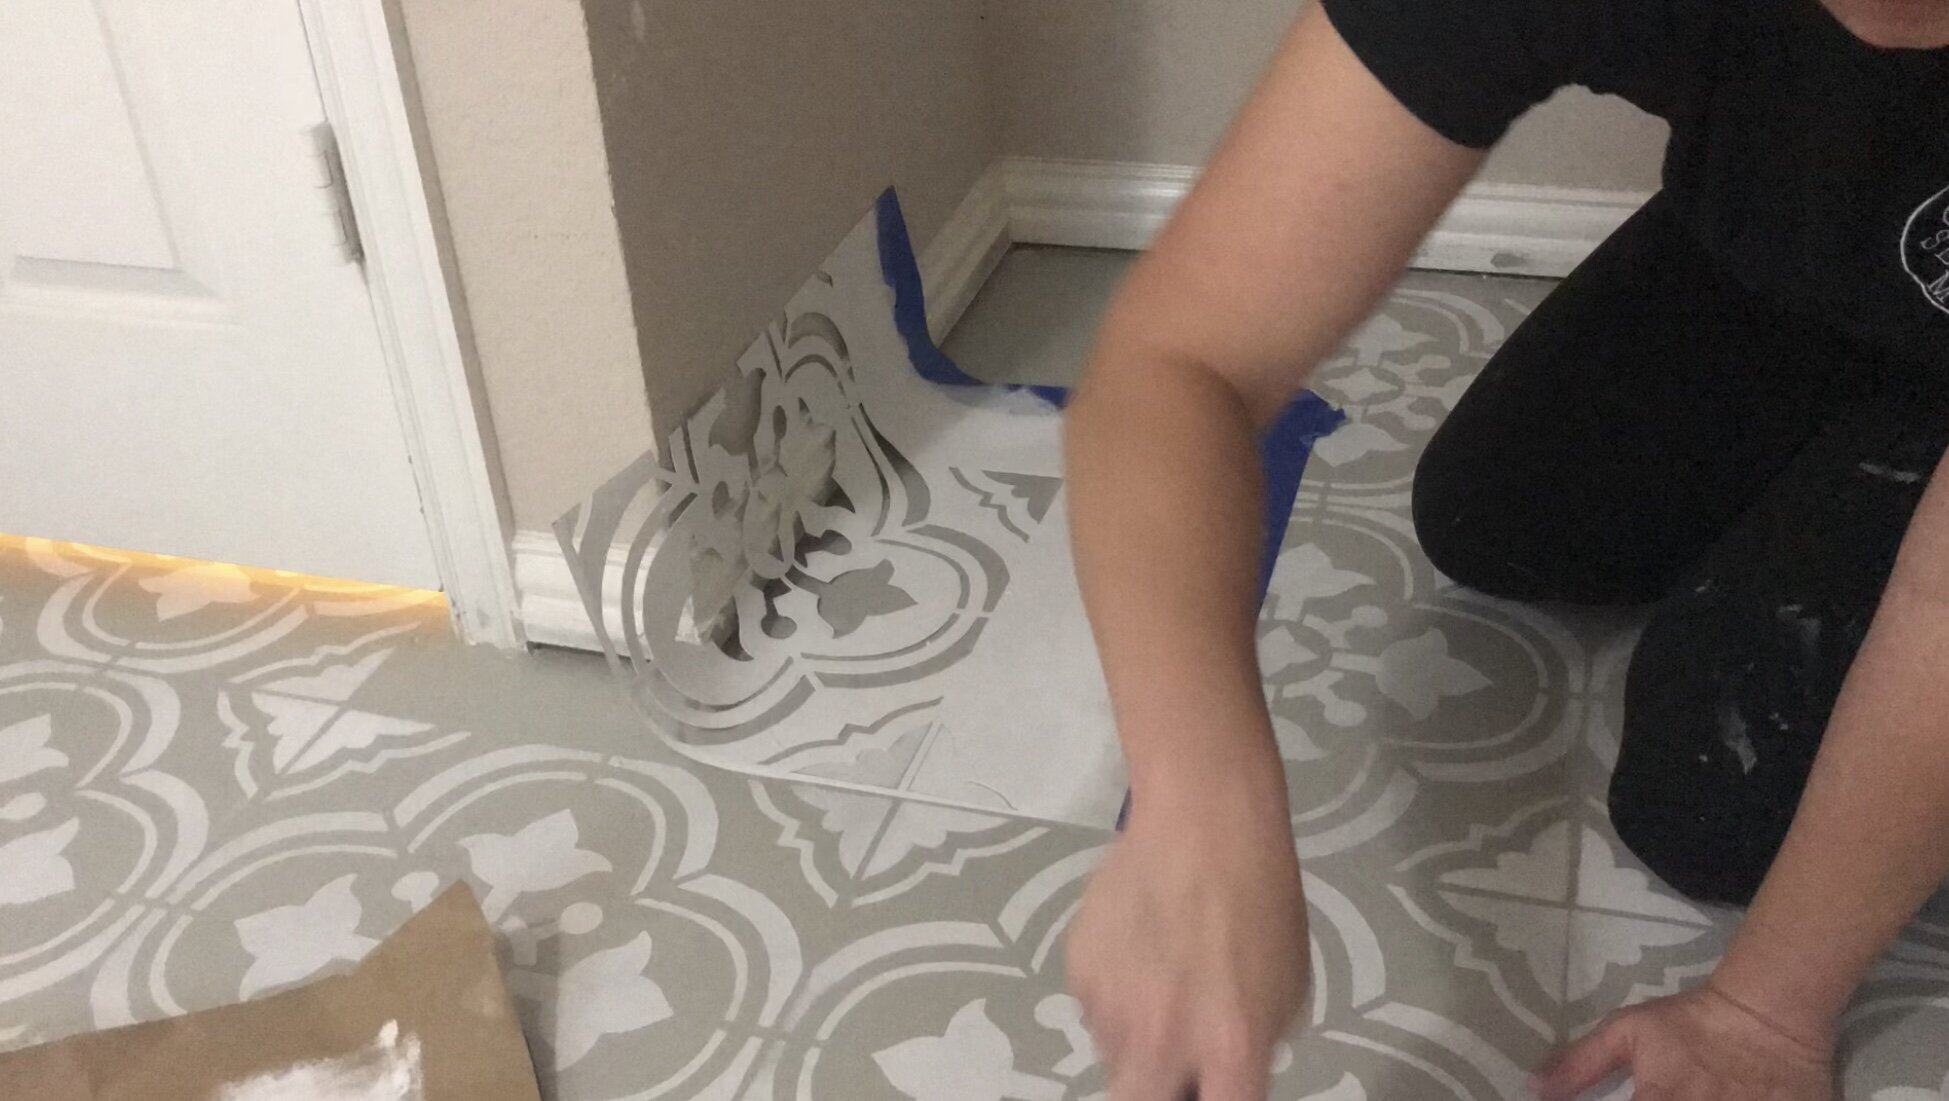
On the smaller edges I simply folded what was left of the stencil and painted it that way.

Now we seal!!
••NOT PICTURED•• I opted to take a small hand sander and rough up some spots to give the floor a more worn in look. This helps conceal any issues you may have with your lines or stenciled paint distribution.
Once you’re finished stenciling the whole room it’s time to apply the sealant. For this project I used the clear matte floor paint sealant that came with the Rock Solid Home system. It says on the can it only takes one coat and is super easy to apply!
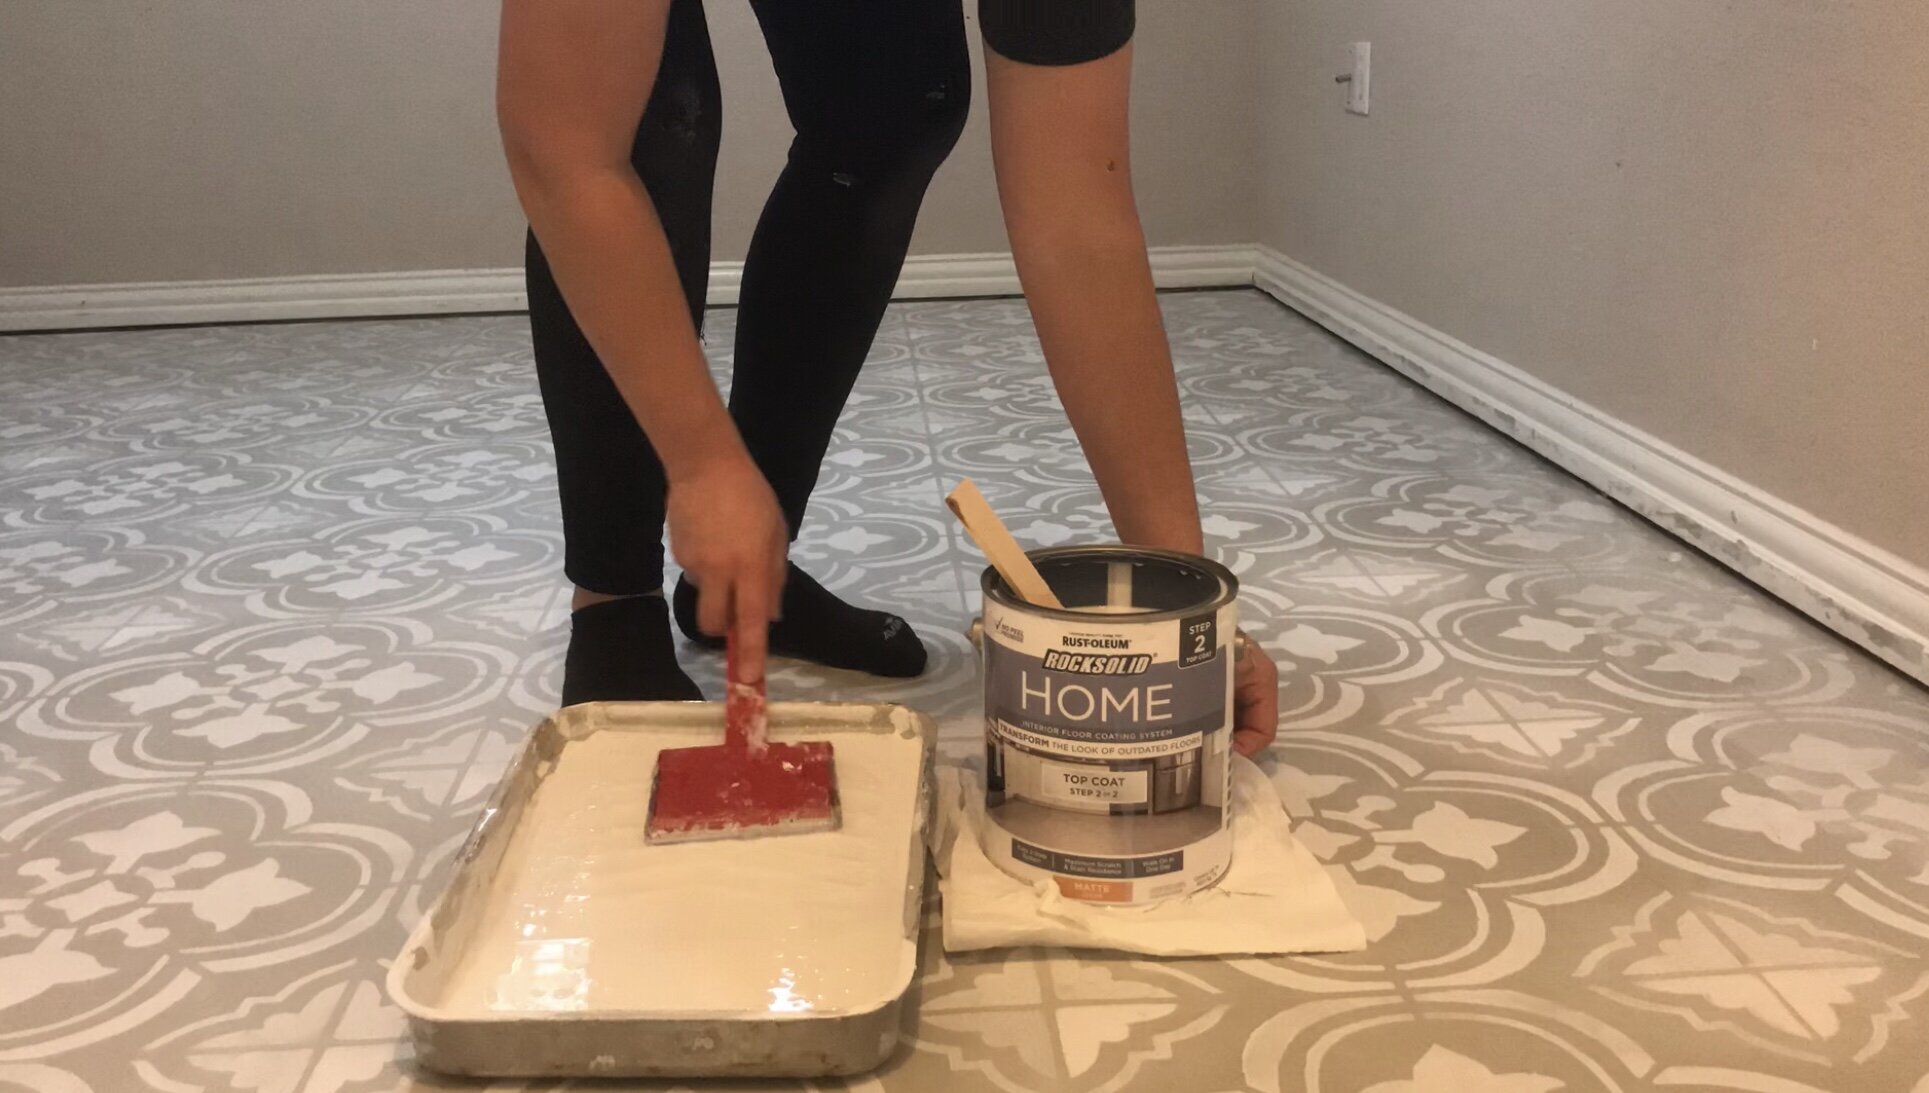
Starting back with my edger, I cut in all the edges at the baseboards.
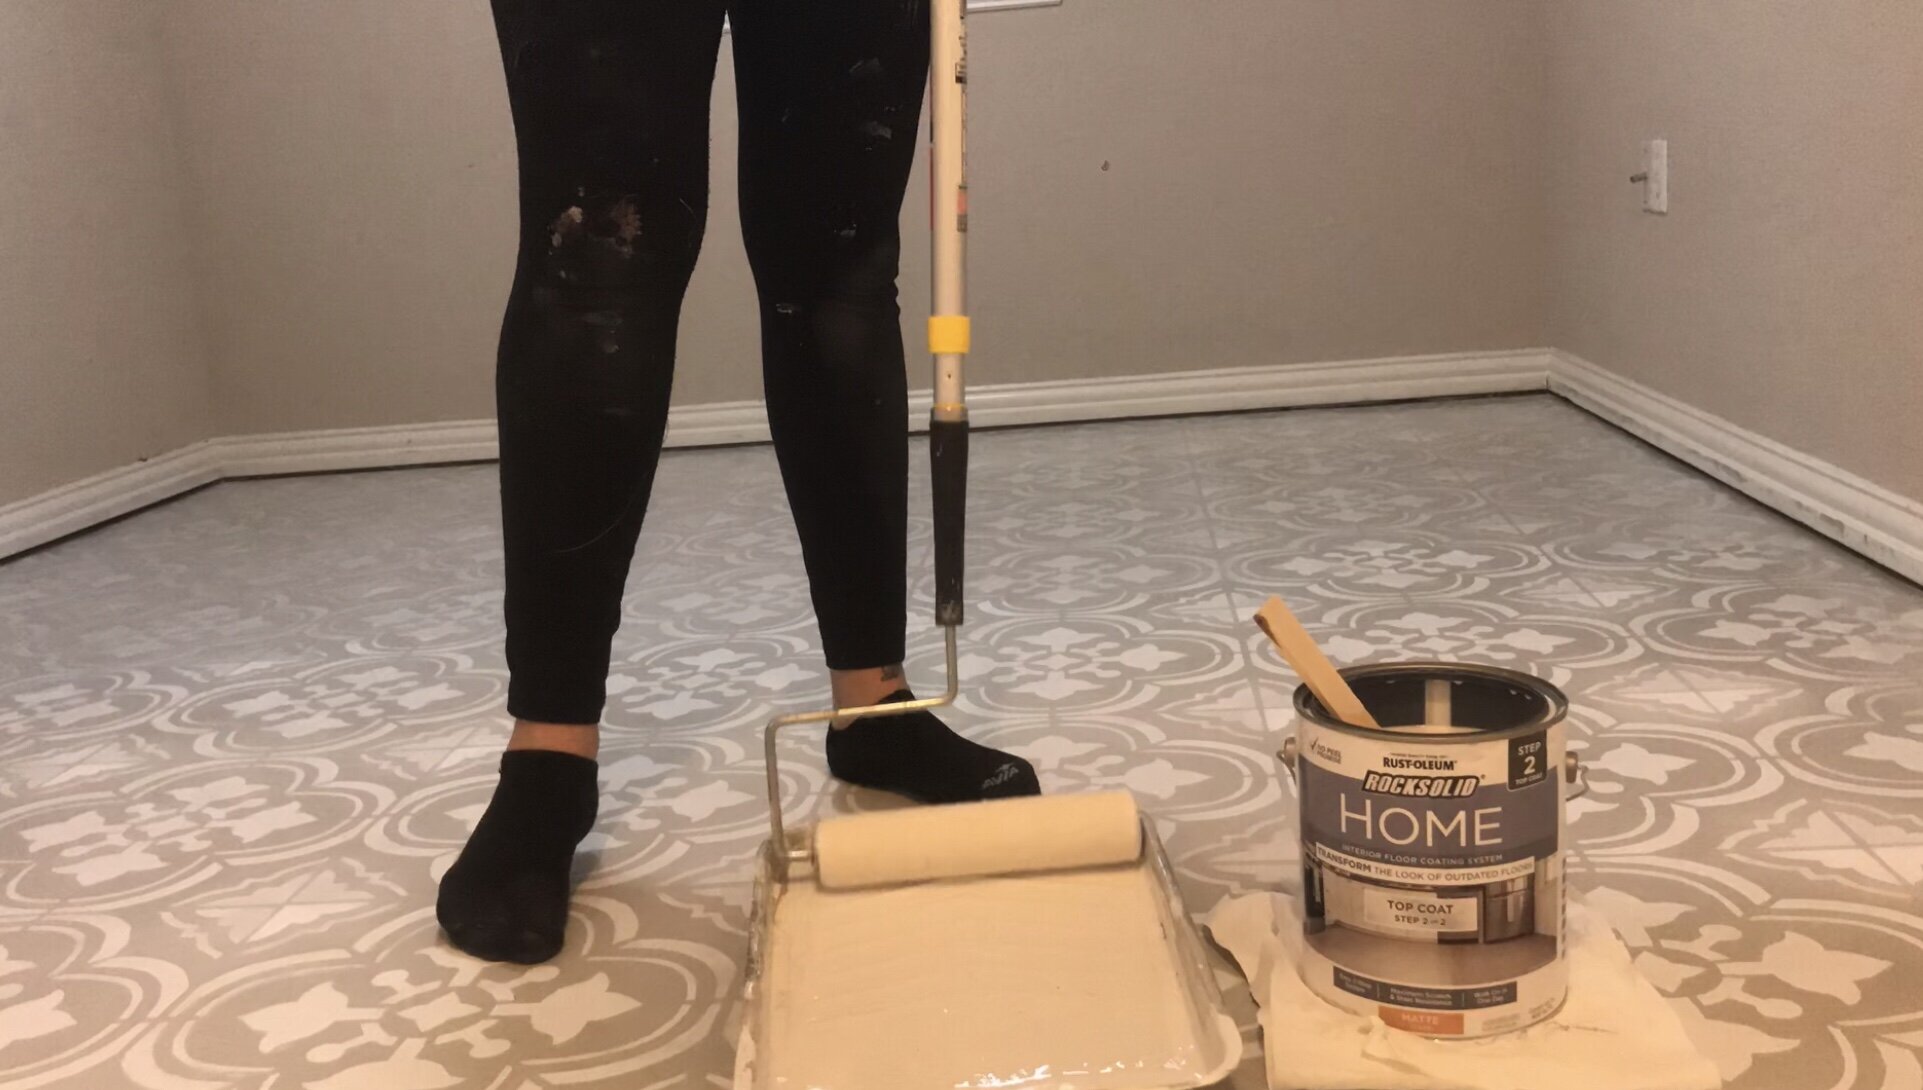
Working quickly to maintain a wet edge and reduce any issue with the sealant, I went straight to work on the entirety of the room. I used the same high quality roller & long arm roller handle I used from the primer and base coat phase.
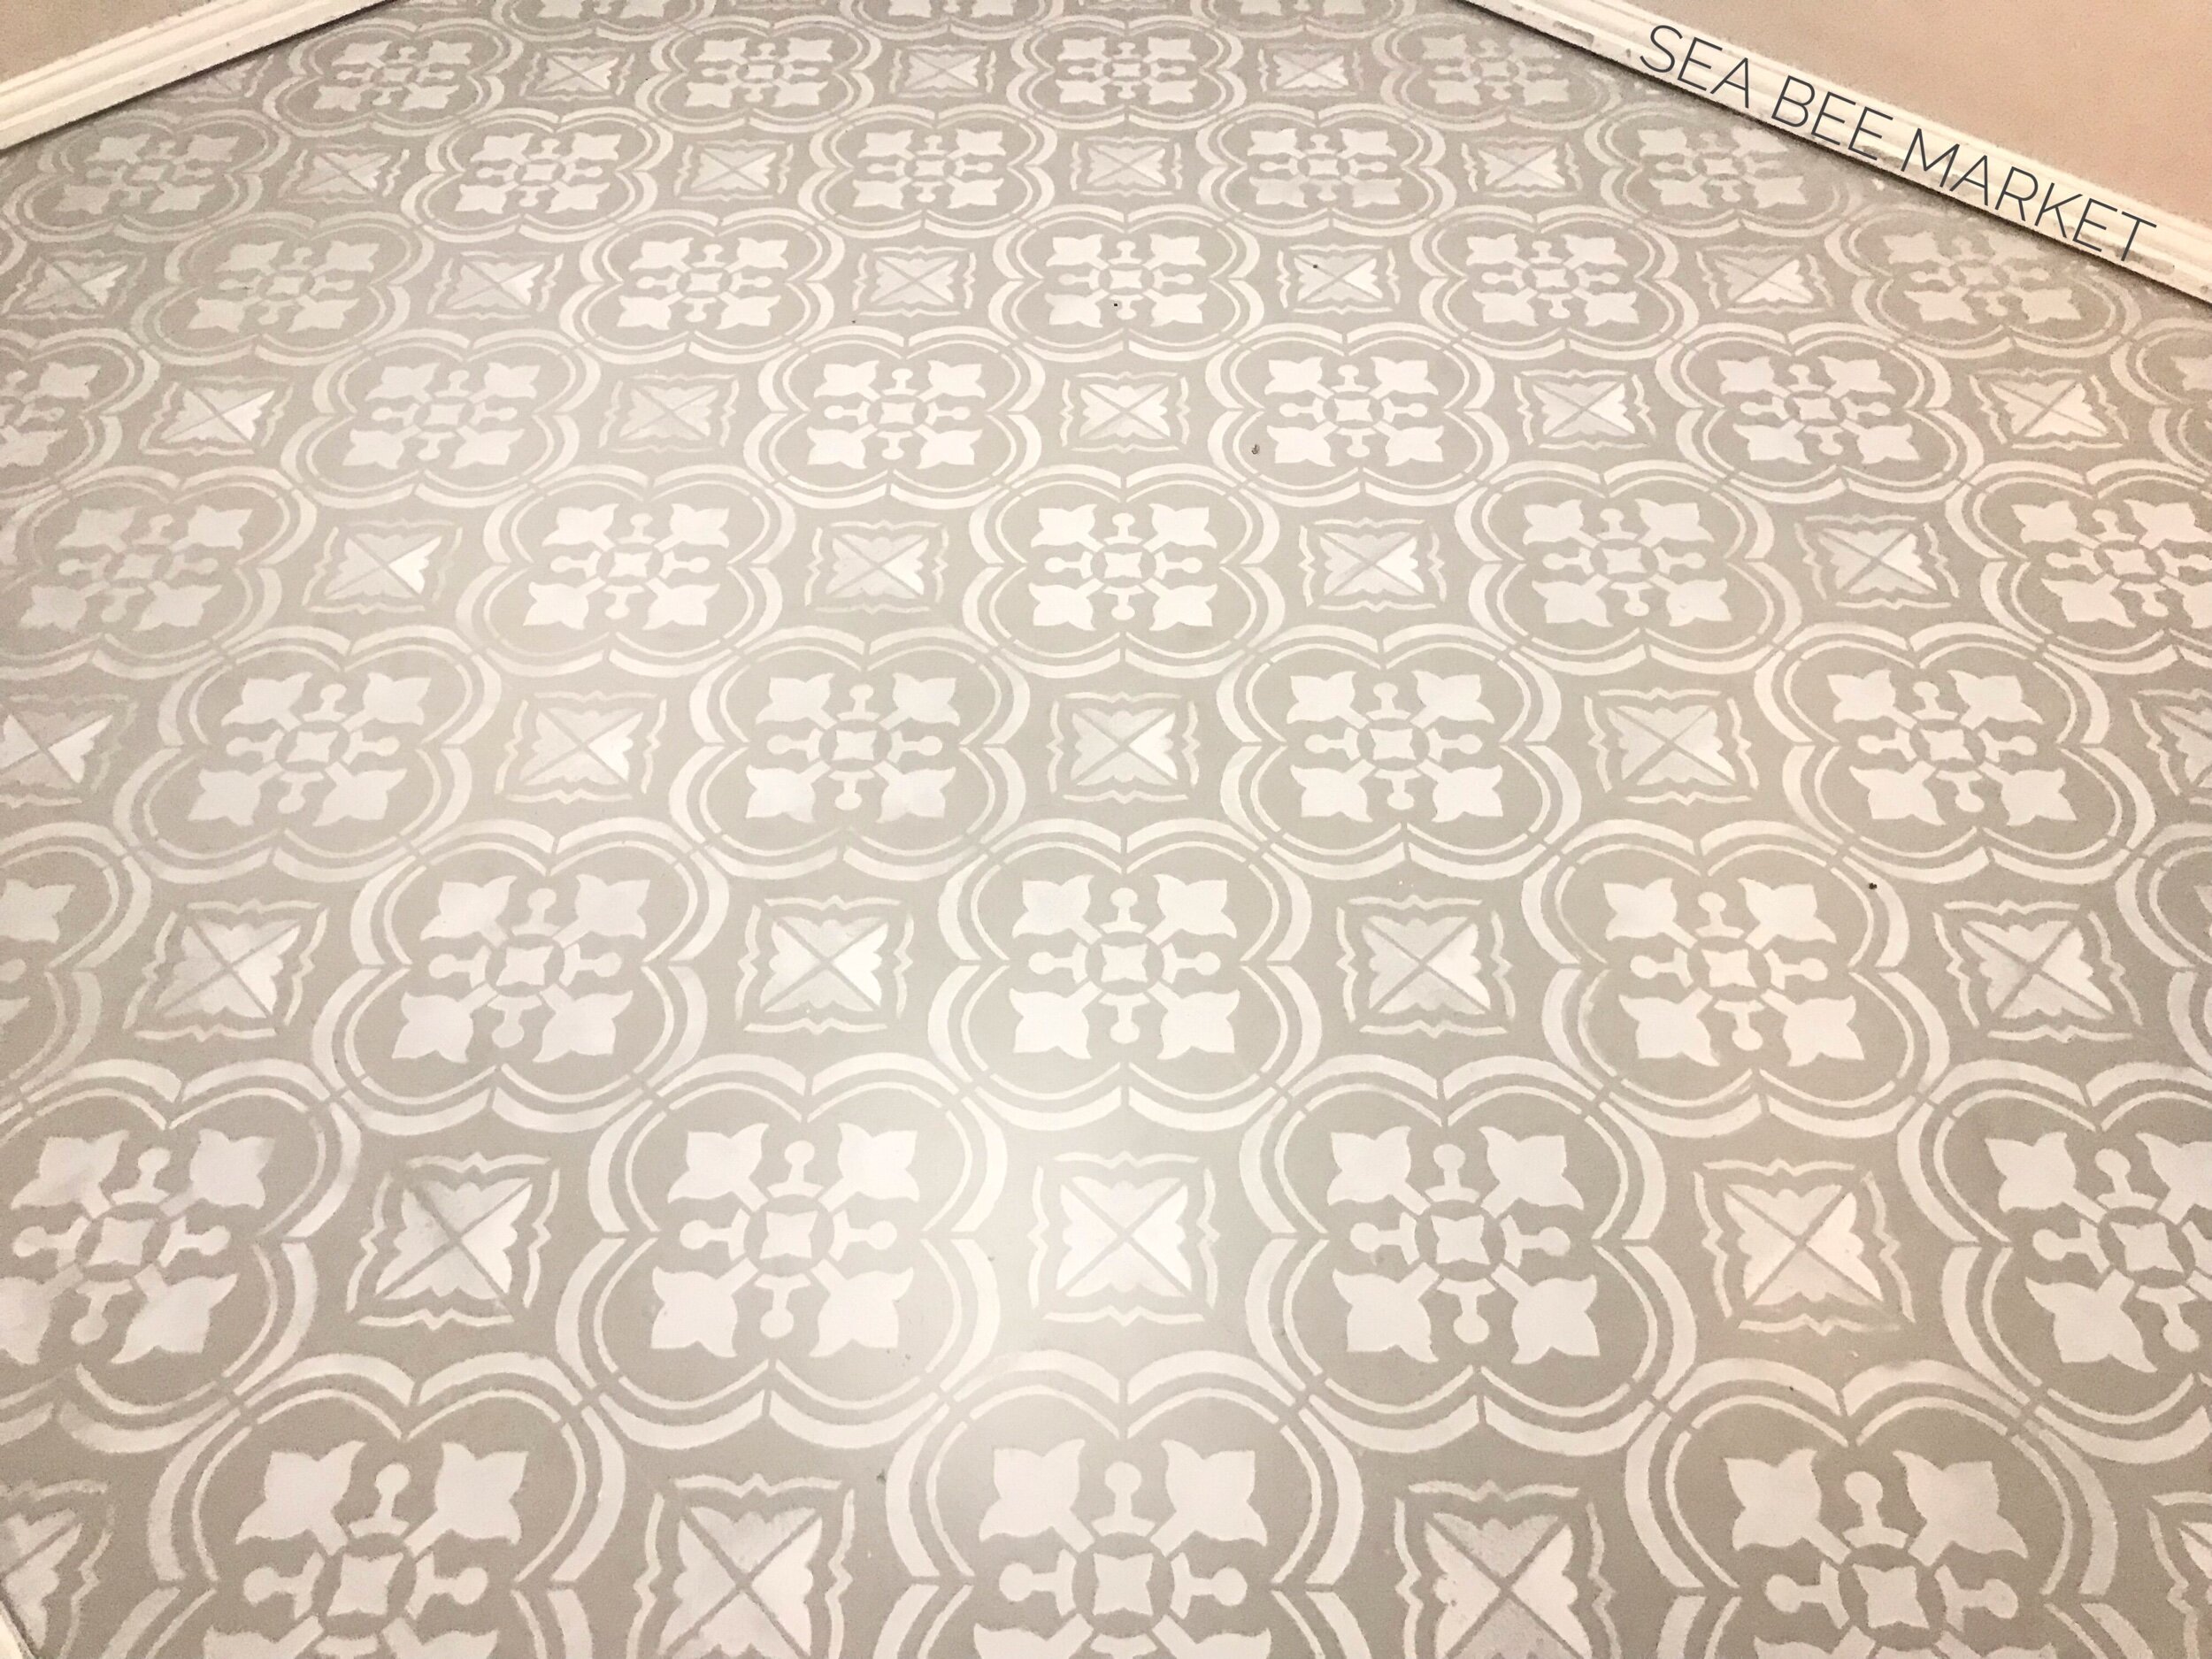
And it’s done!! The sealer takes a long time to cure, but look at that gorgeousness!!