DIY BOBBER PIÑATA
If you’re anything like me, your life is crazy and you’re constantly forgetting to order things you need in advance. This was my situation about a month ago when I realized my (now) 5 year old wanted a piñata at her fishing tournament themed birthday party… and I only had a few days to get one. Amazon is great for last minute purchases, but the options they had were limited in the fishing themed piñata department. Etsy is amazing, but nothing I liked would arrive in time. Party City and some other retailers had plain ones I could spruce up; but I figured why pay $30+ for something I’d have to do work to?? And that’s how we got here.
Making a DIY piñata is actually super easy & very cost effective!!
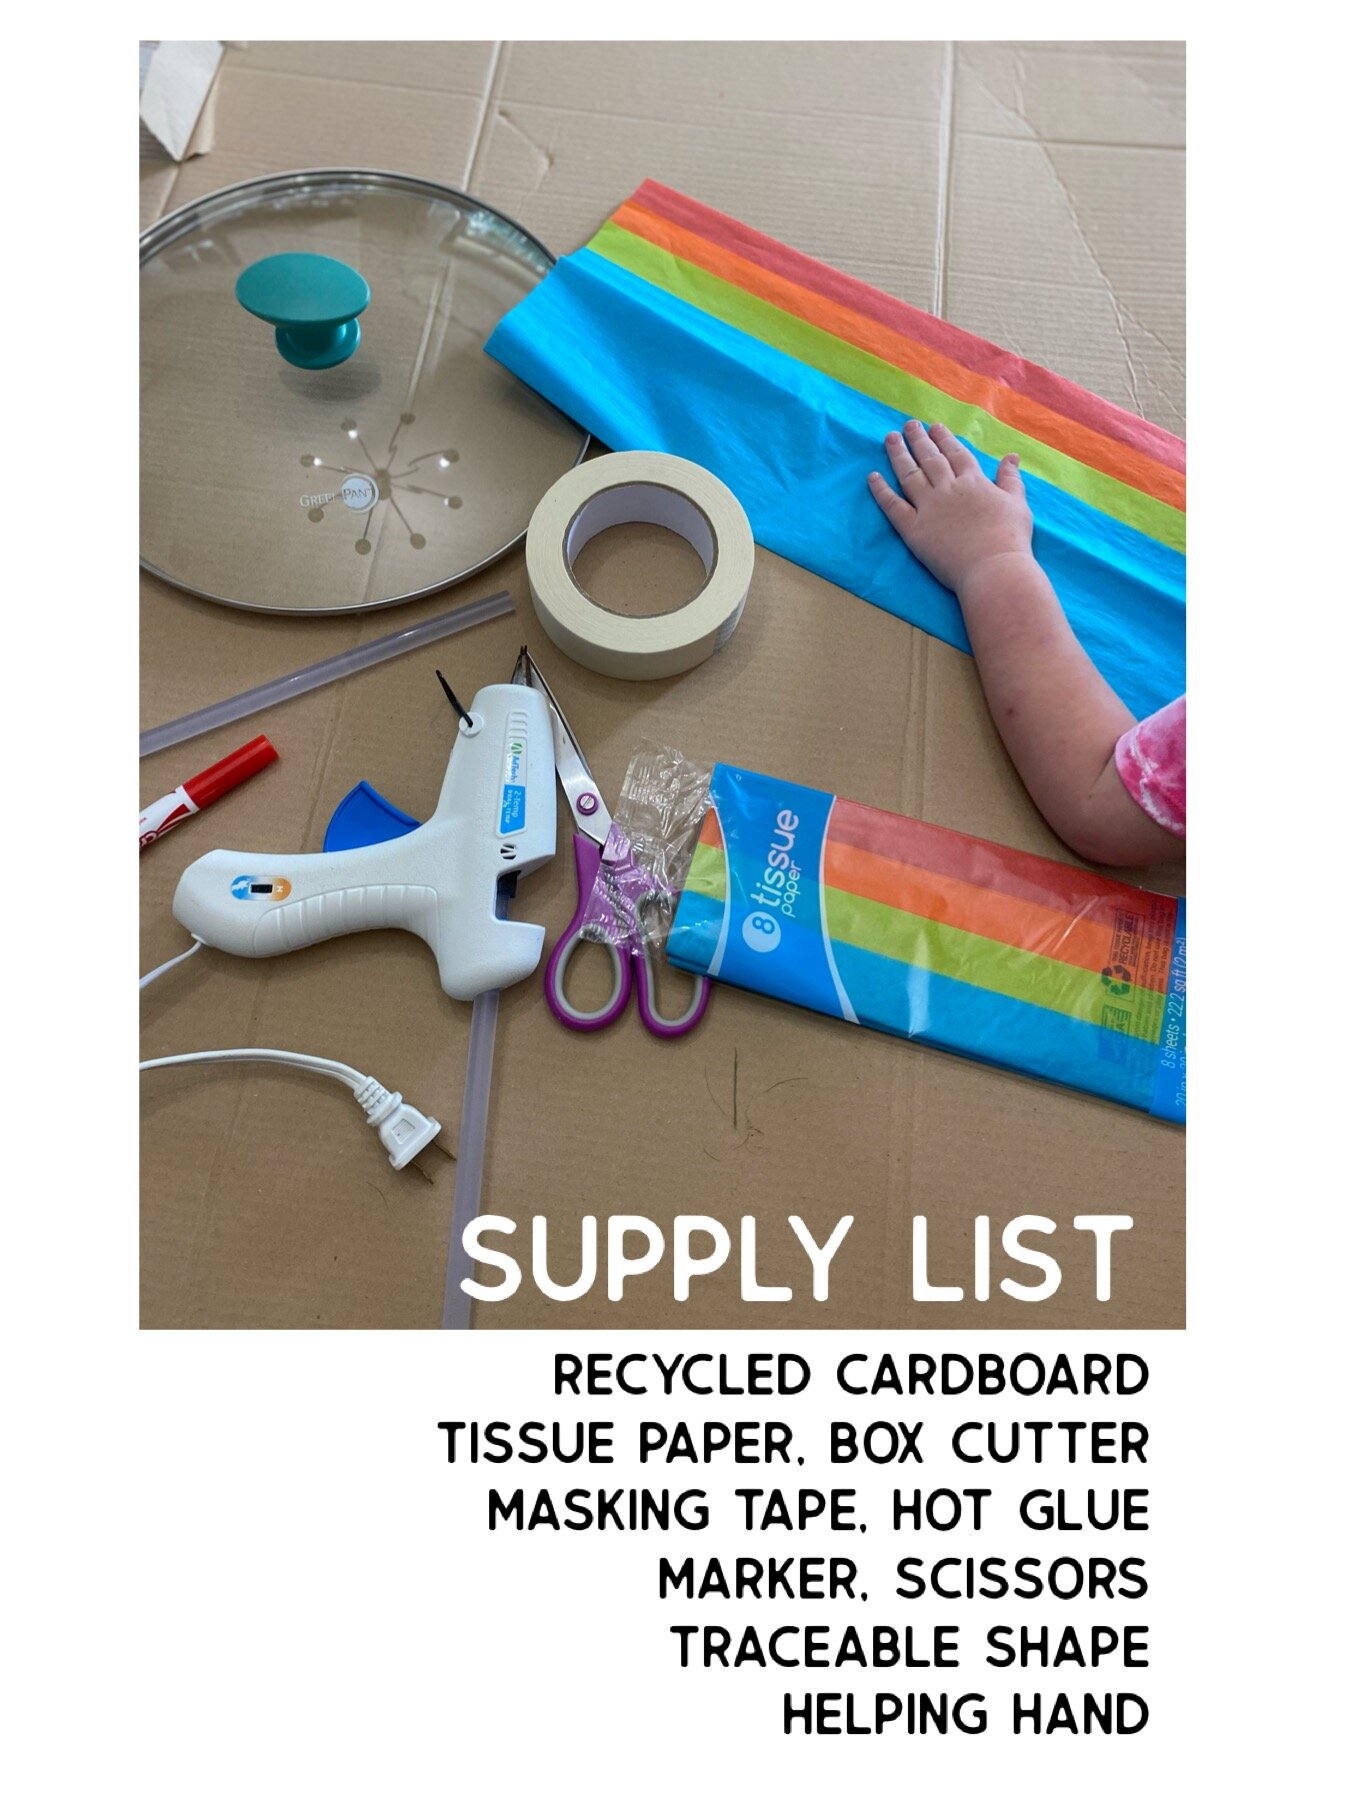
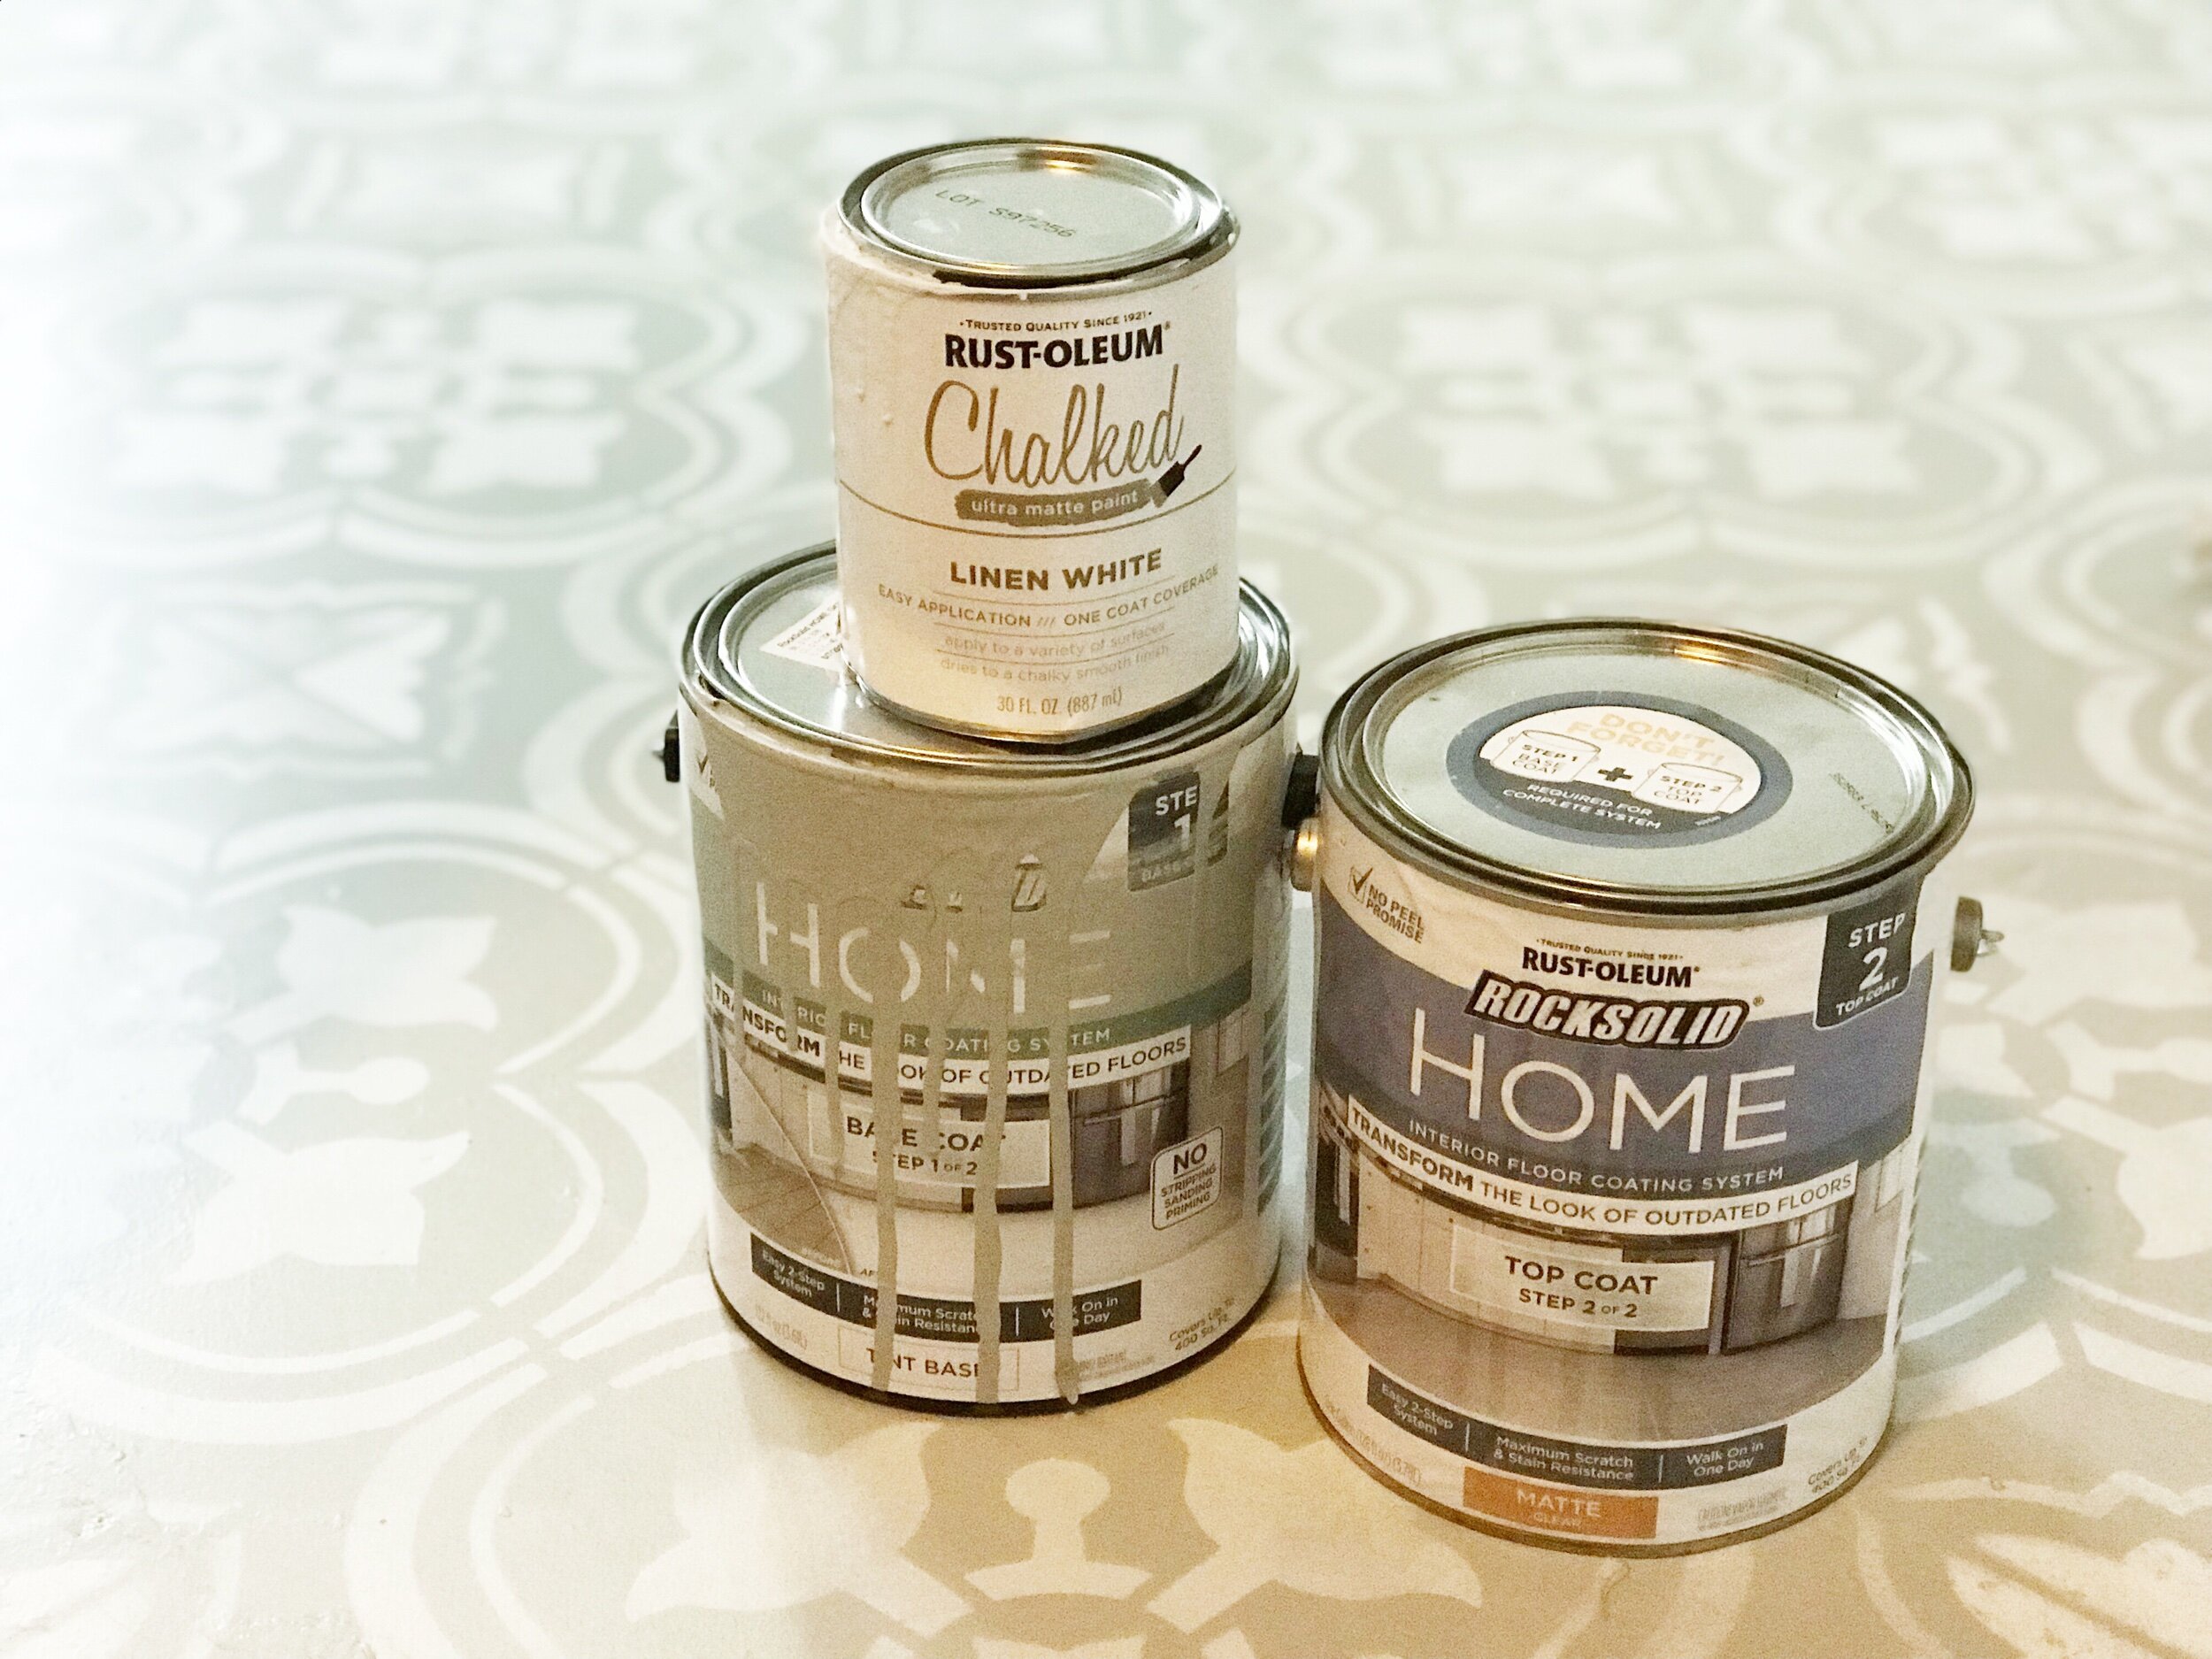
First things first - get your piñata supplies together. I had everything but the tissue paper on hand. Total cost - $2.
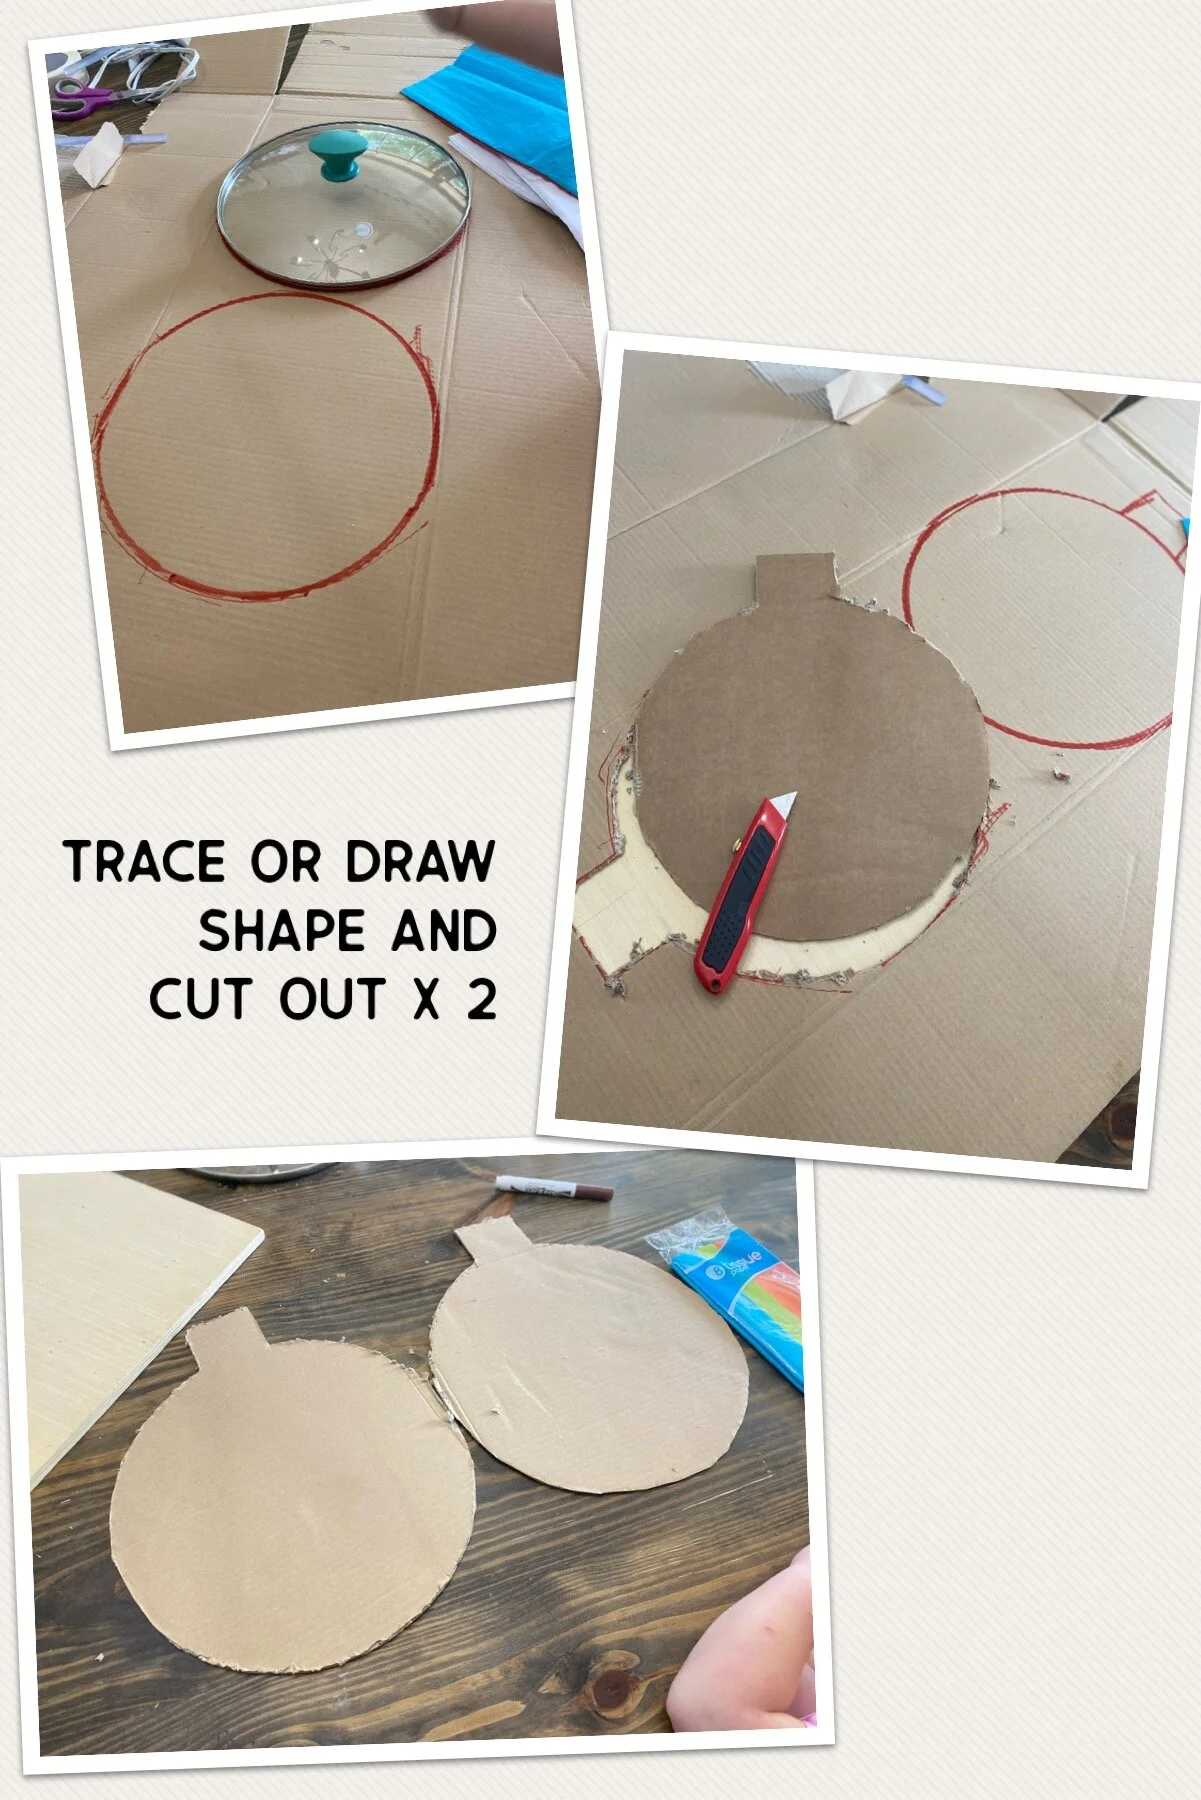
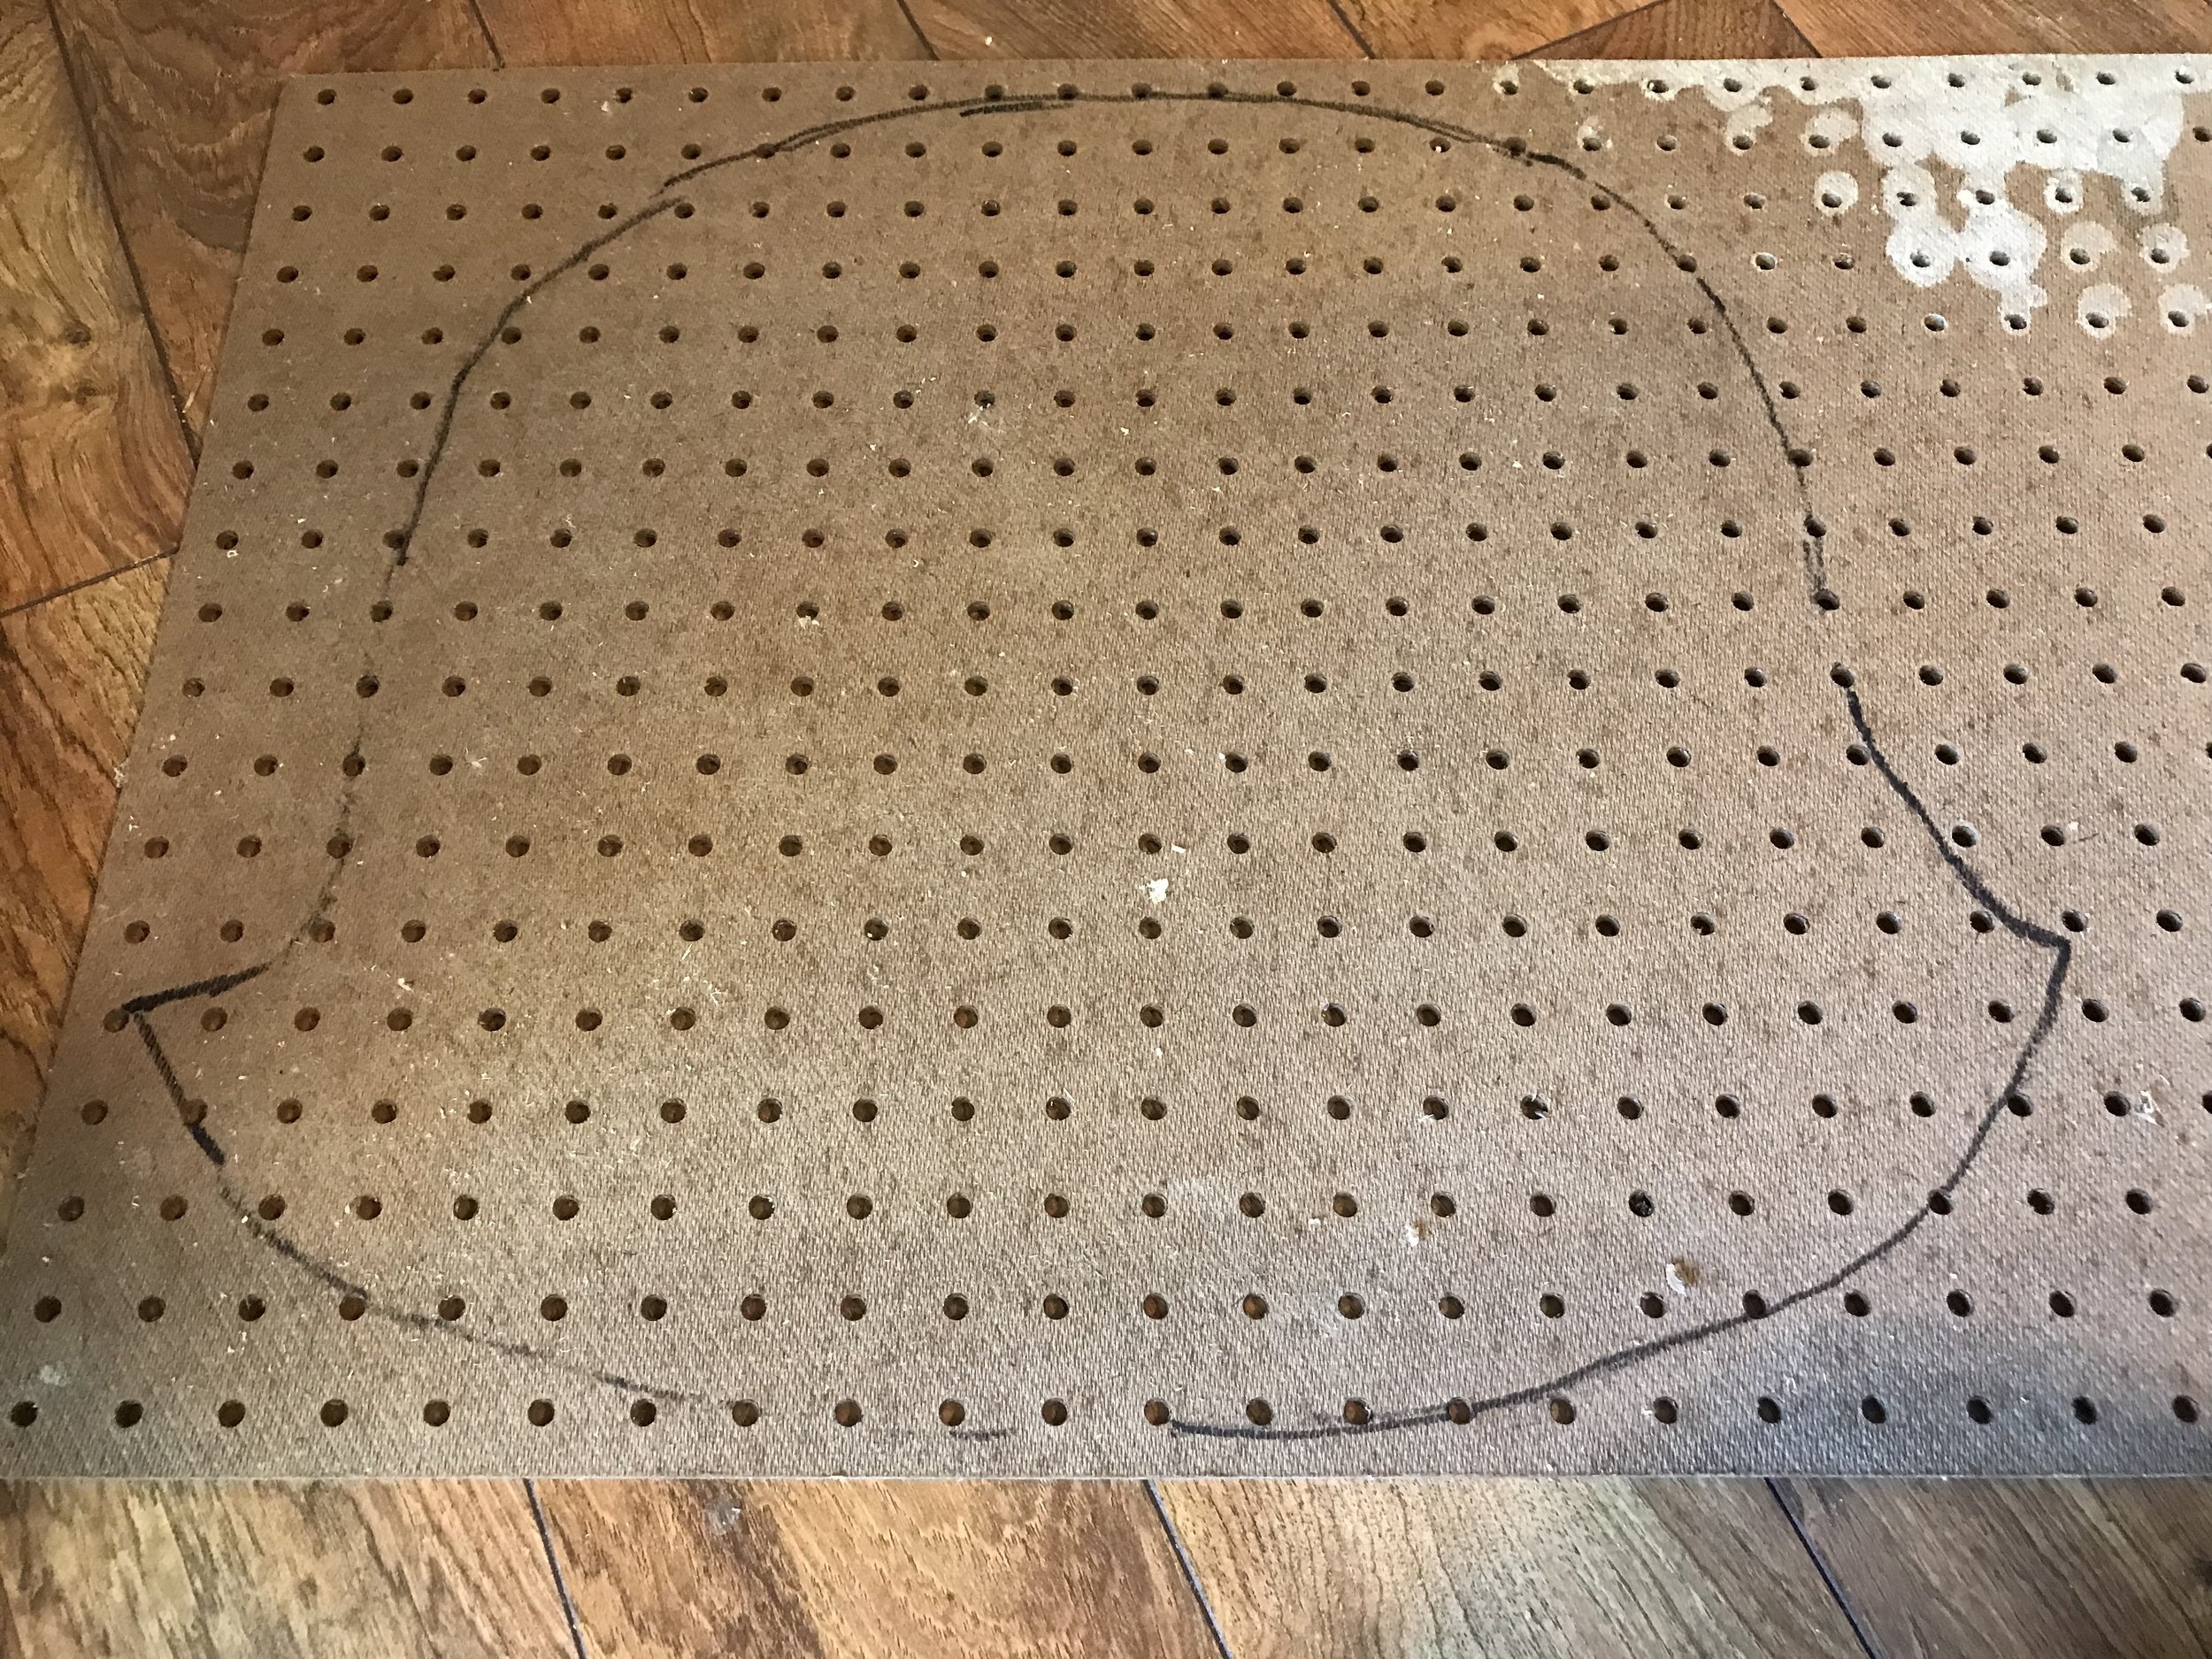
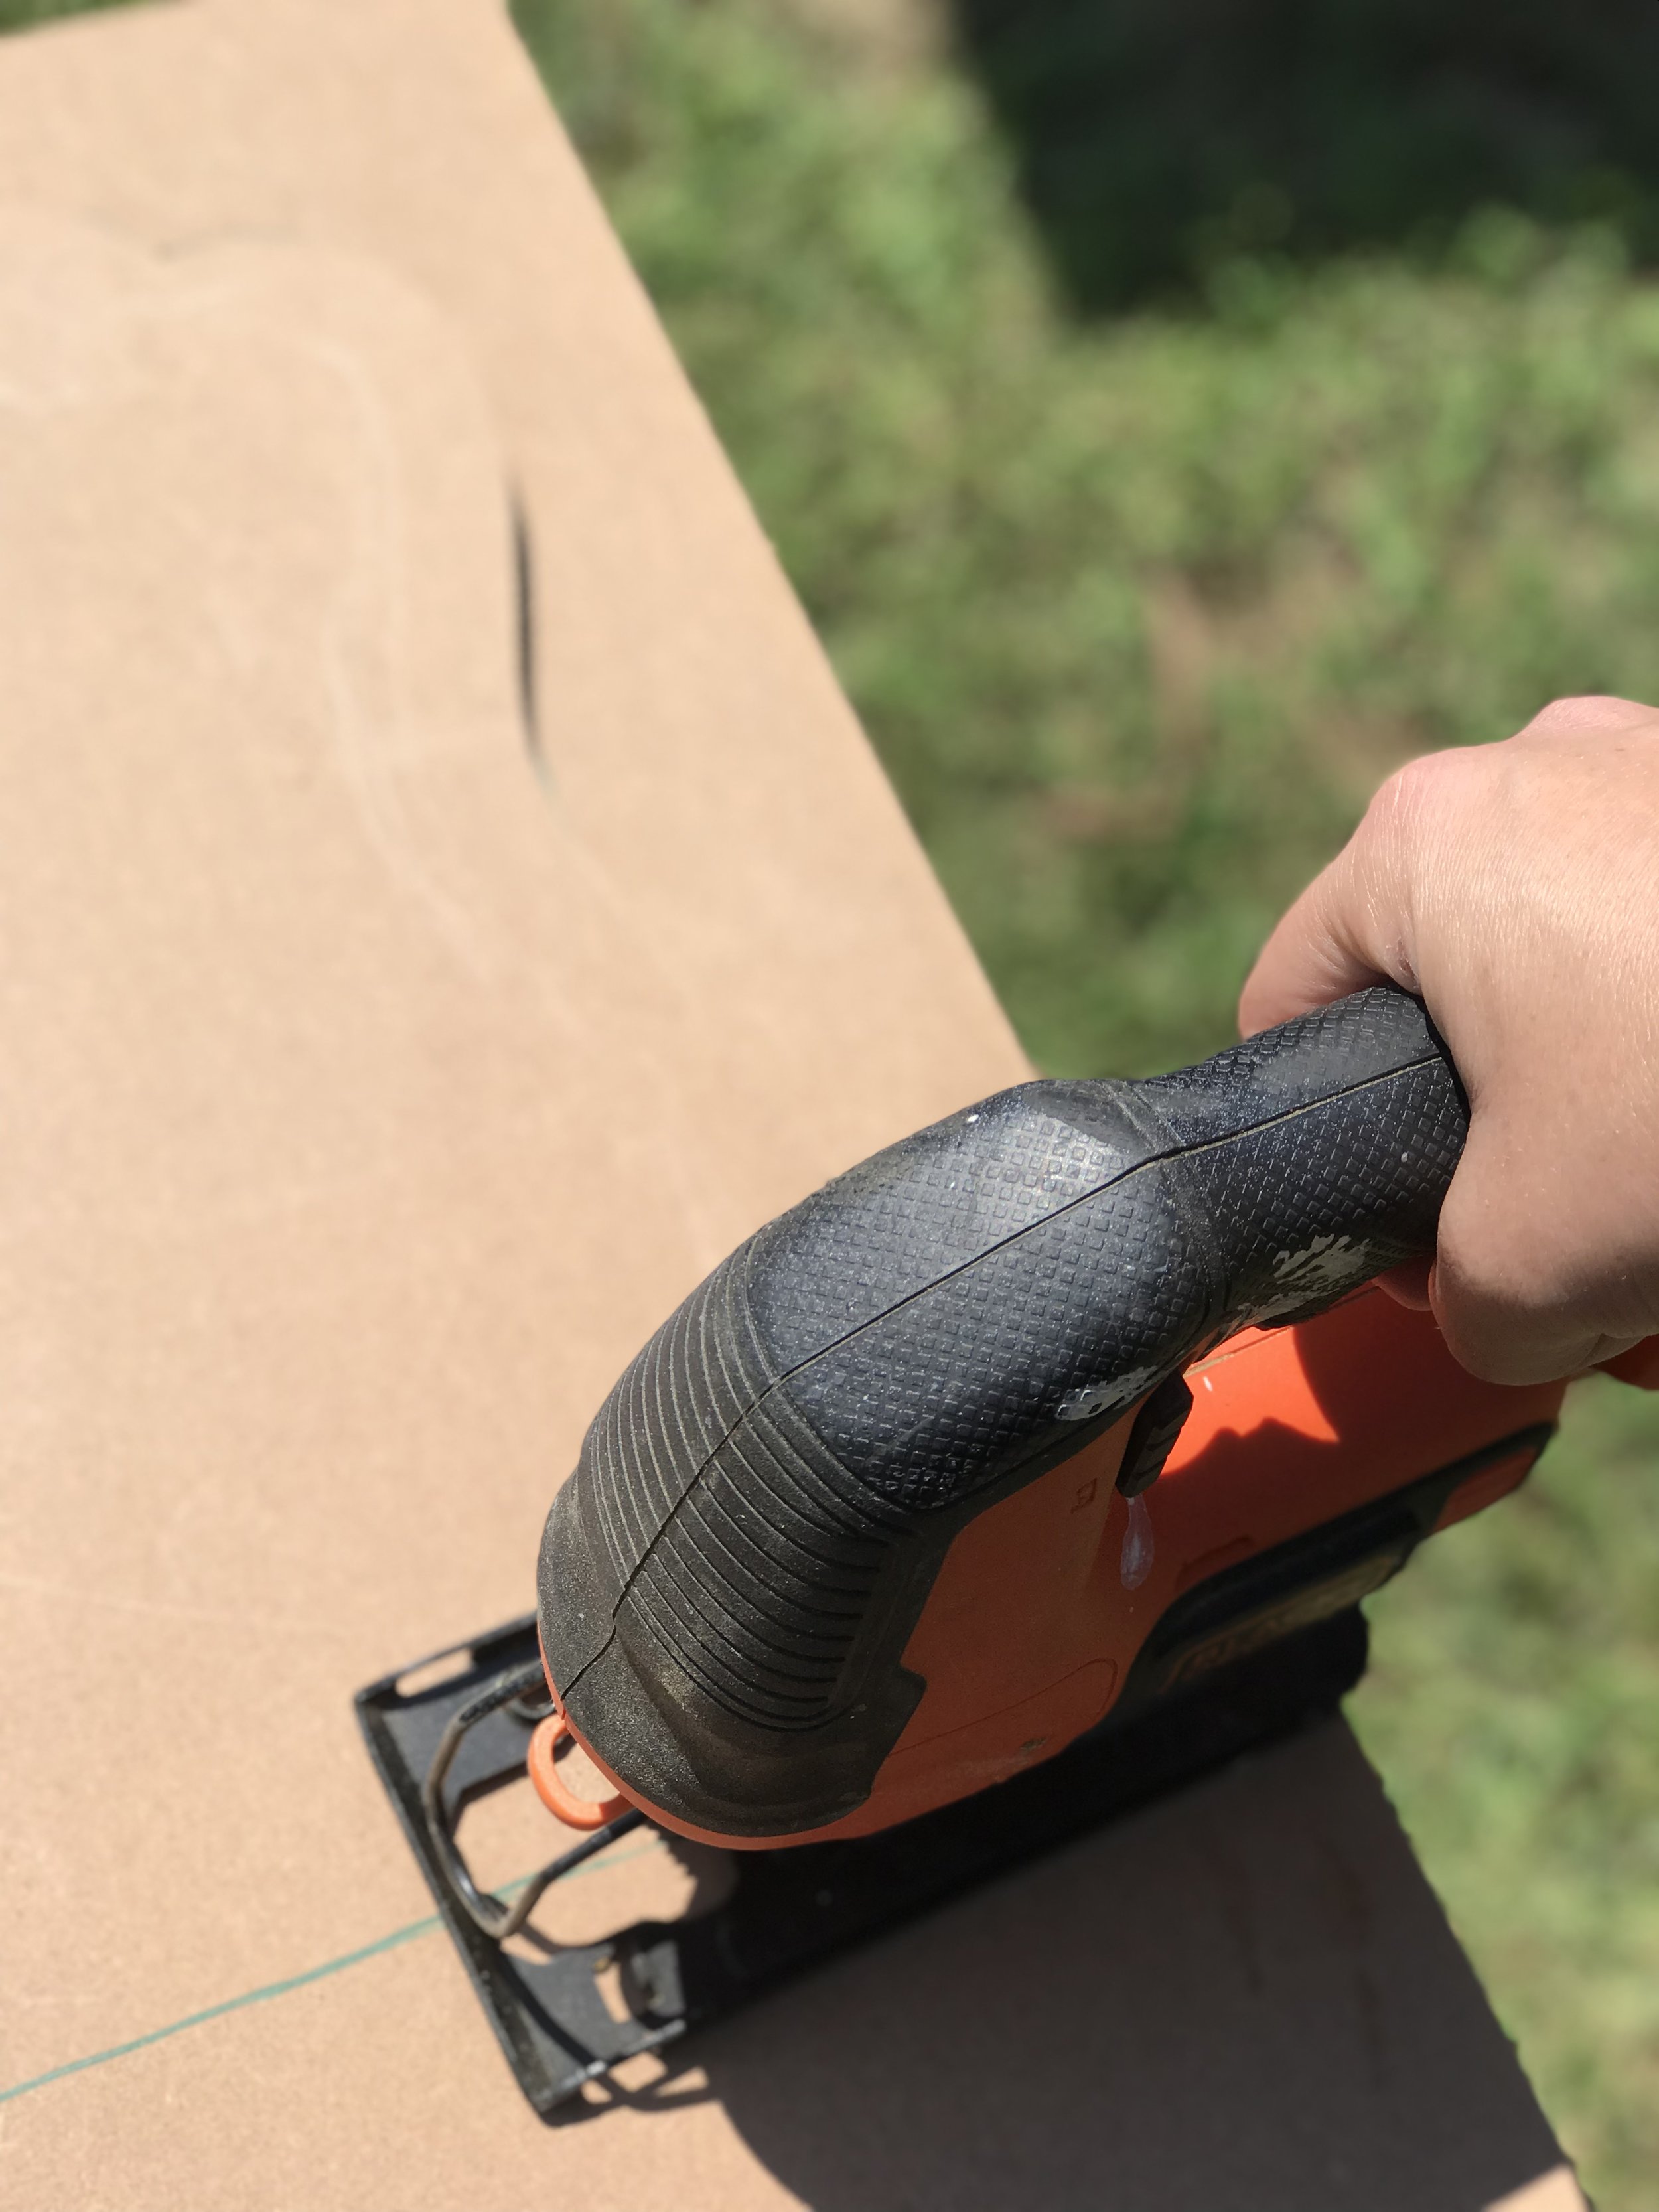
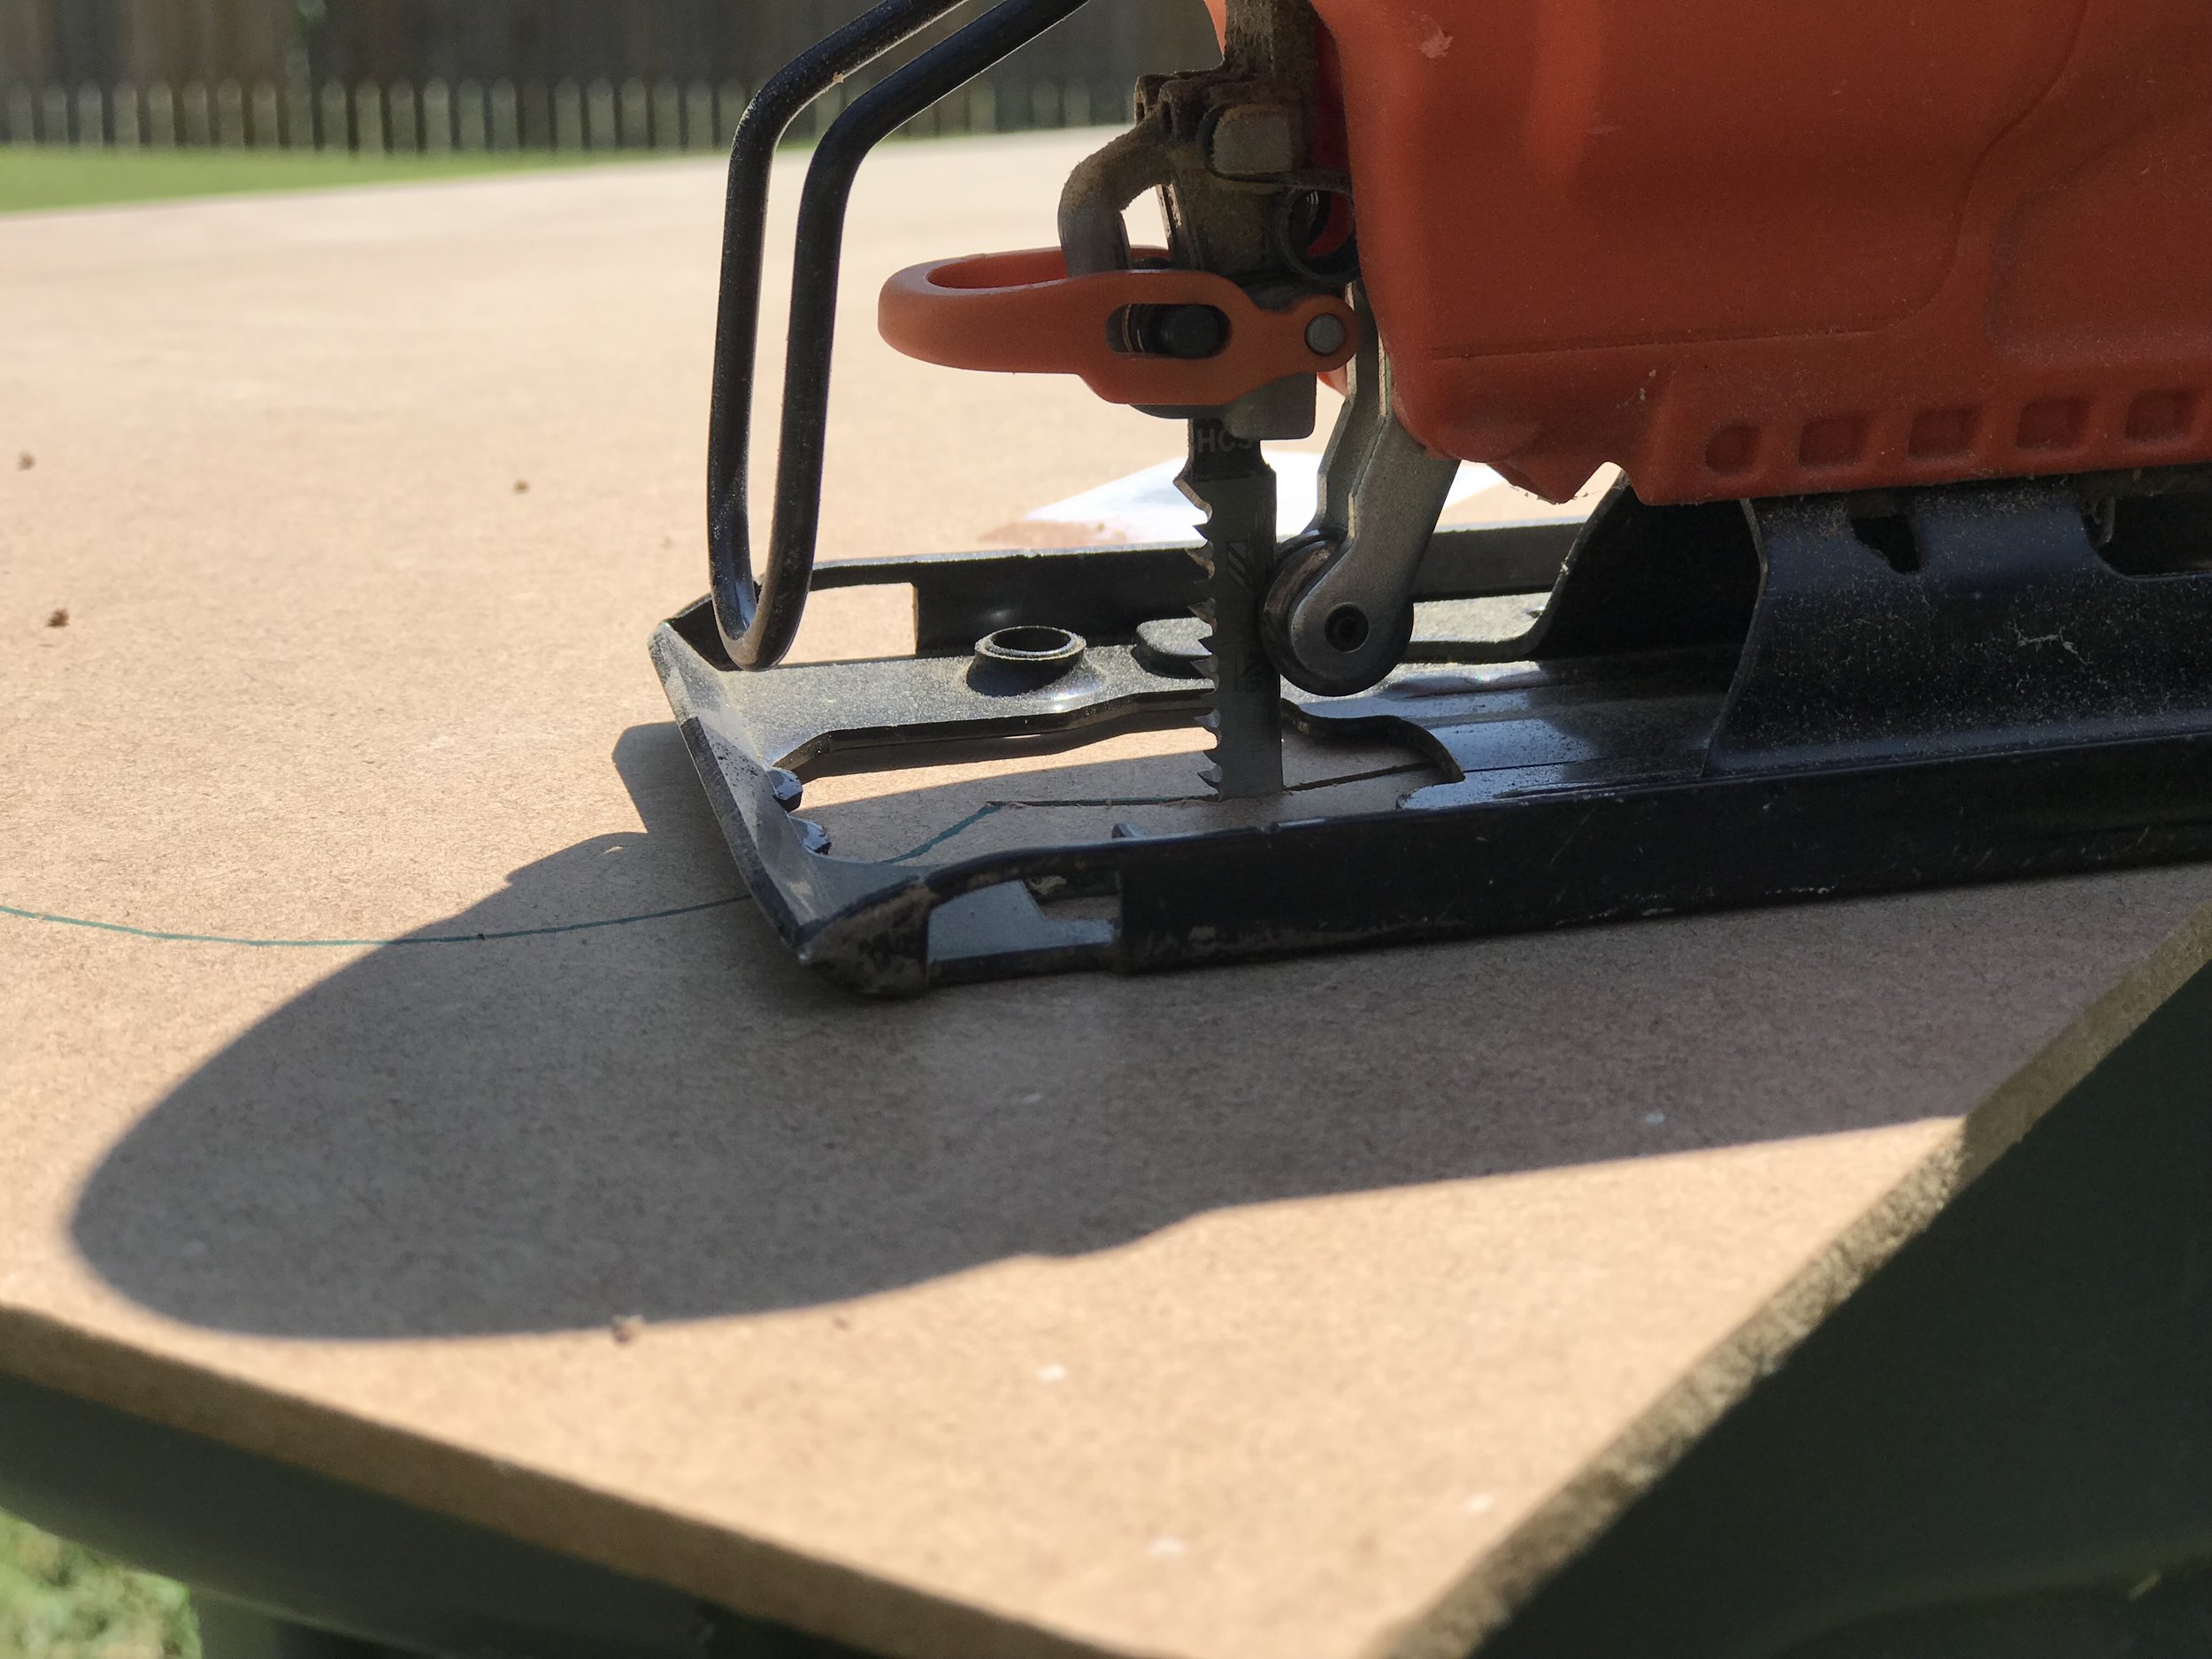
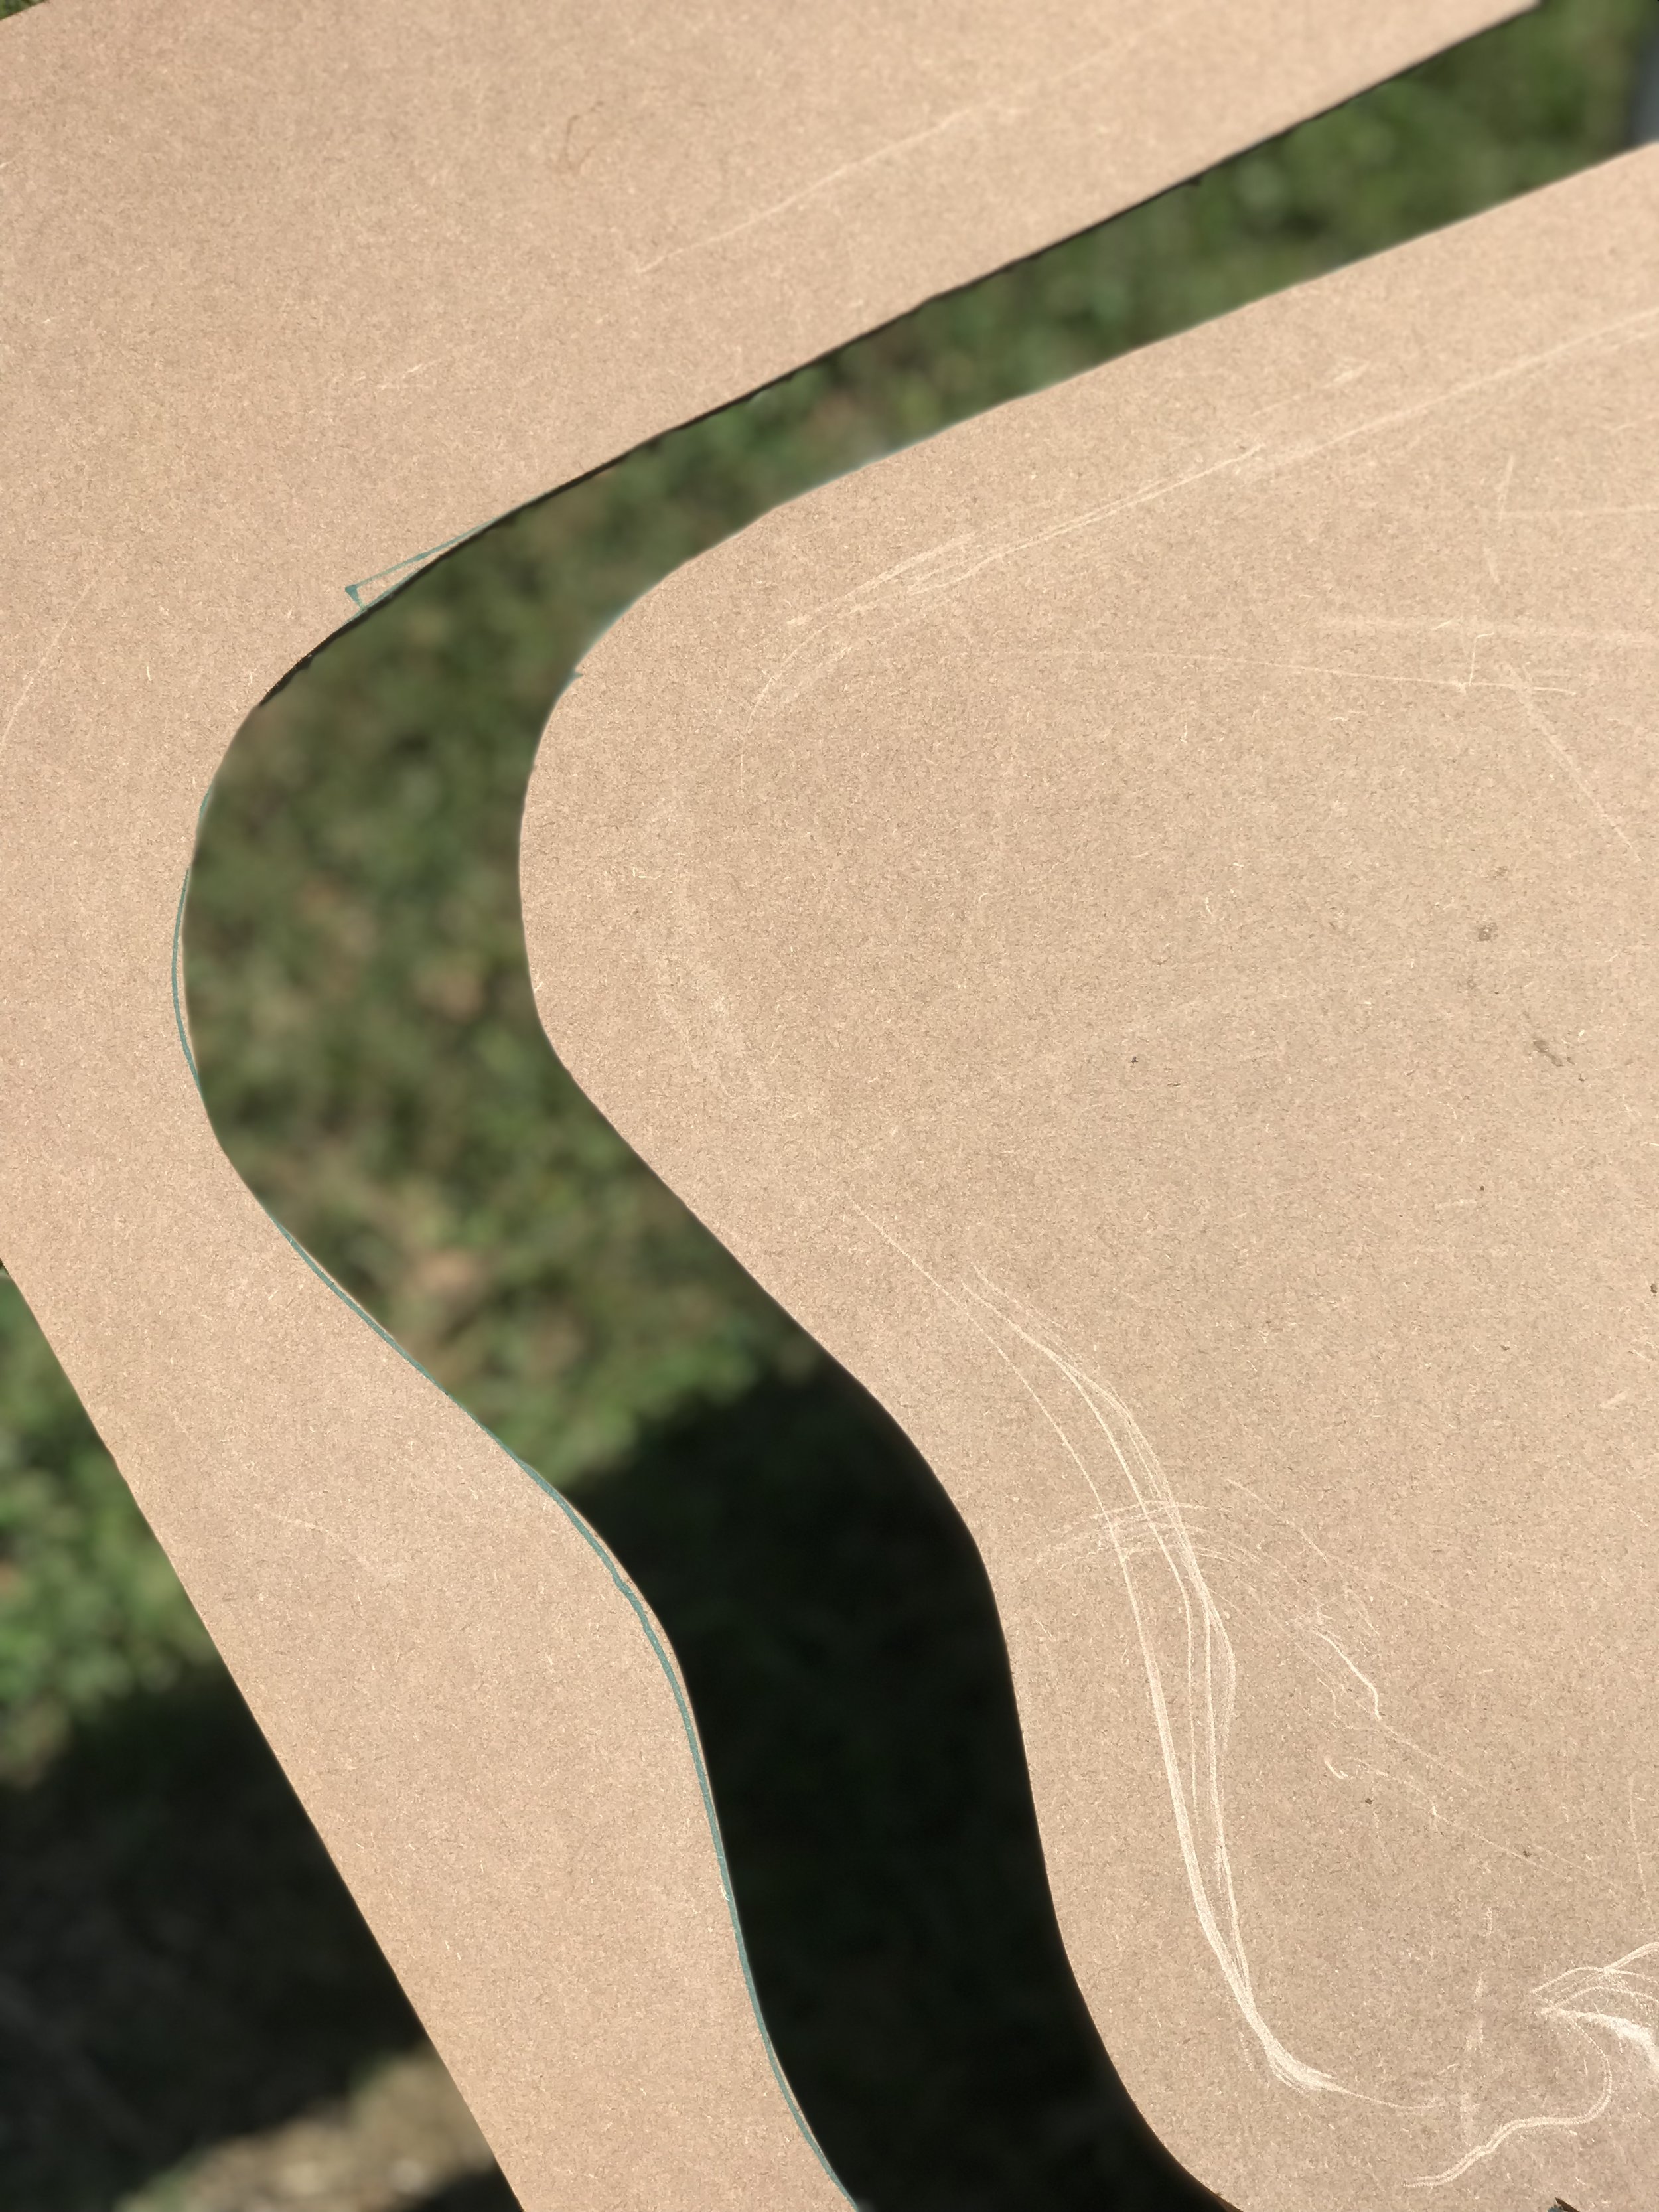
I used a ~very fancy~ pan lid to trace the circle for the piñata shape.

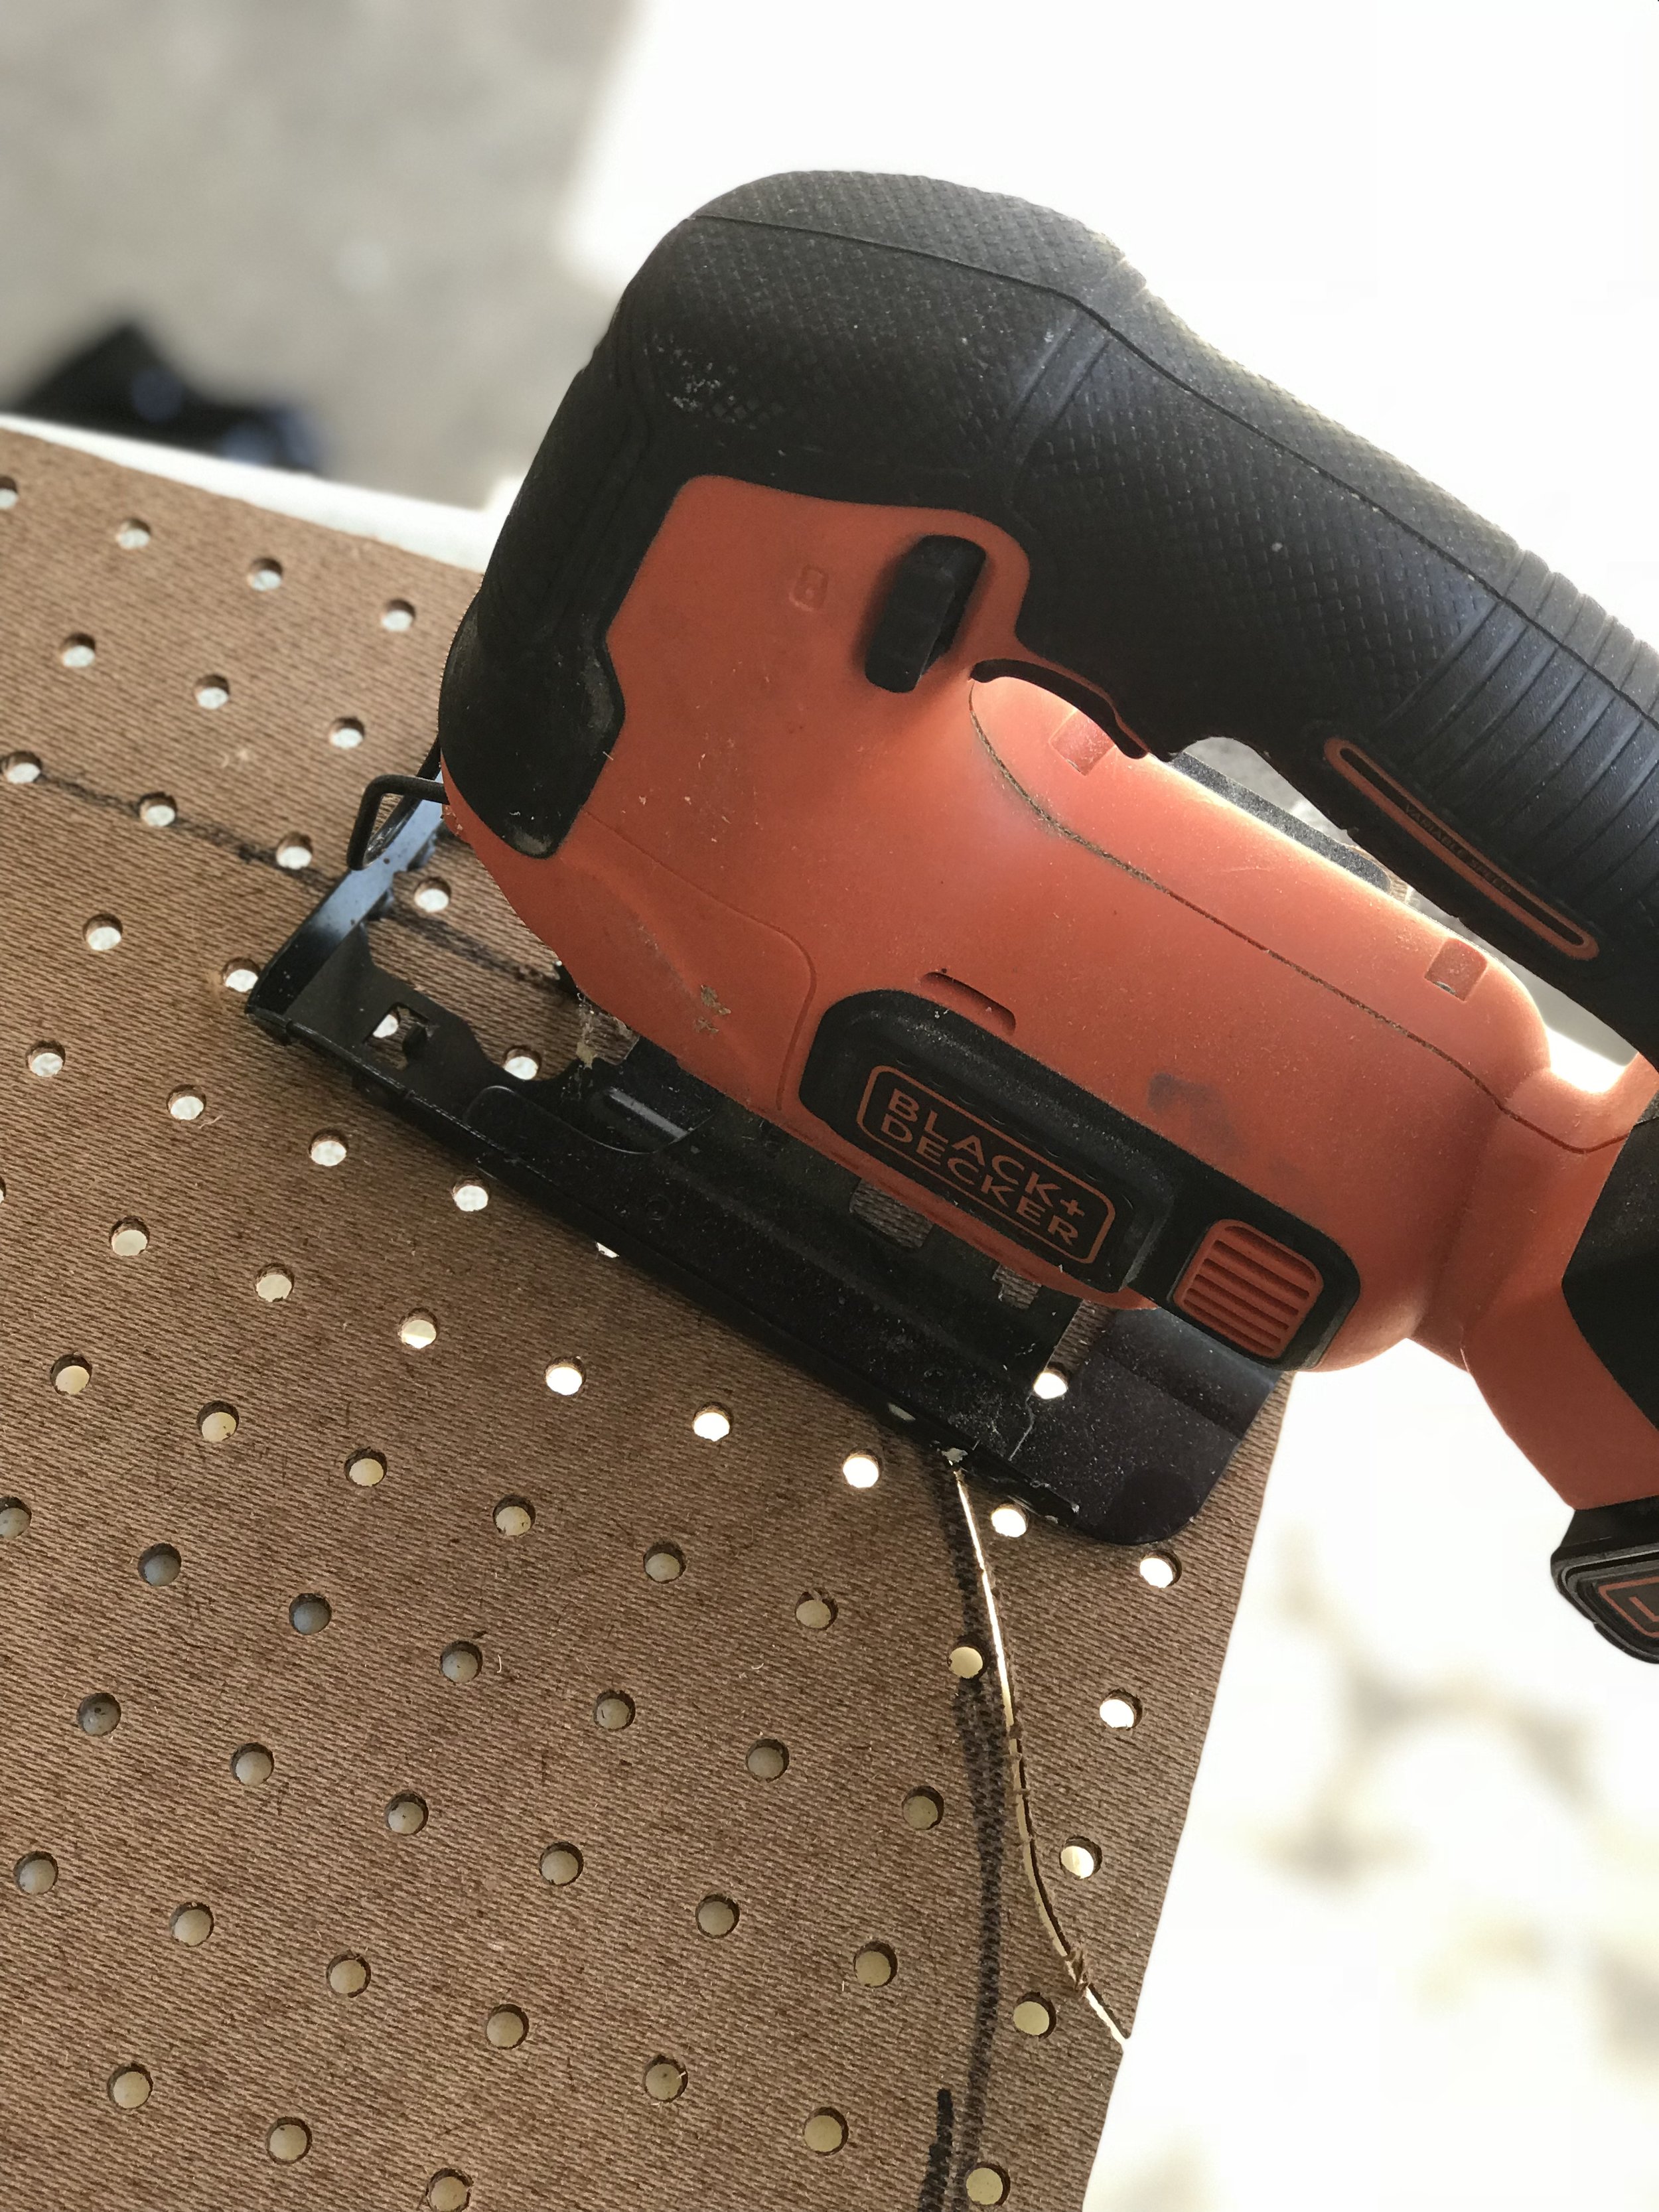
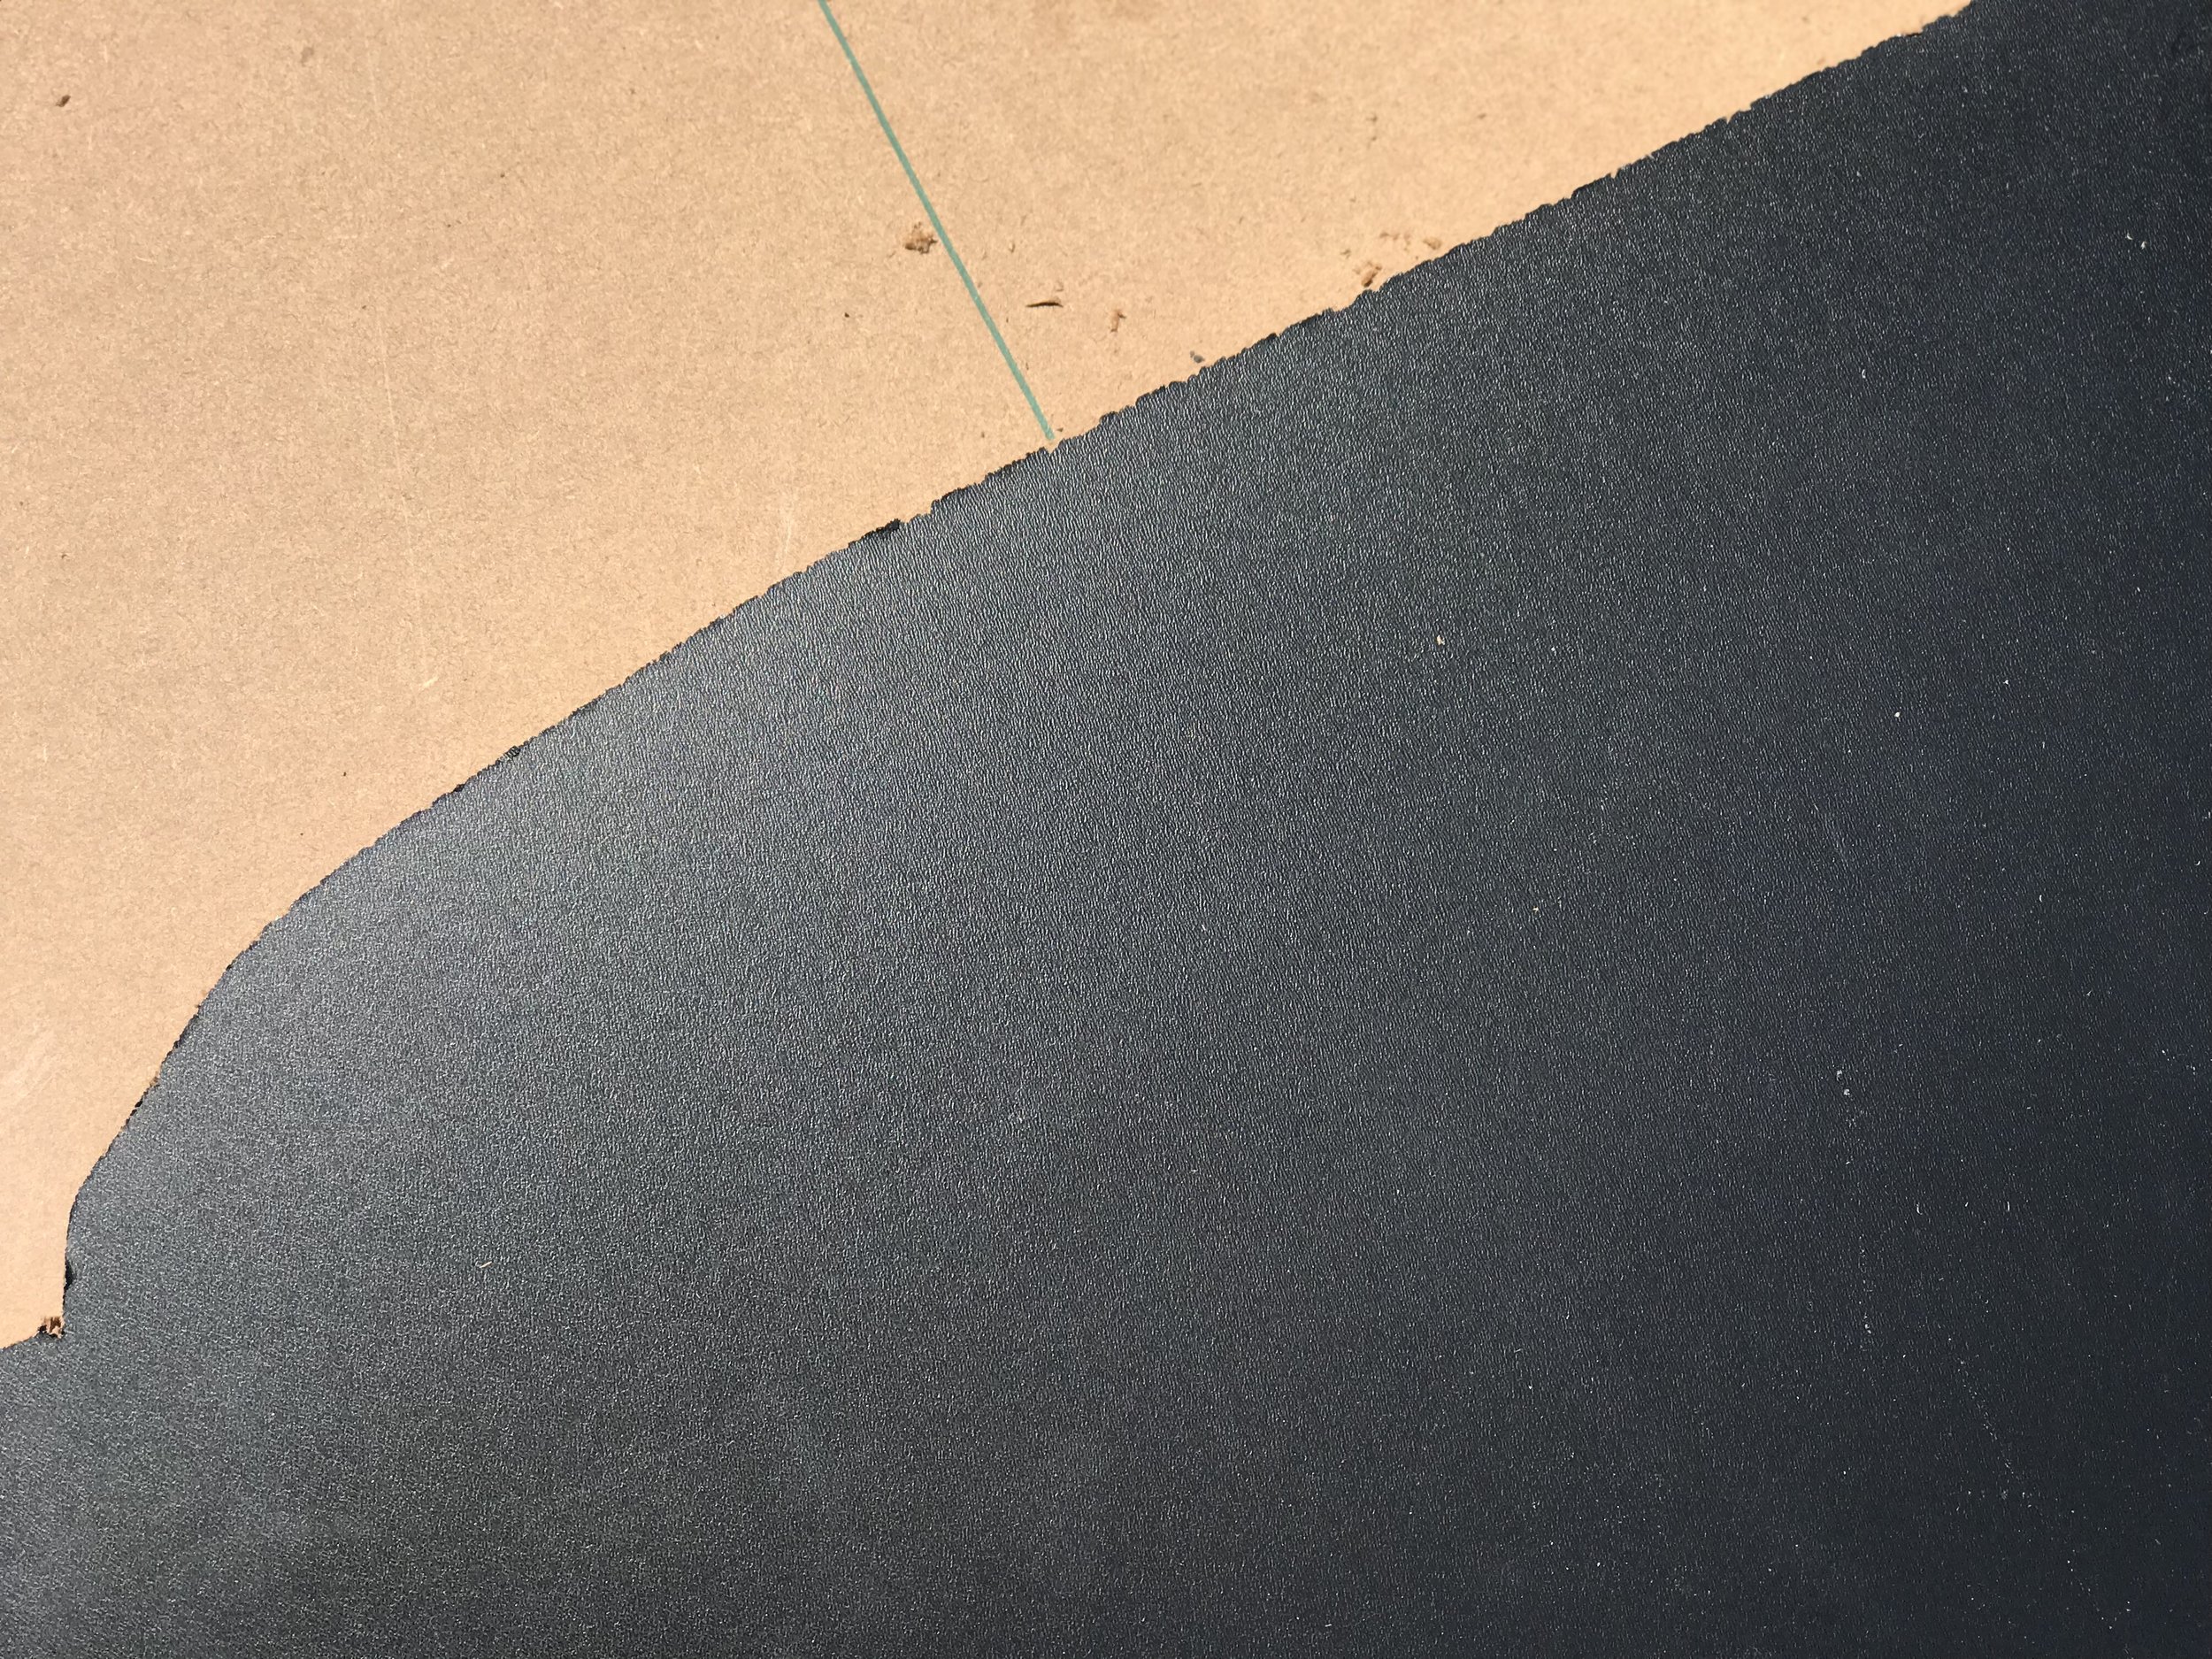
This is probably the “hardest” part of making a piñata. You can also buy rolls of corrugated cardboard if you’d prefer.
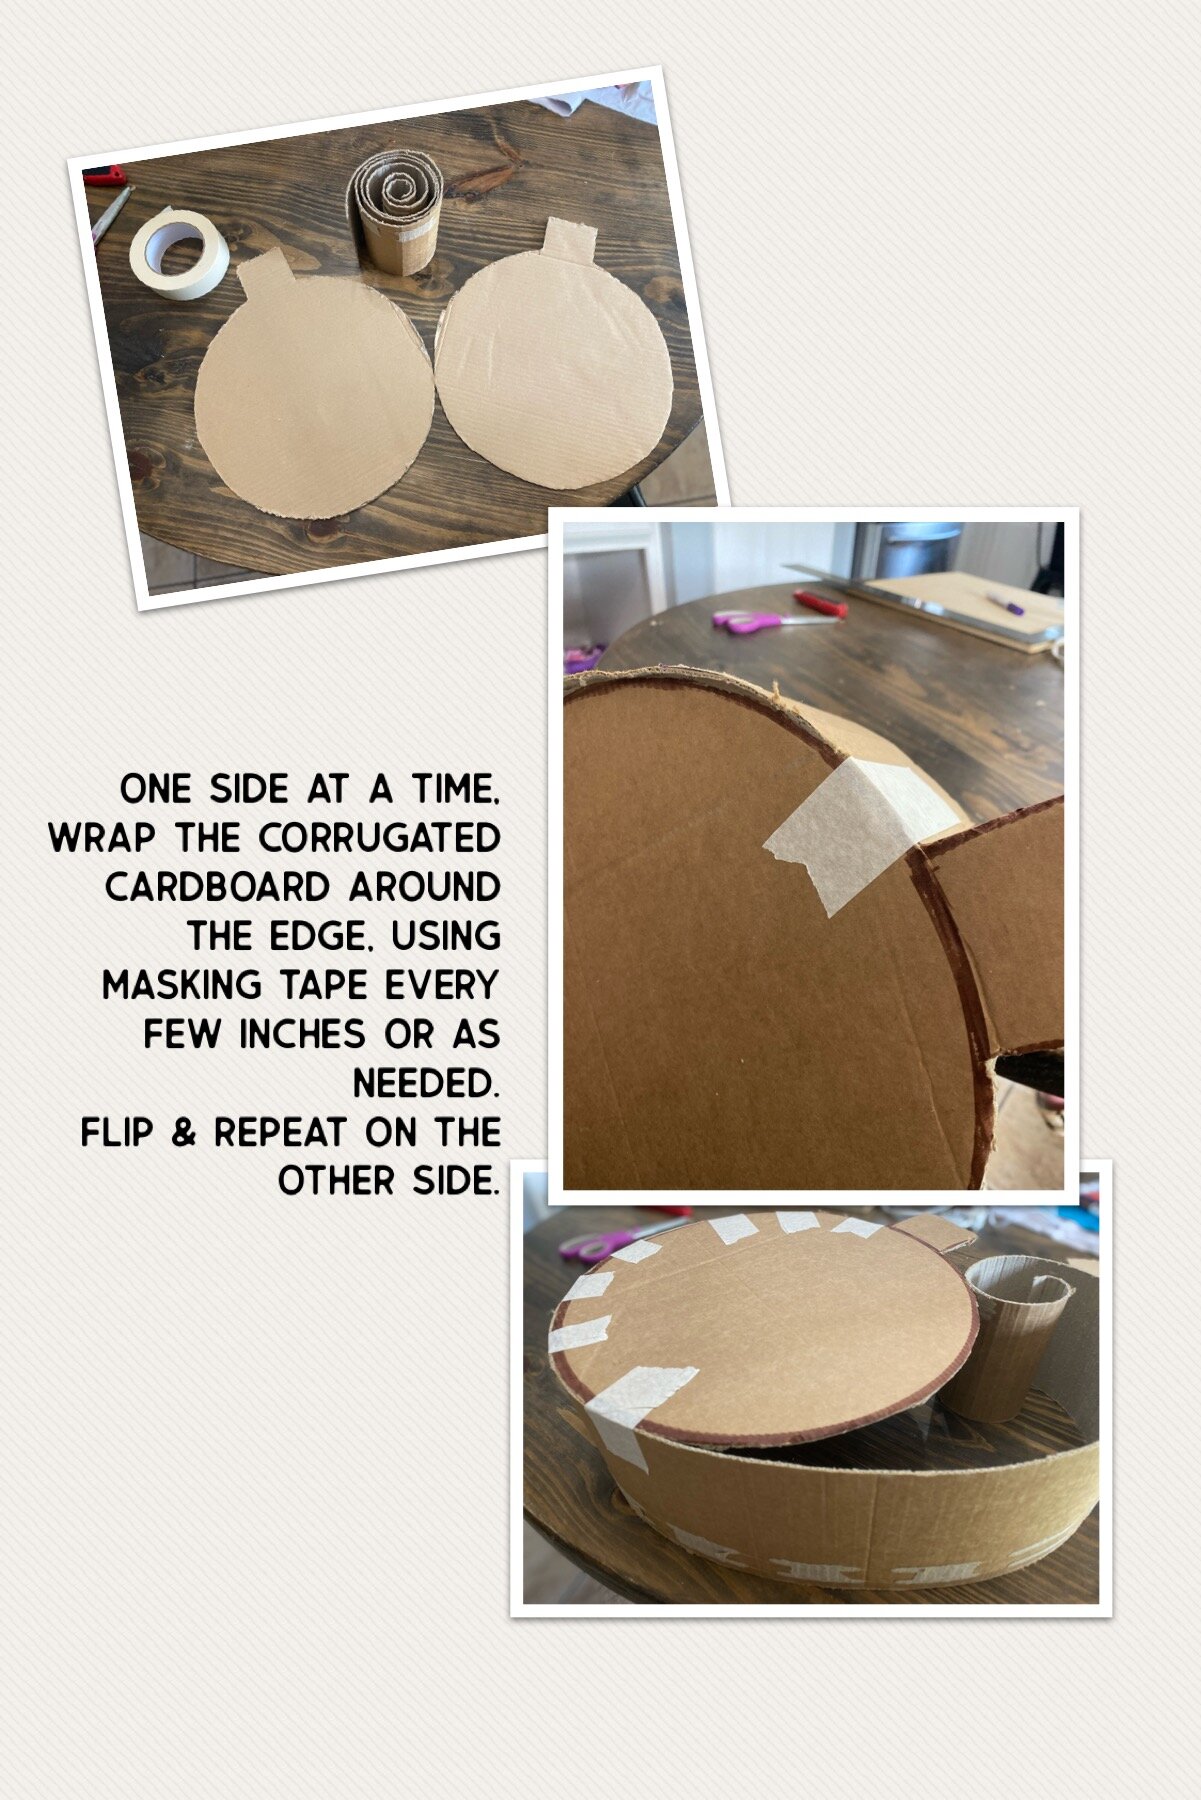

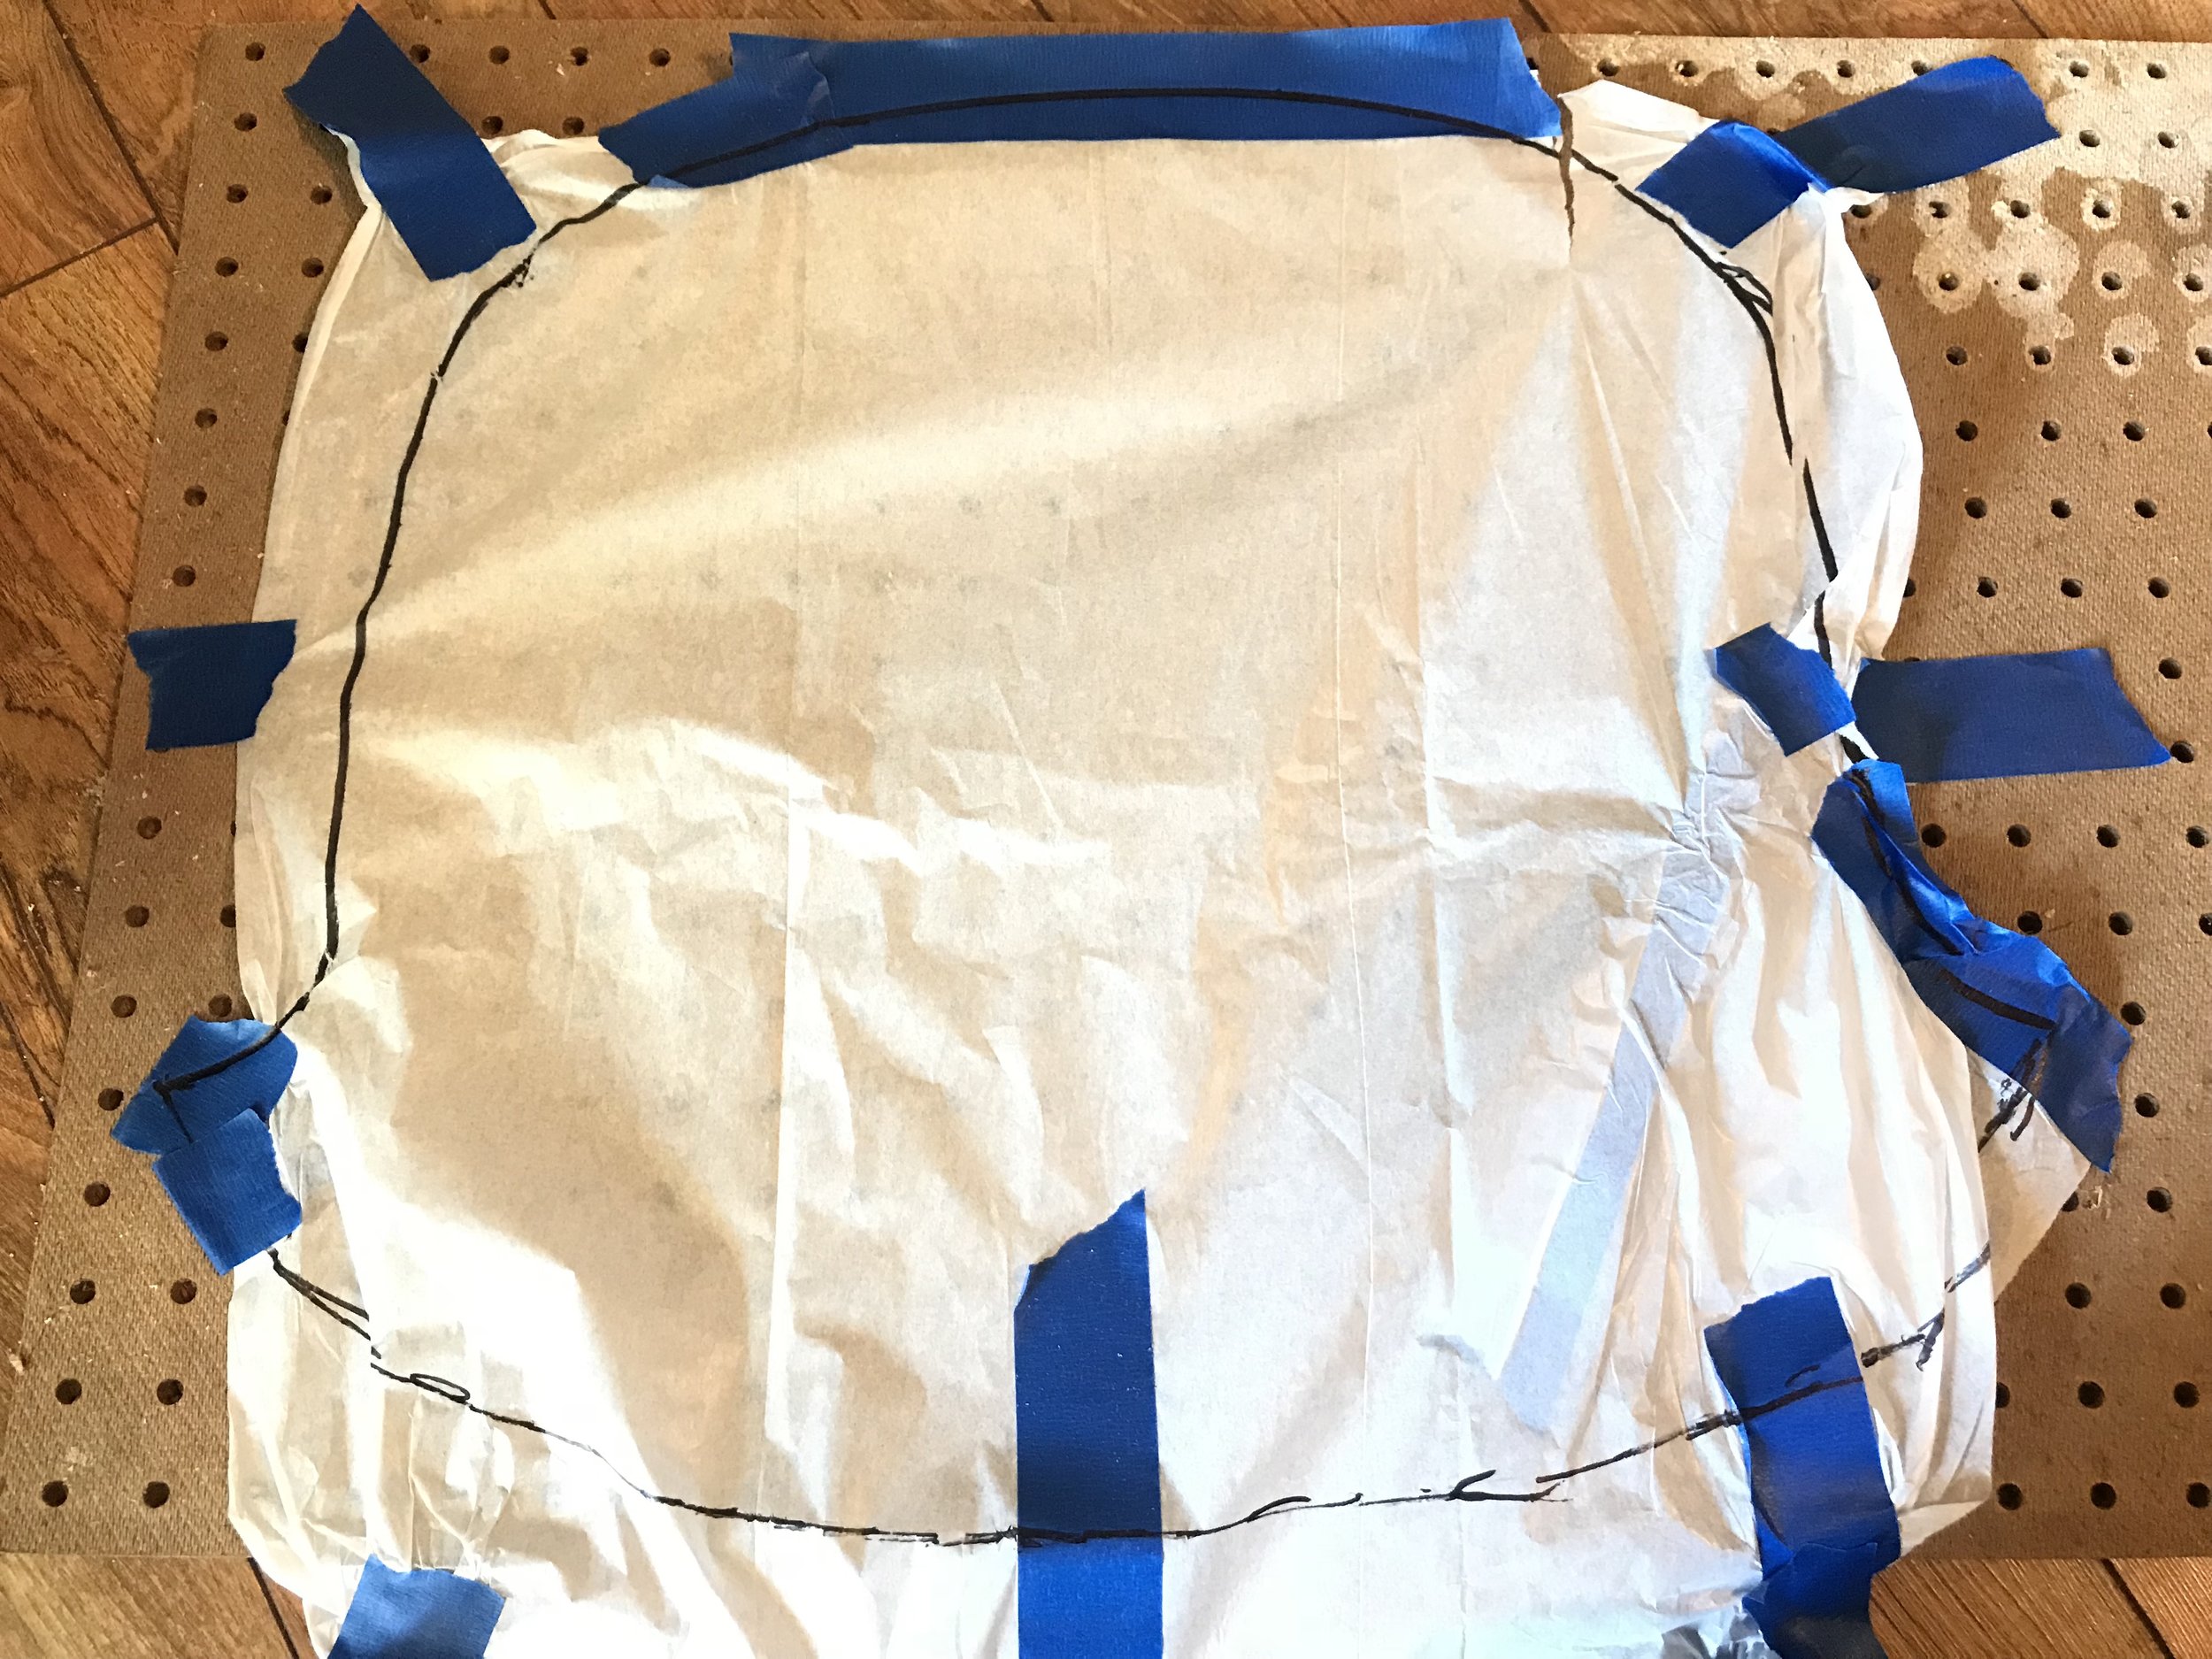
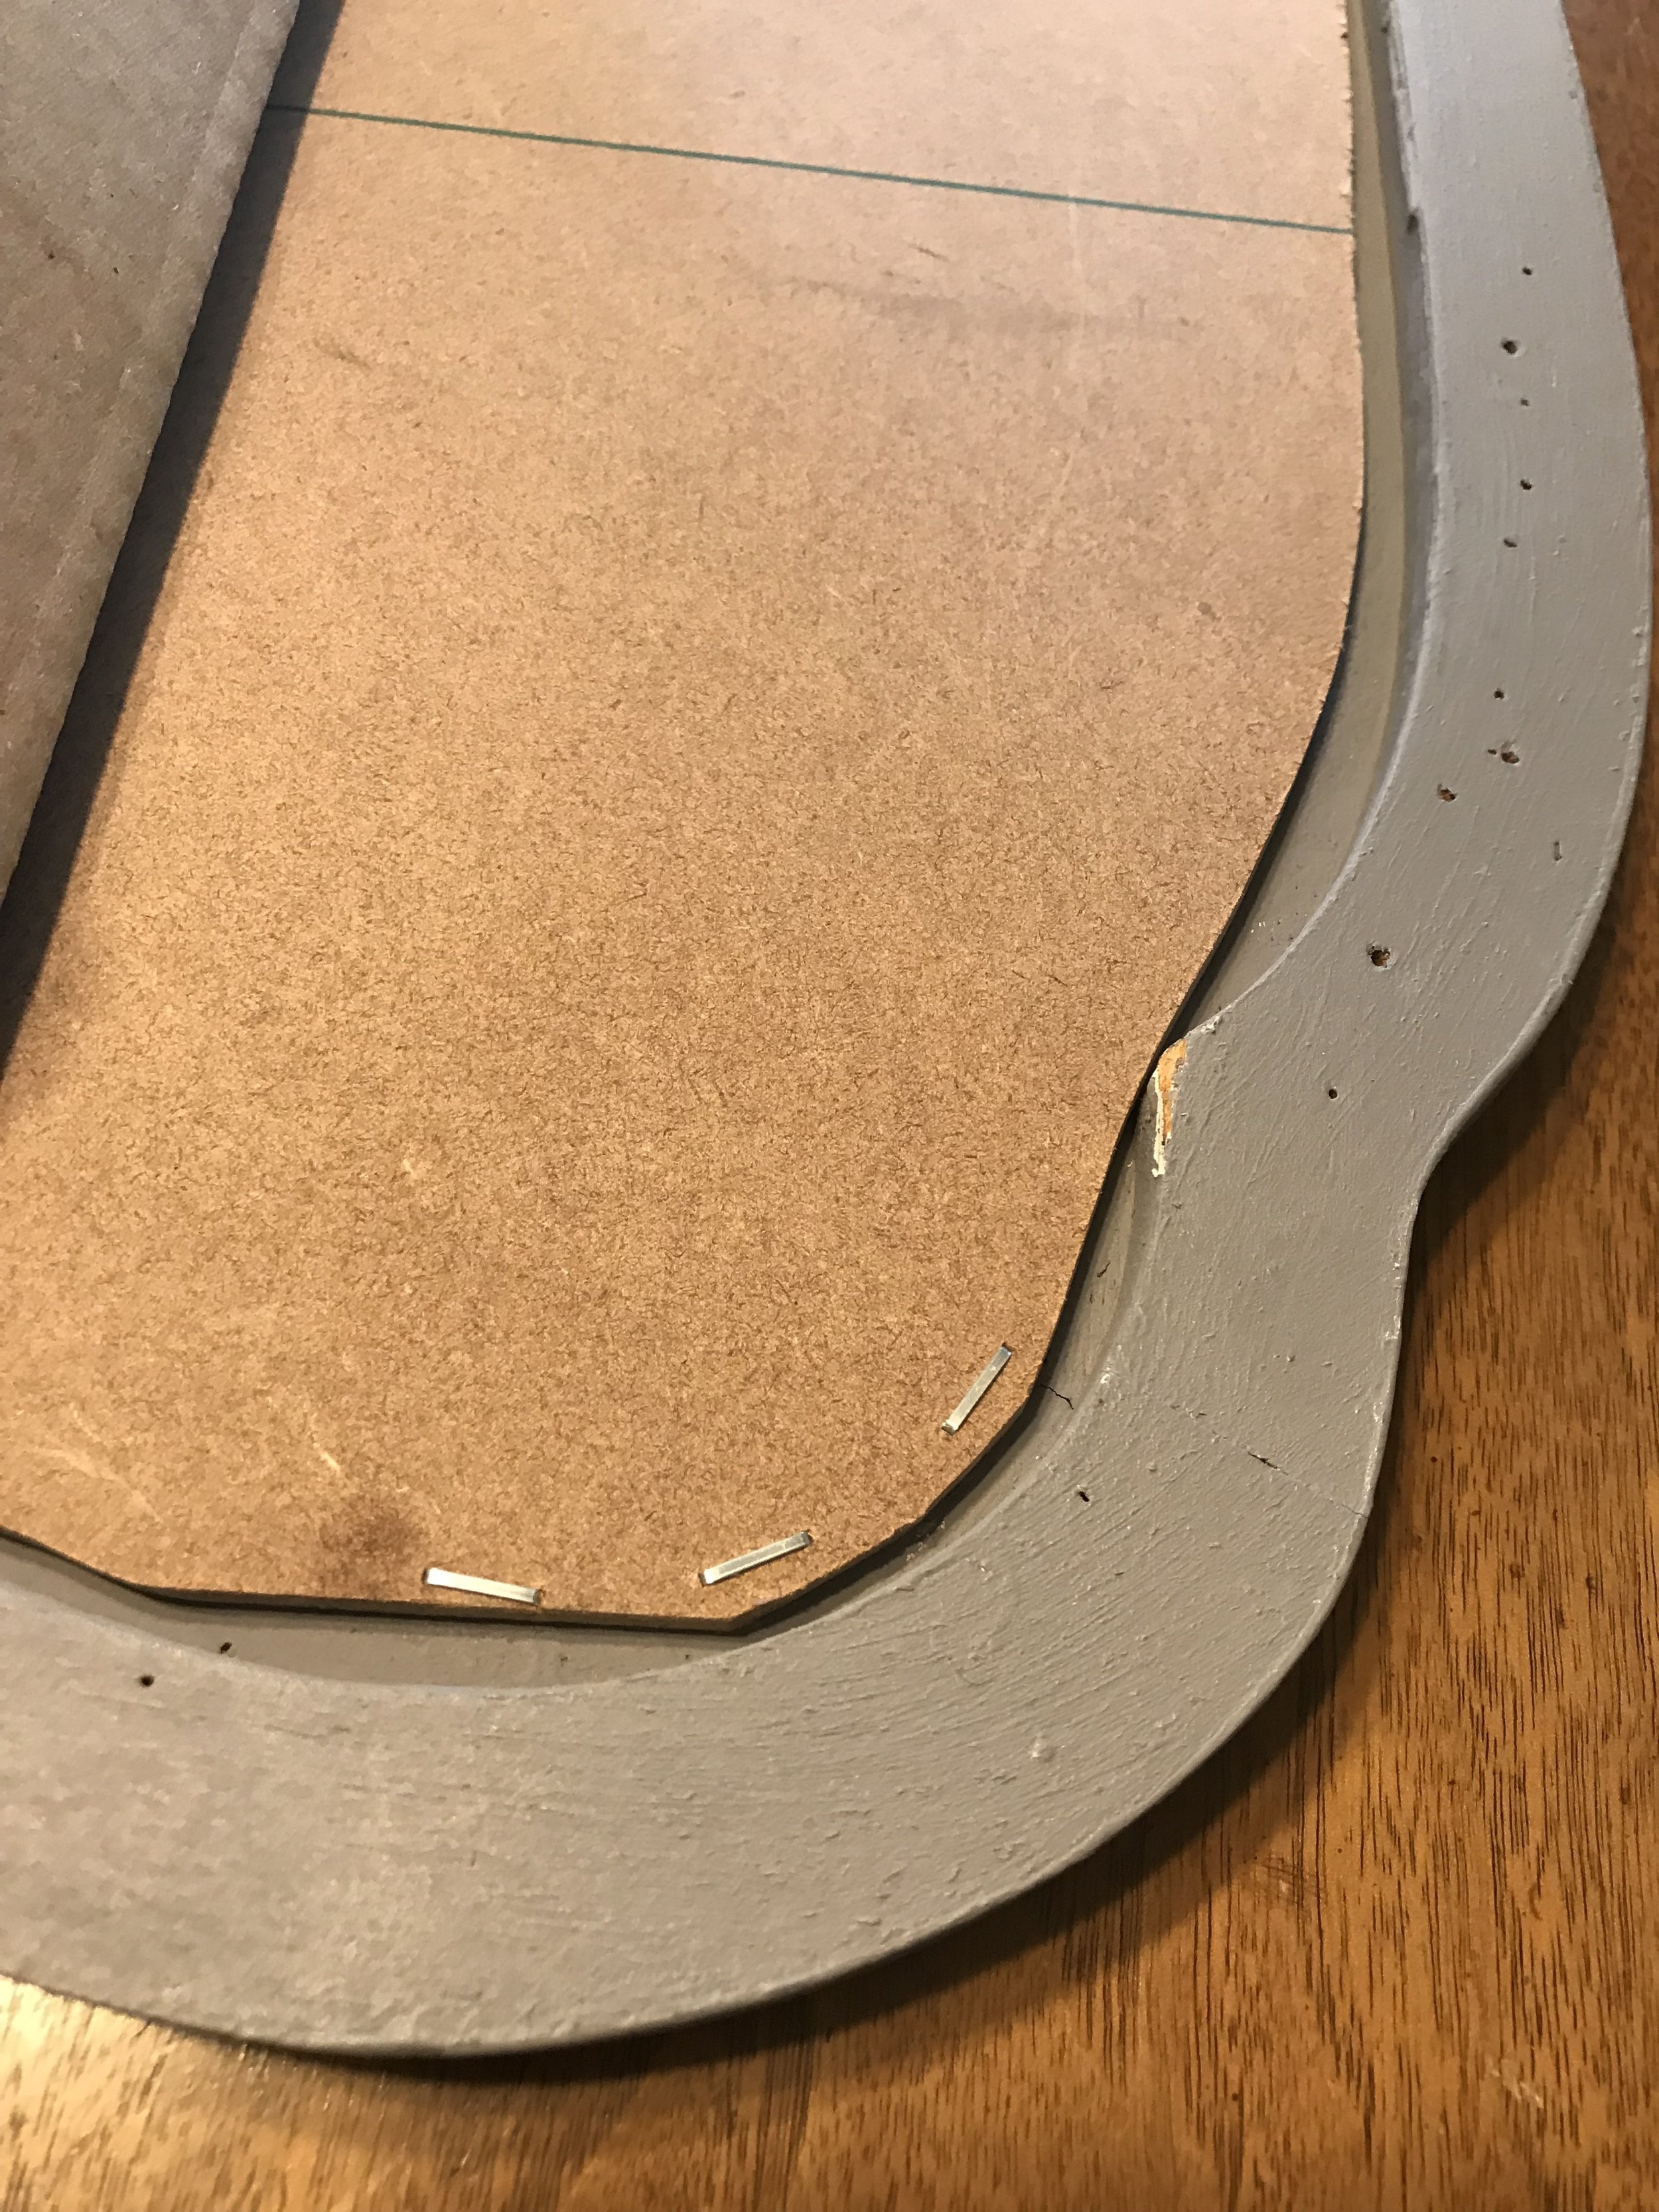
VERY important! Leave a spot near the top open for easy piñata filling!

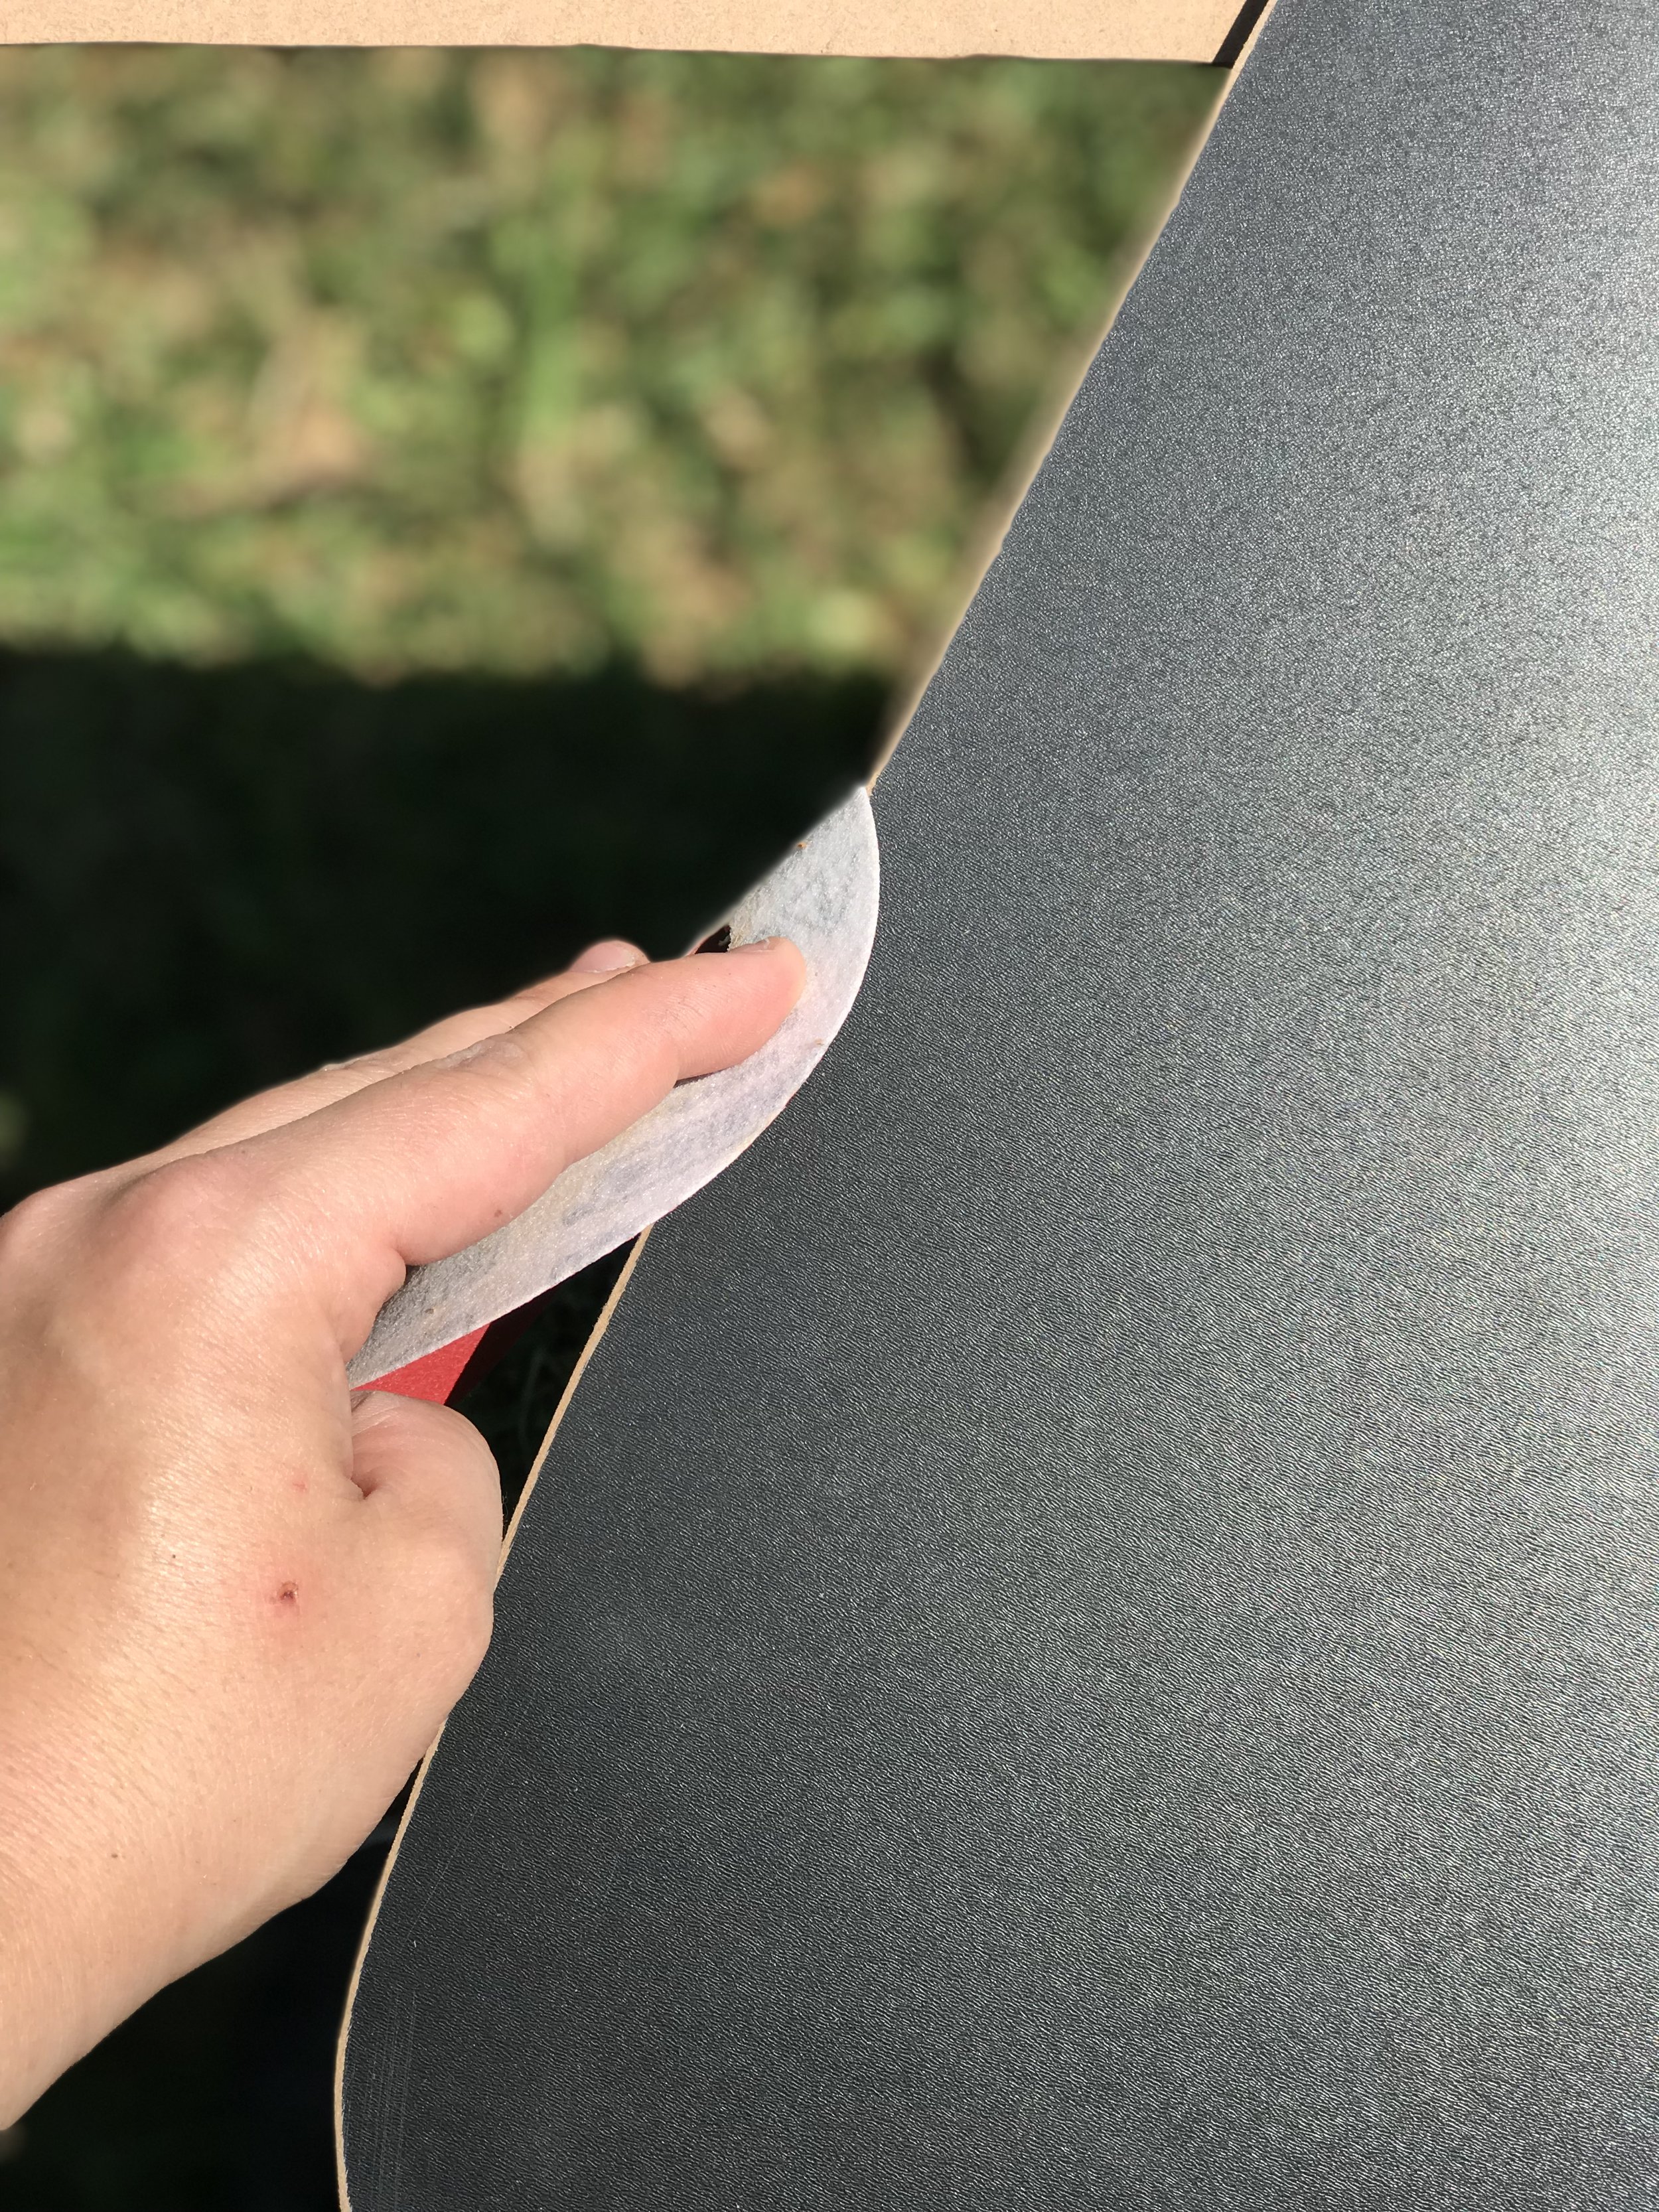
I forgot to take pictures of how to cut the tissue paper for the piñata. Fold strips in half & cut every 1/4” or so on the open side of the folded tissue paper.


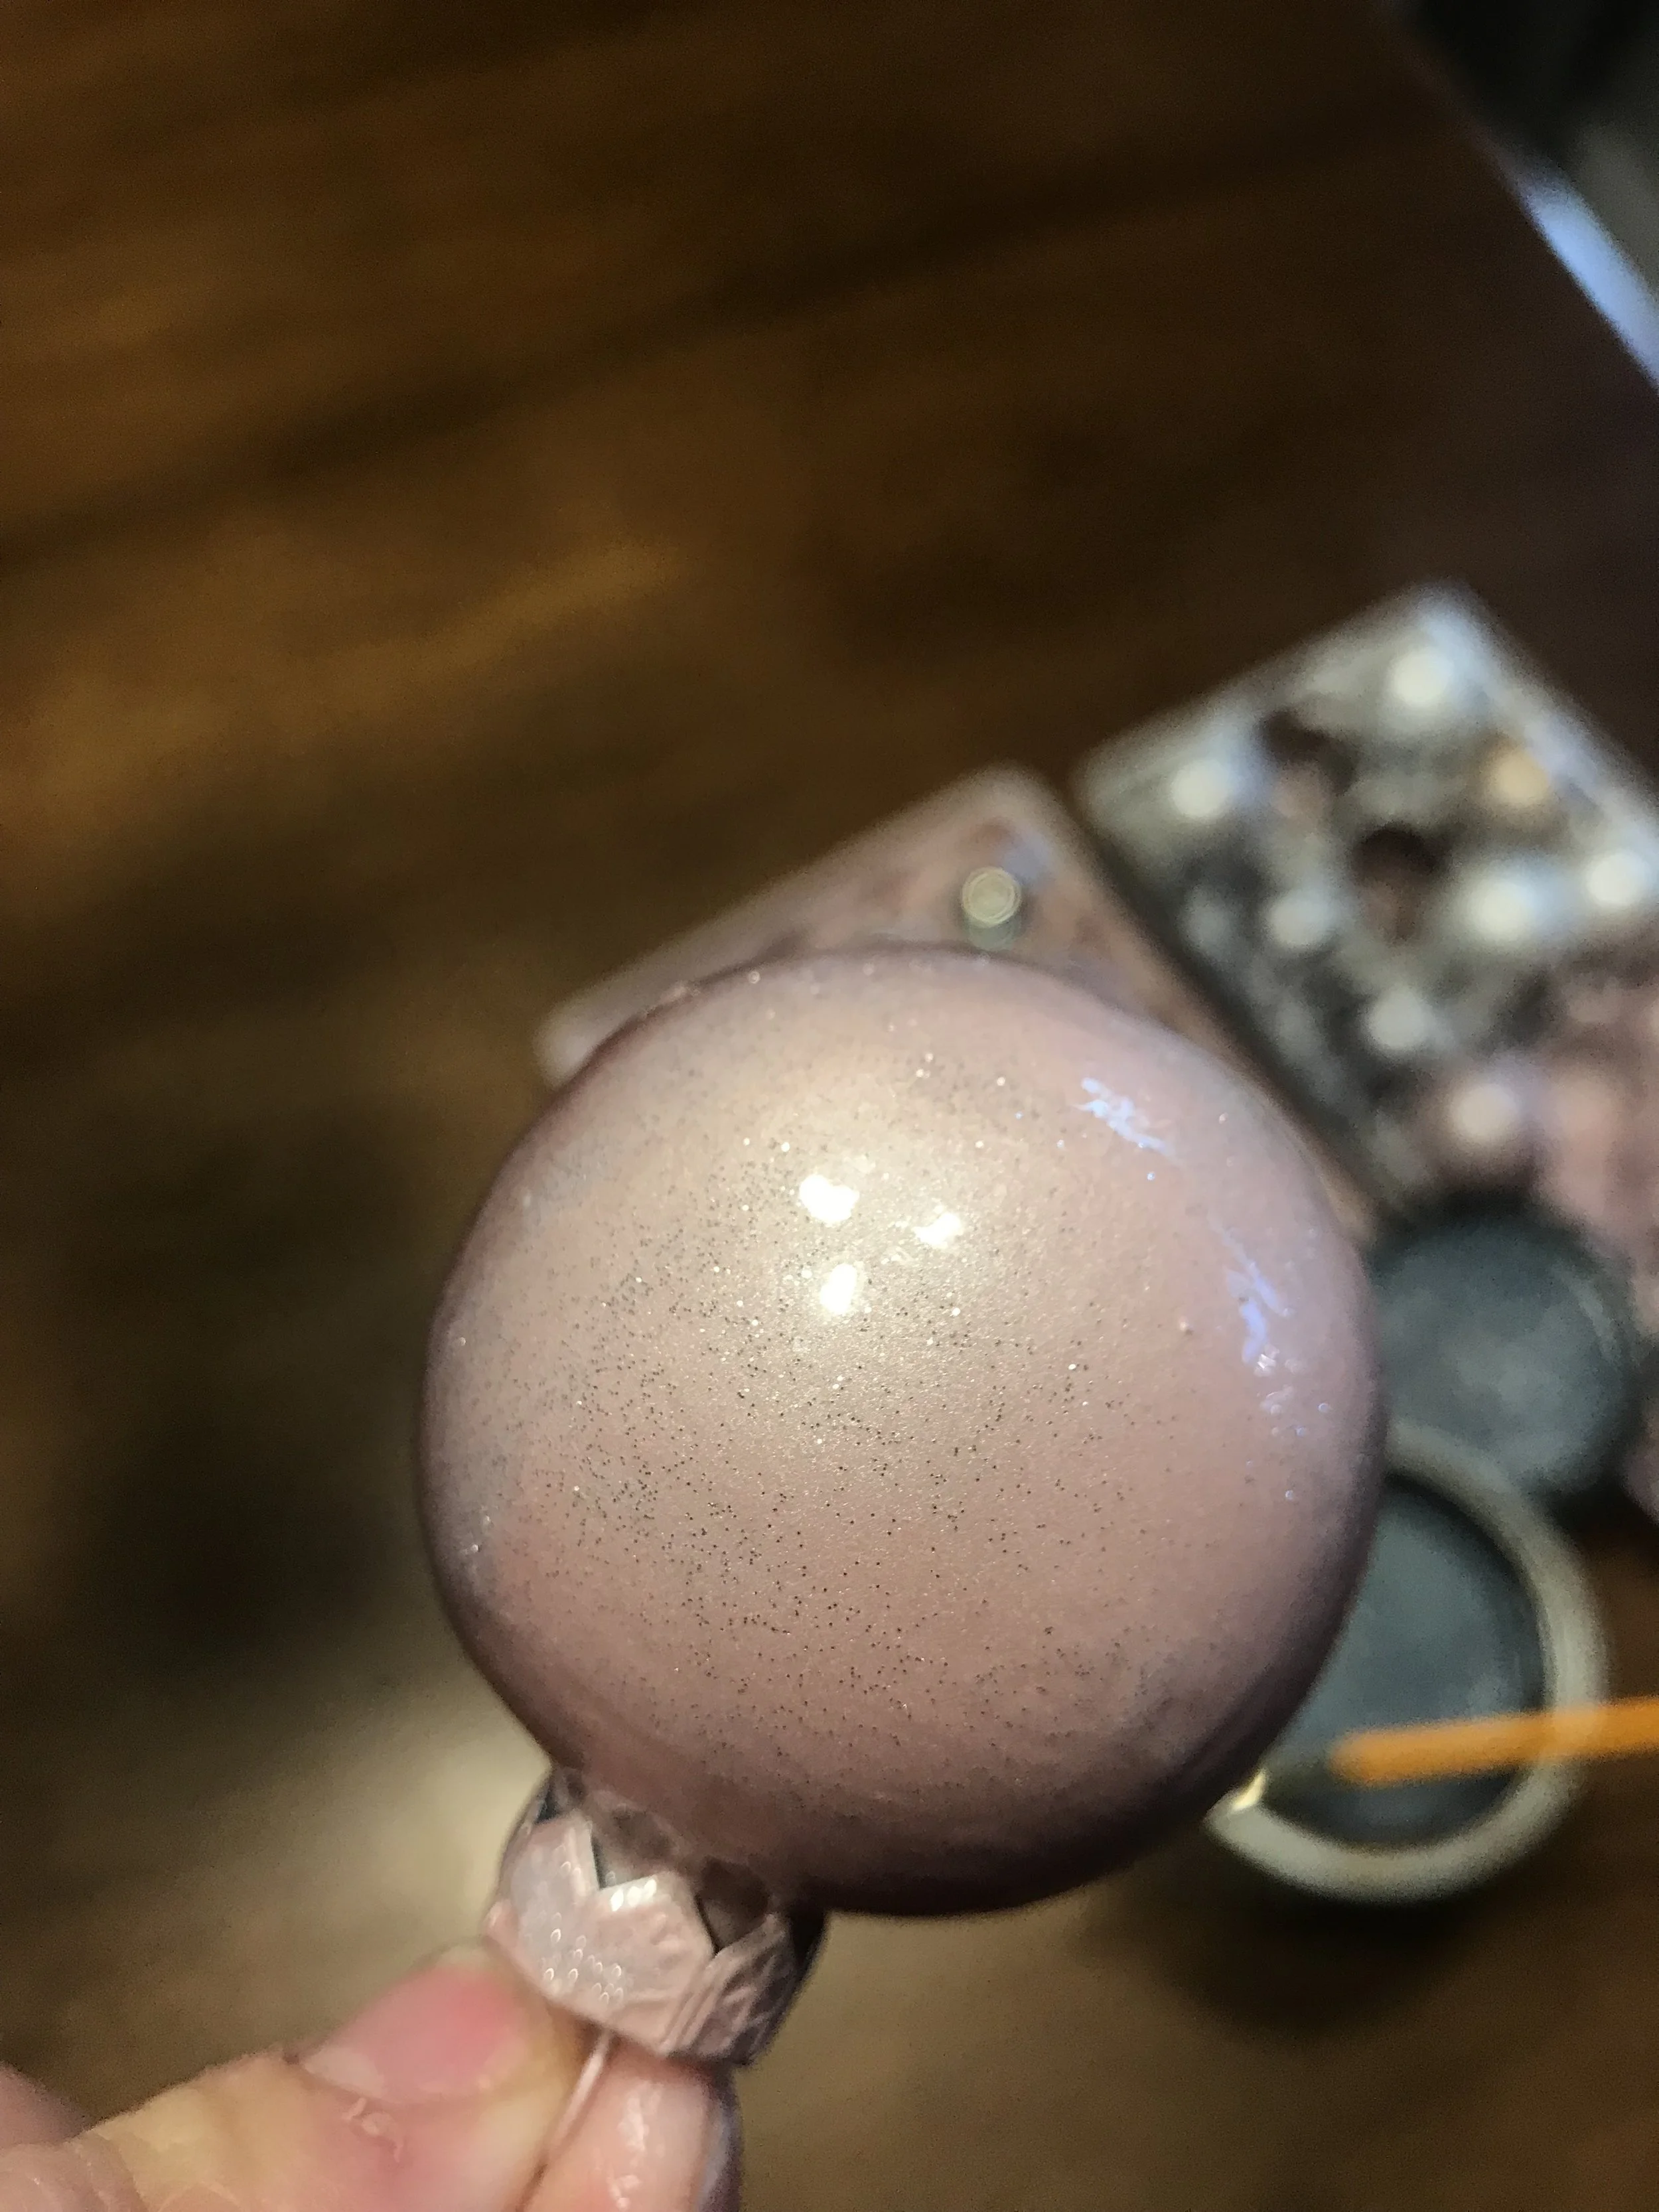
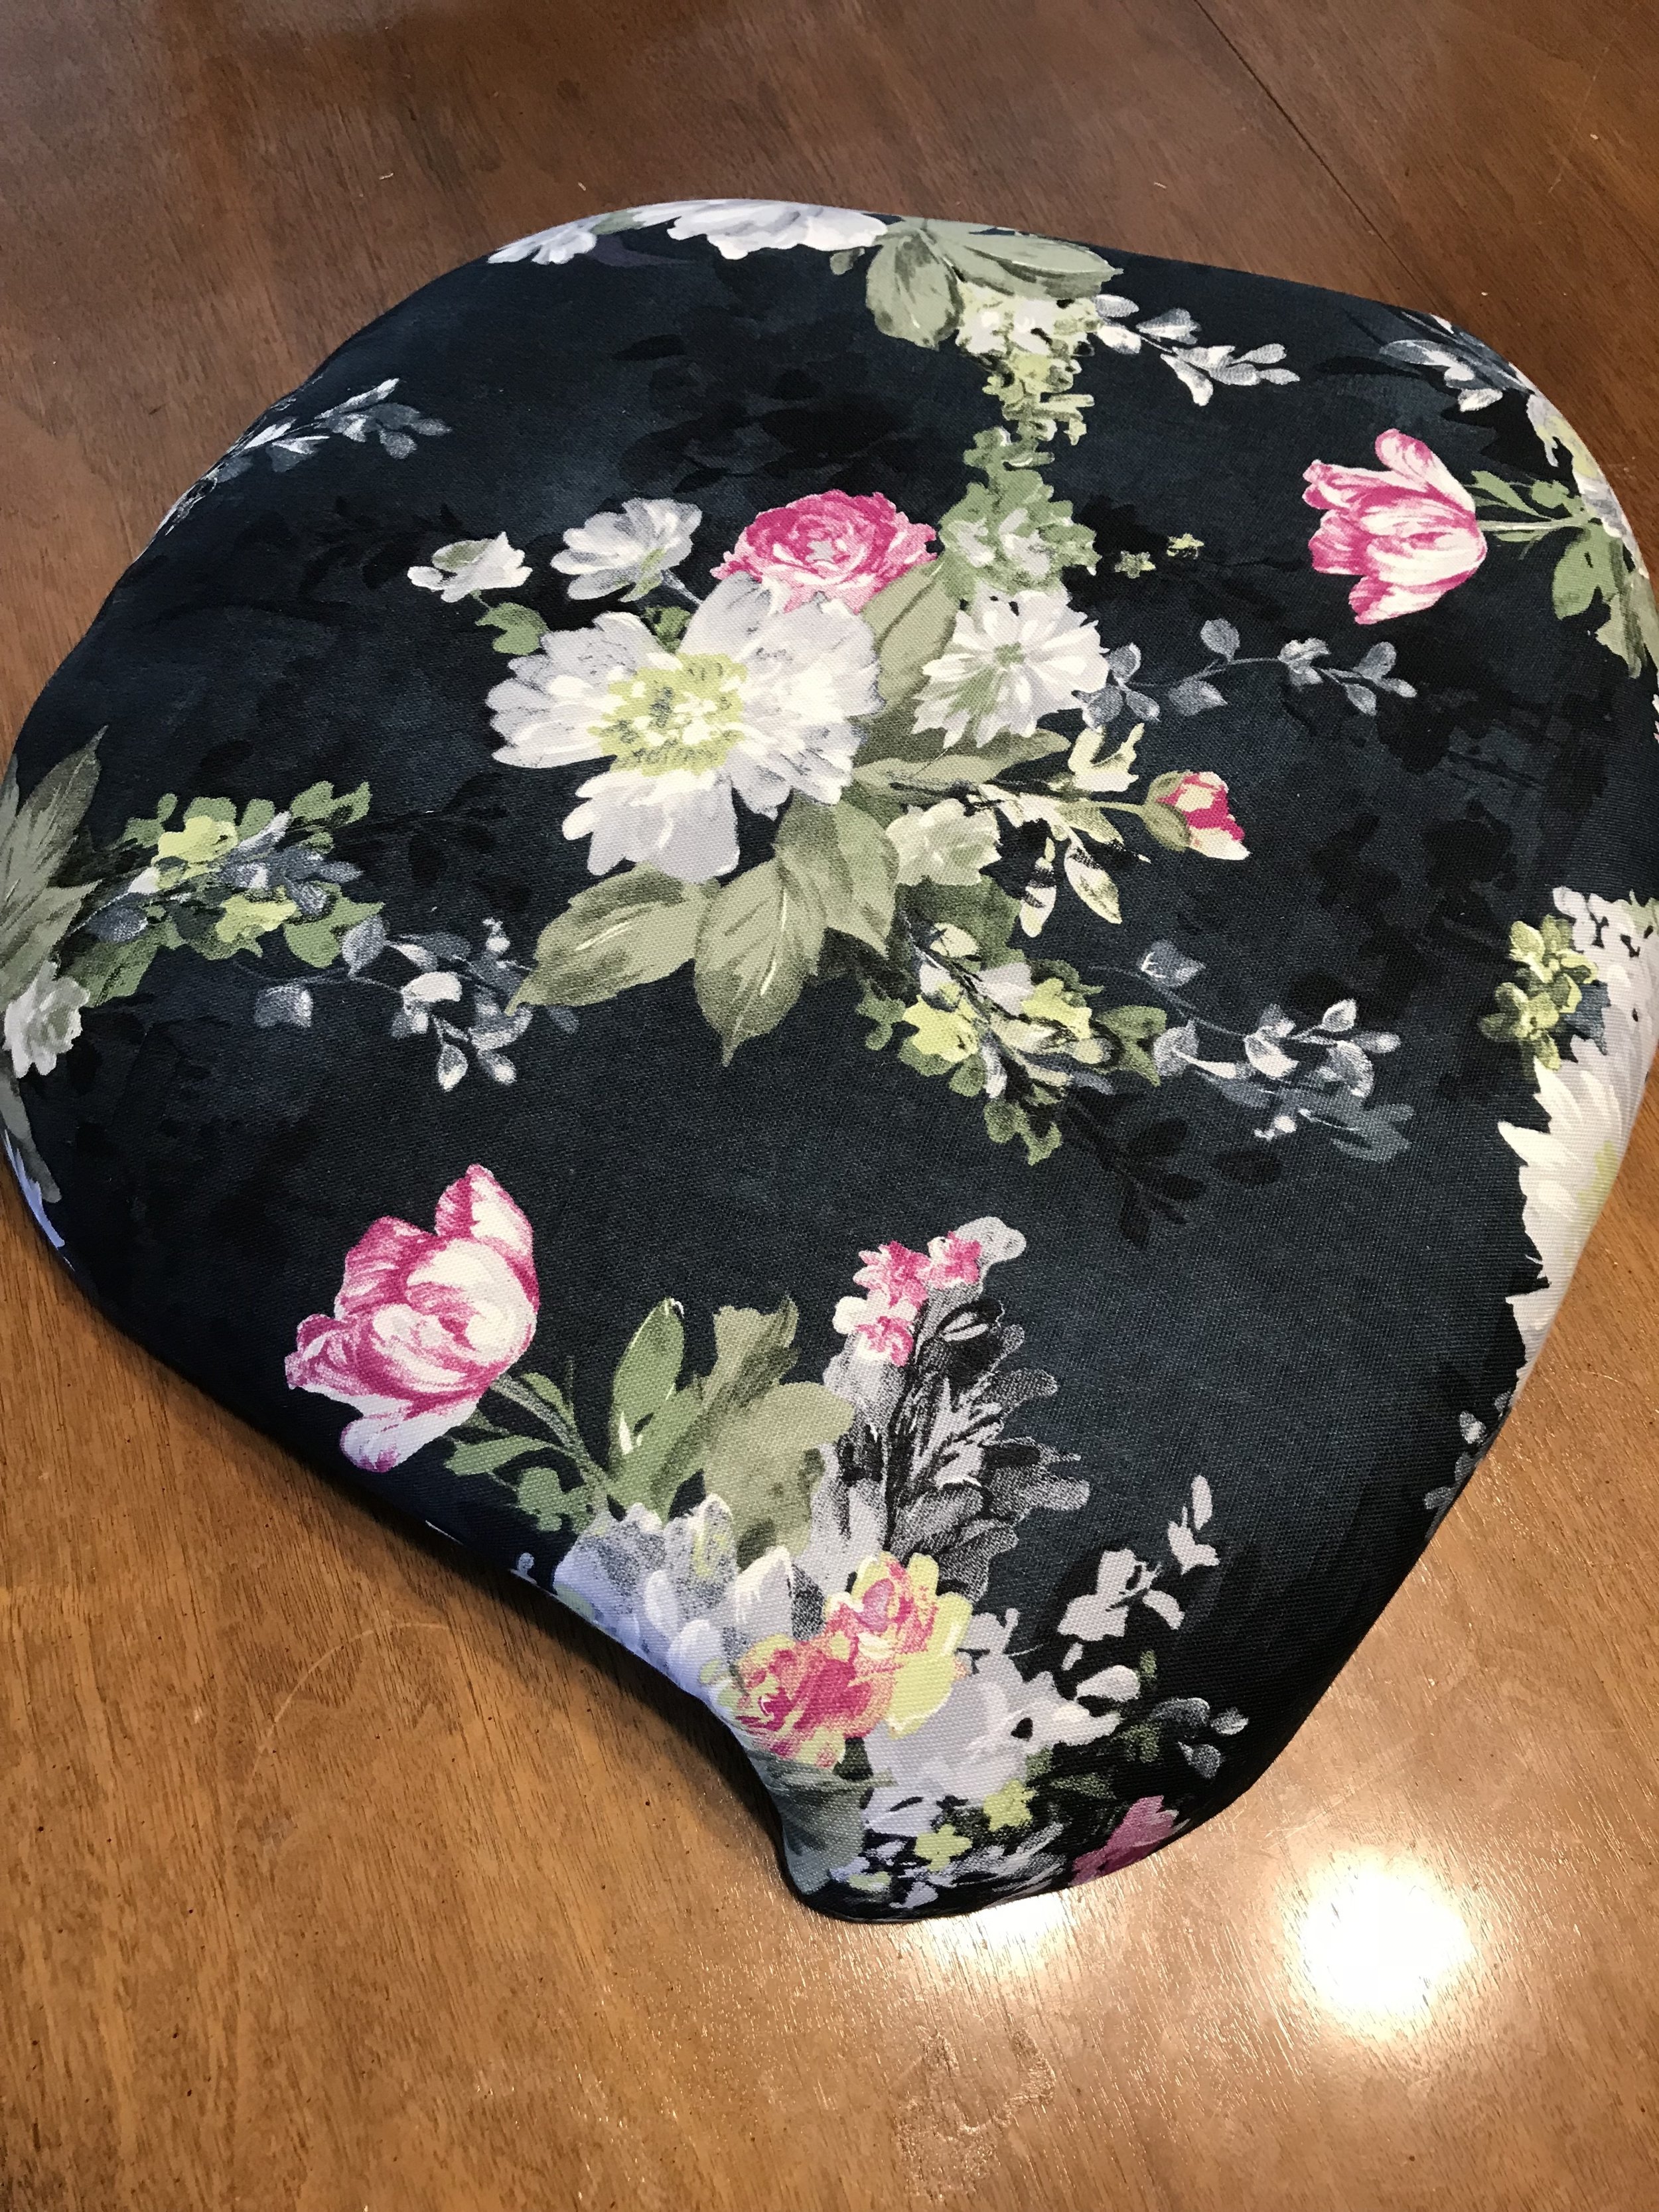
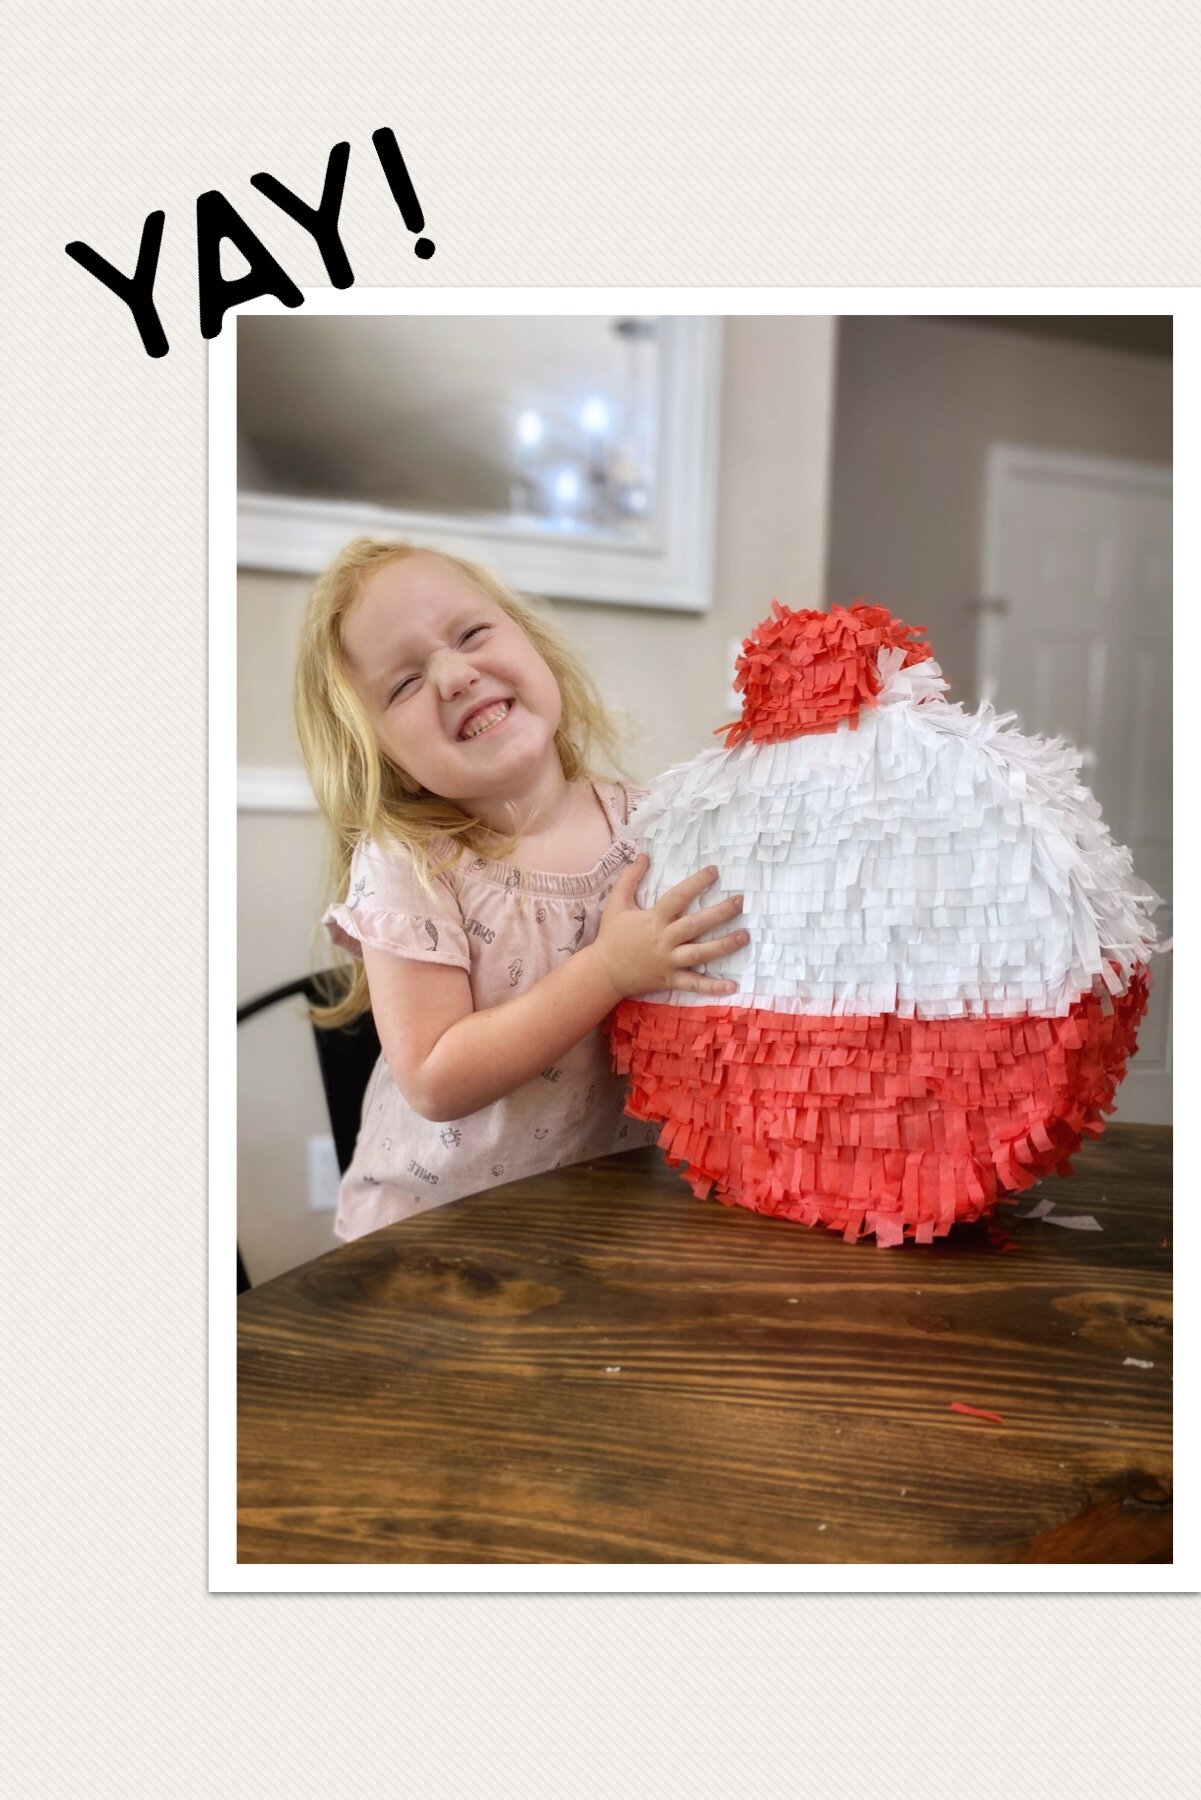
You can use your fingers to smooth the tissue paper all in the same direction. But just like that, the bobber piñata is done!!!


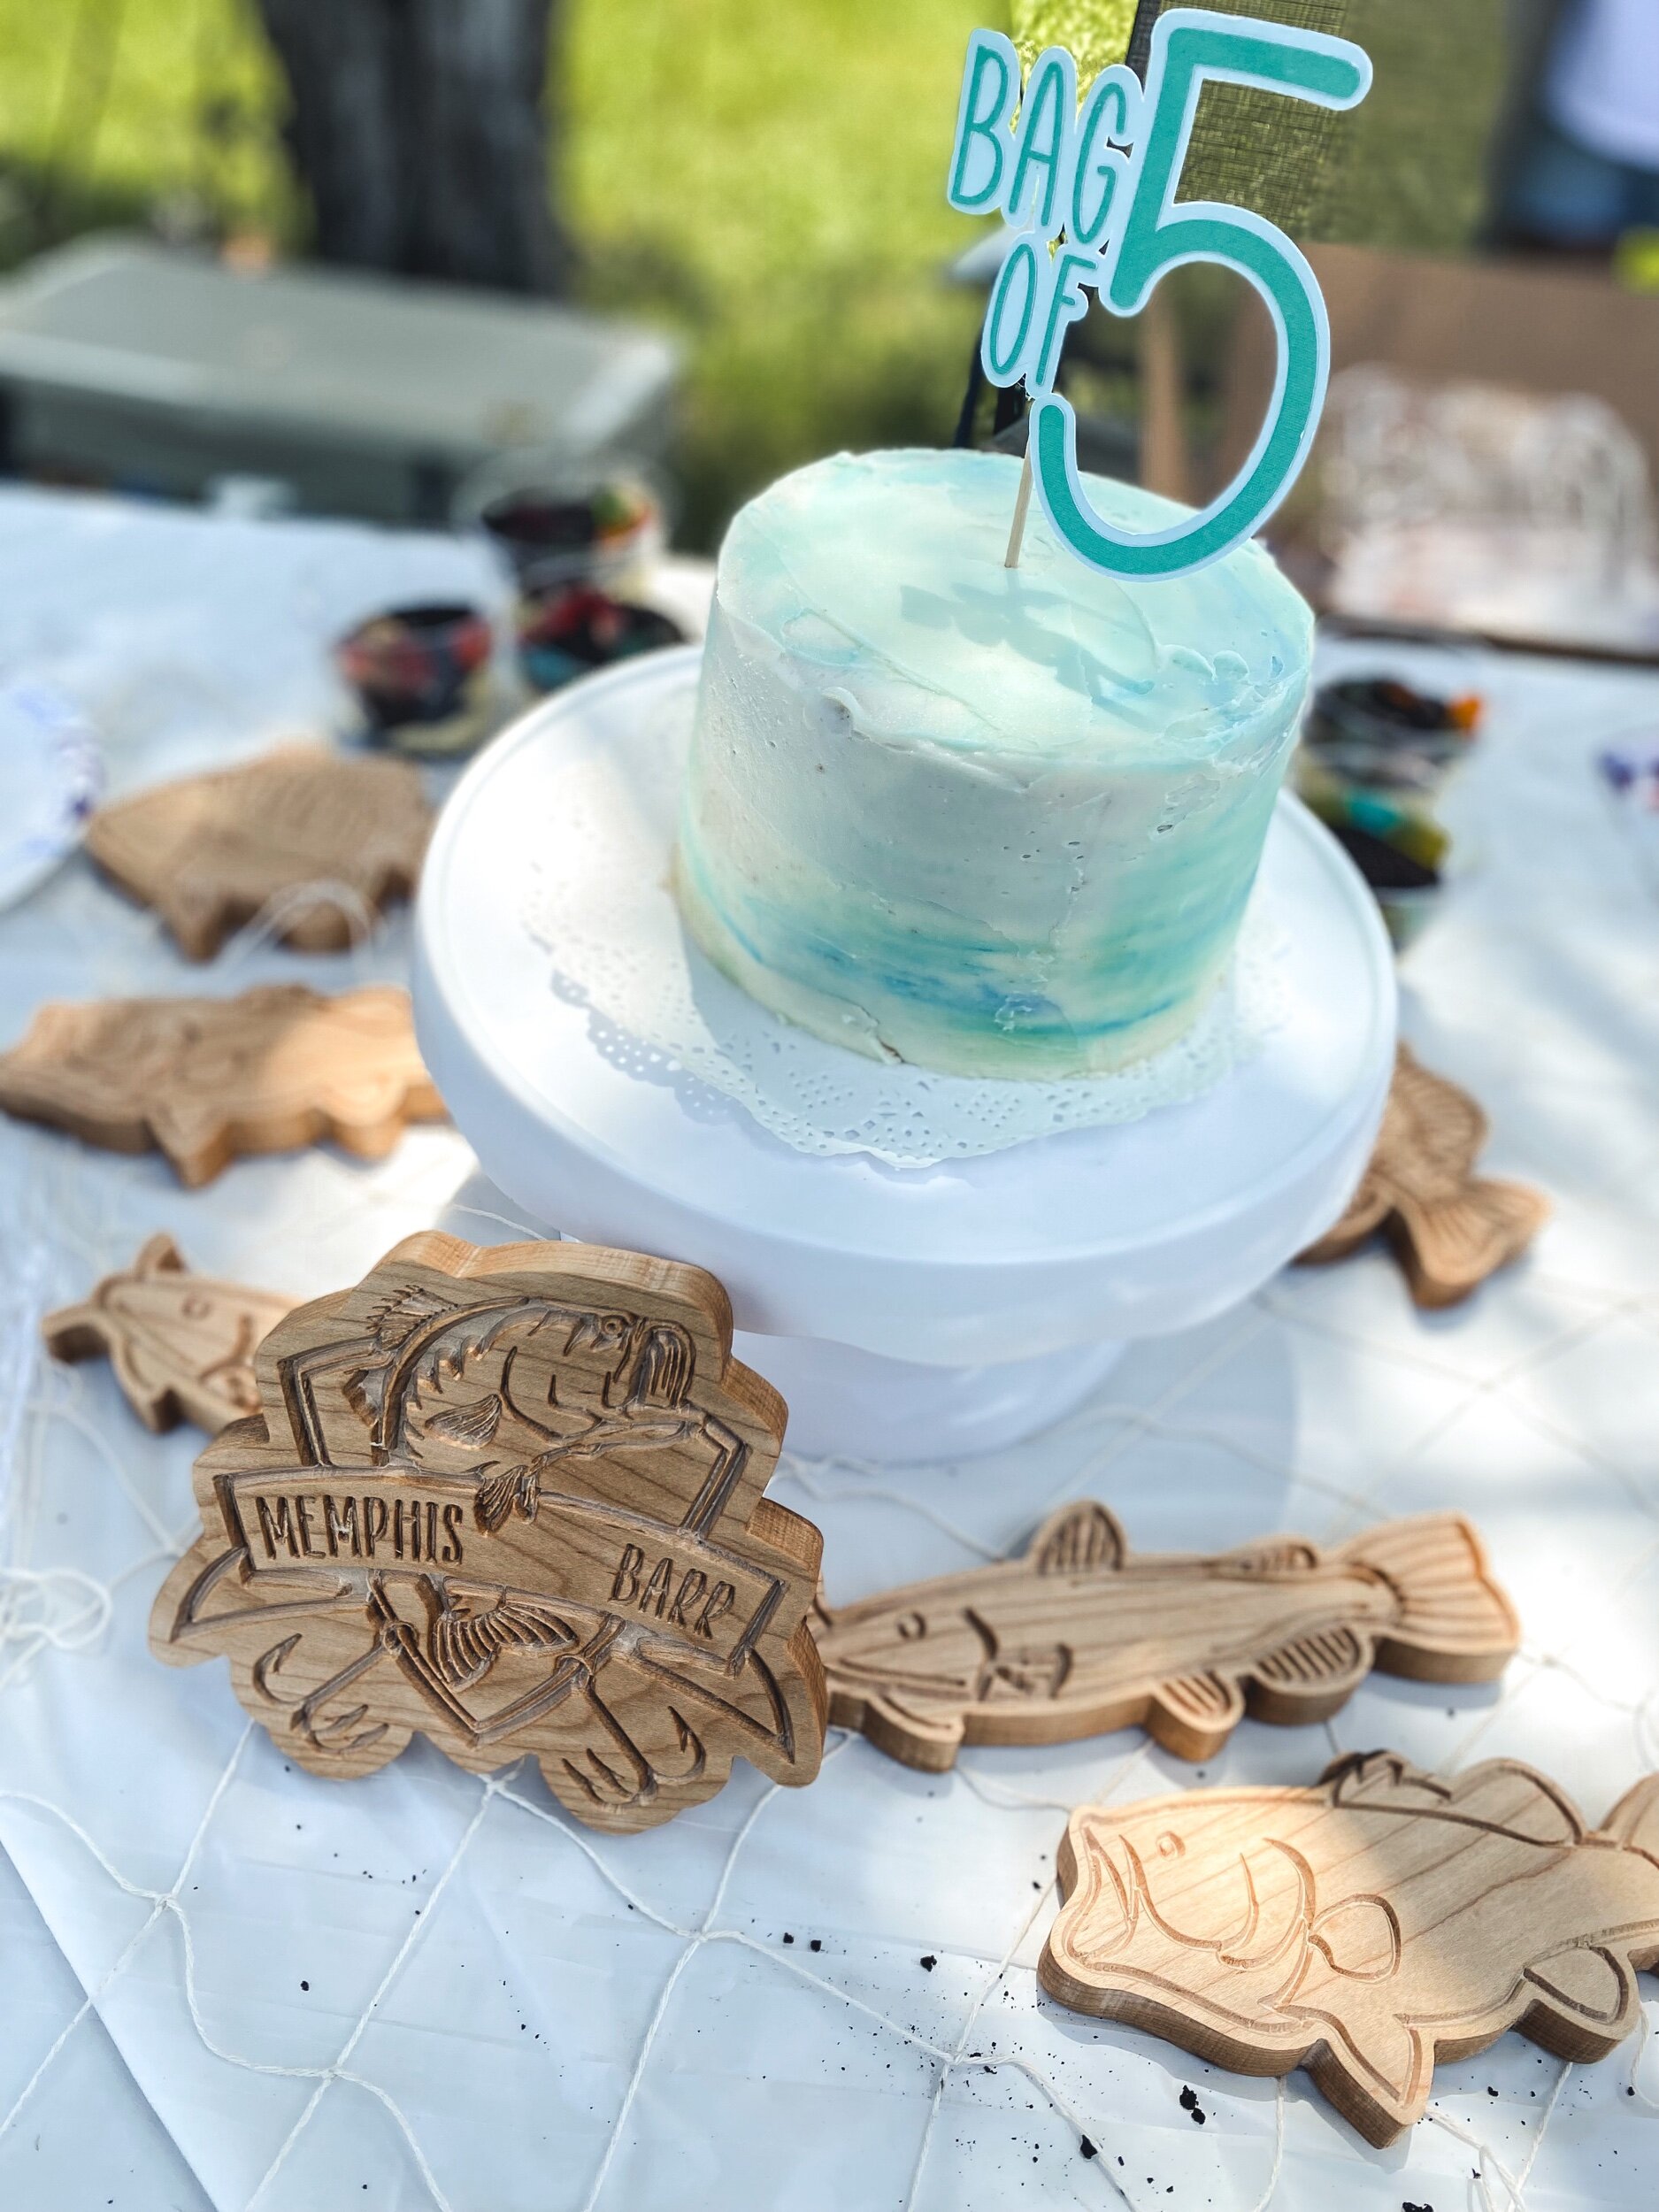
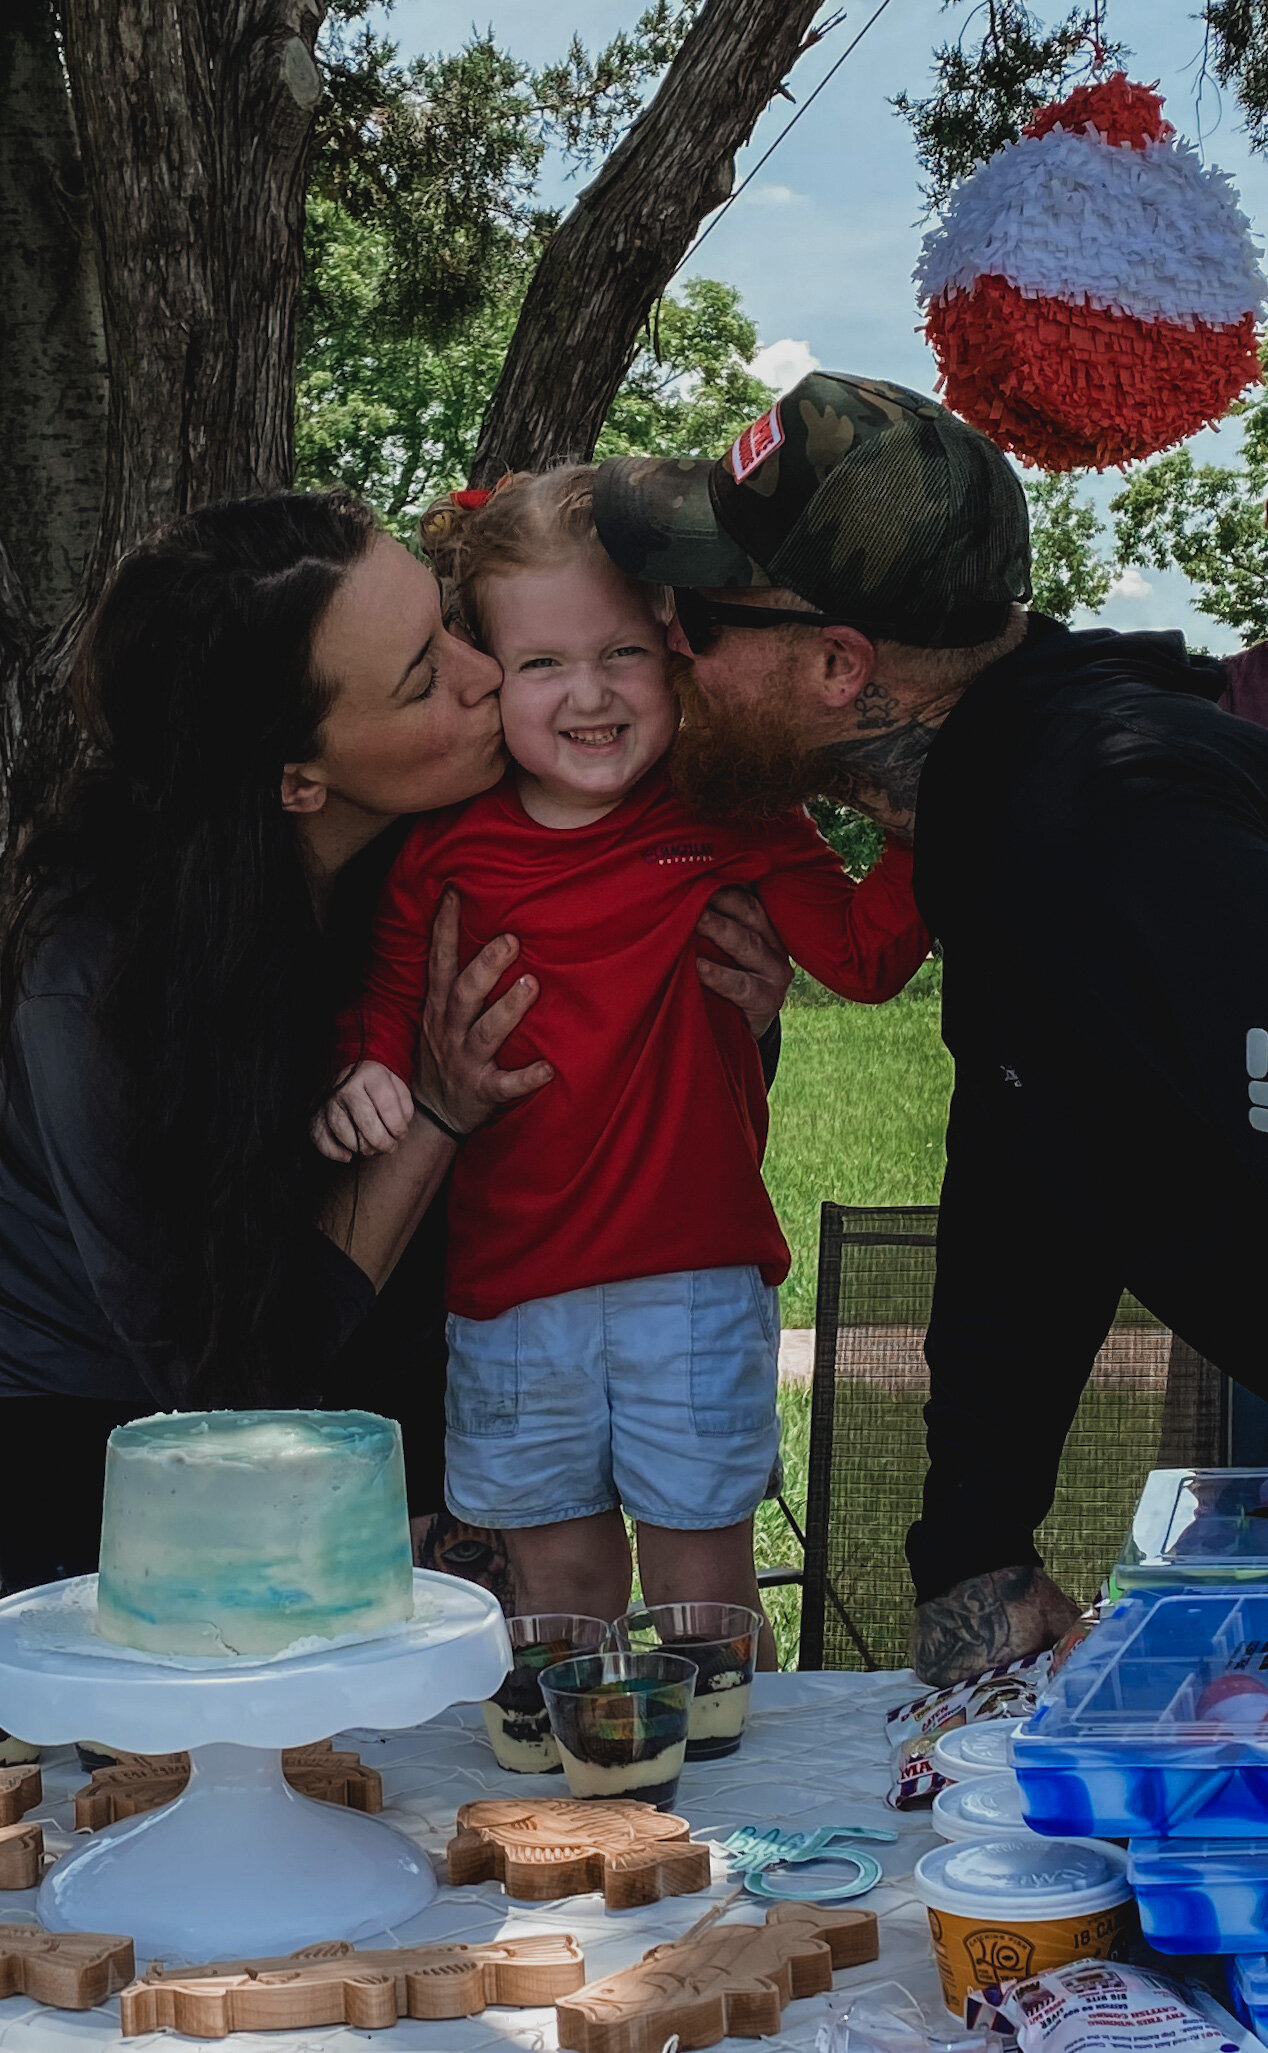
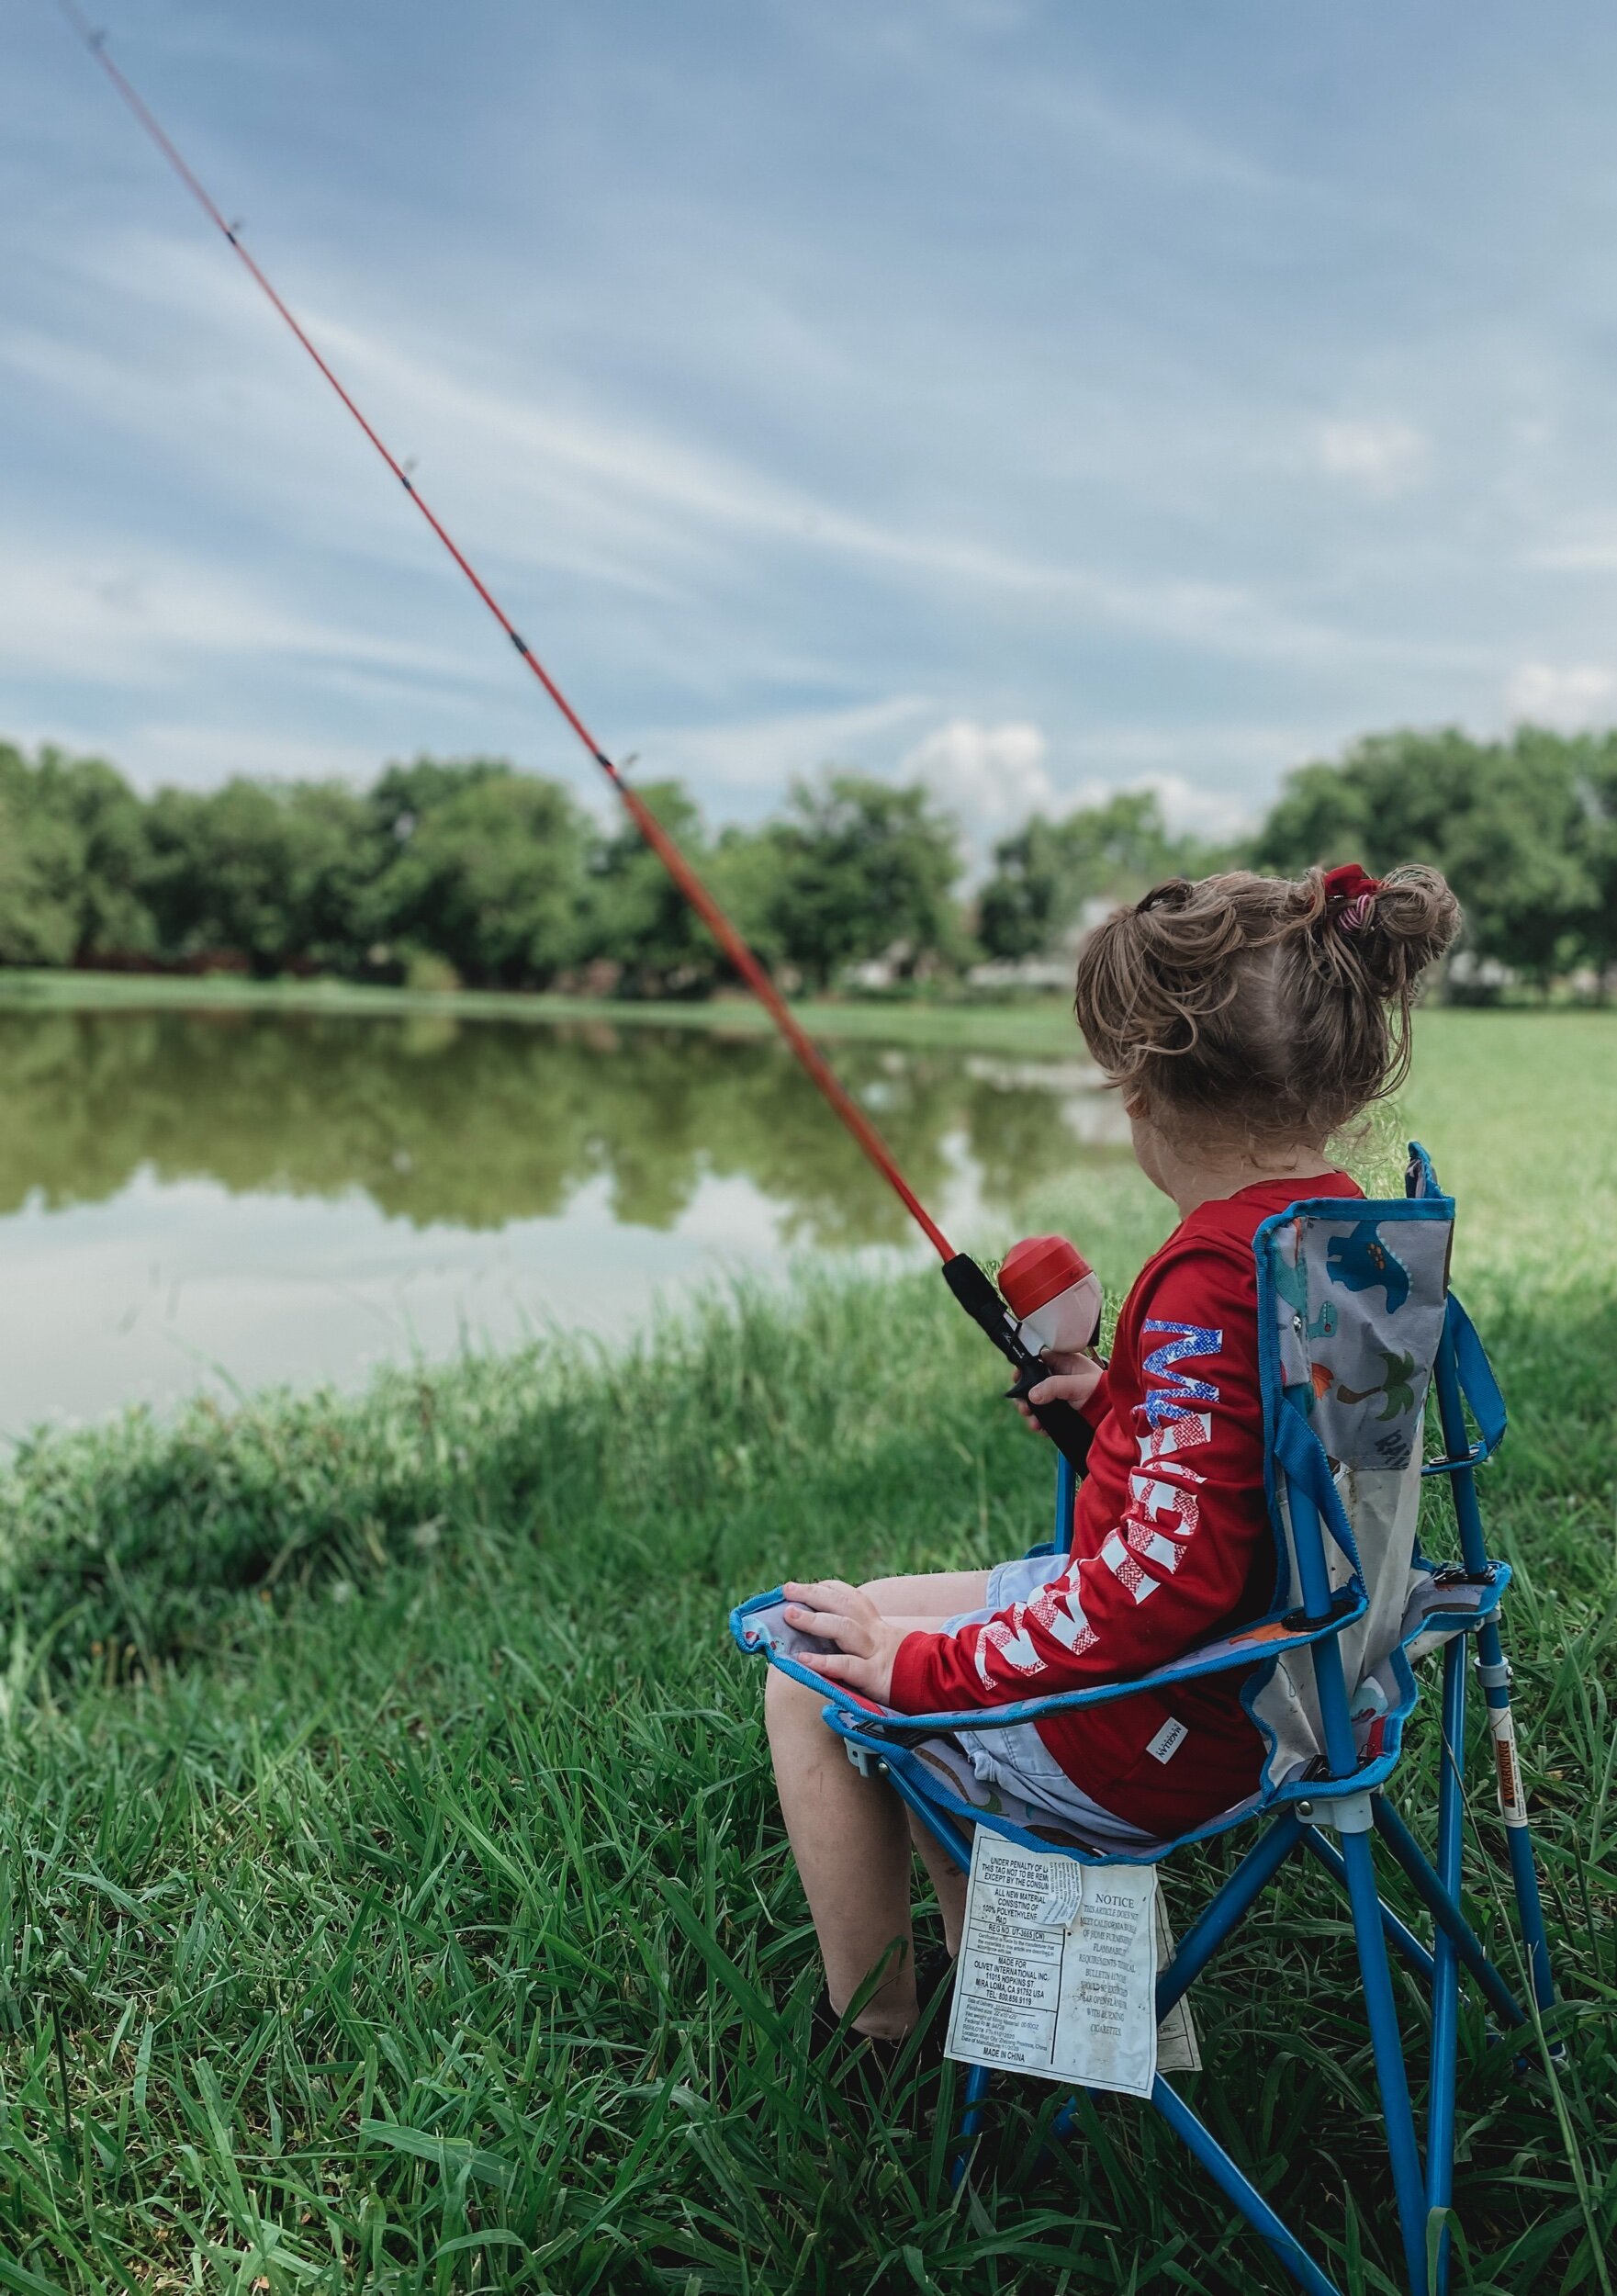
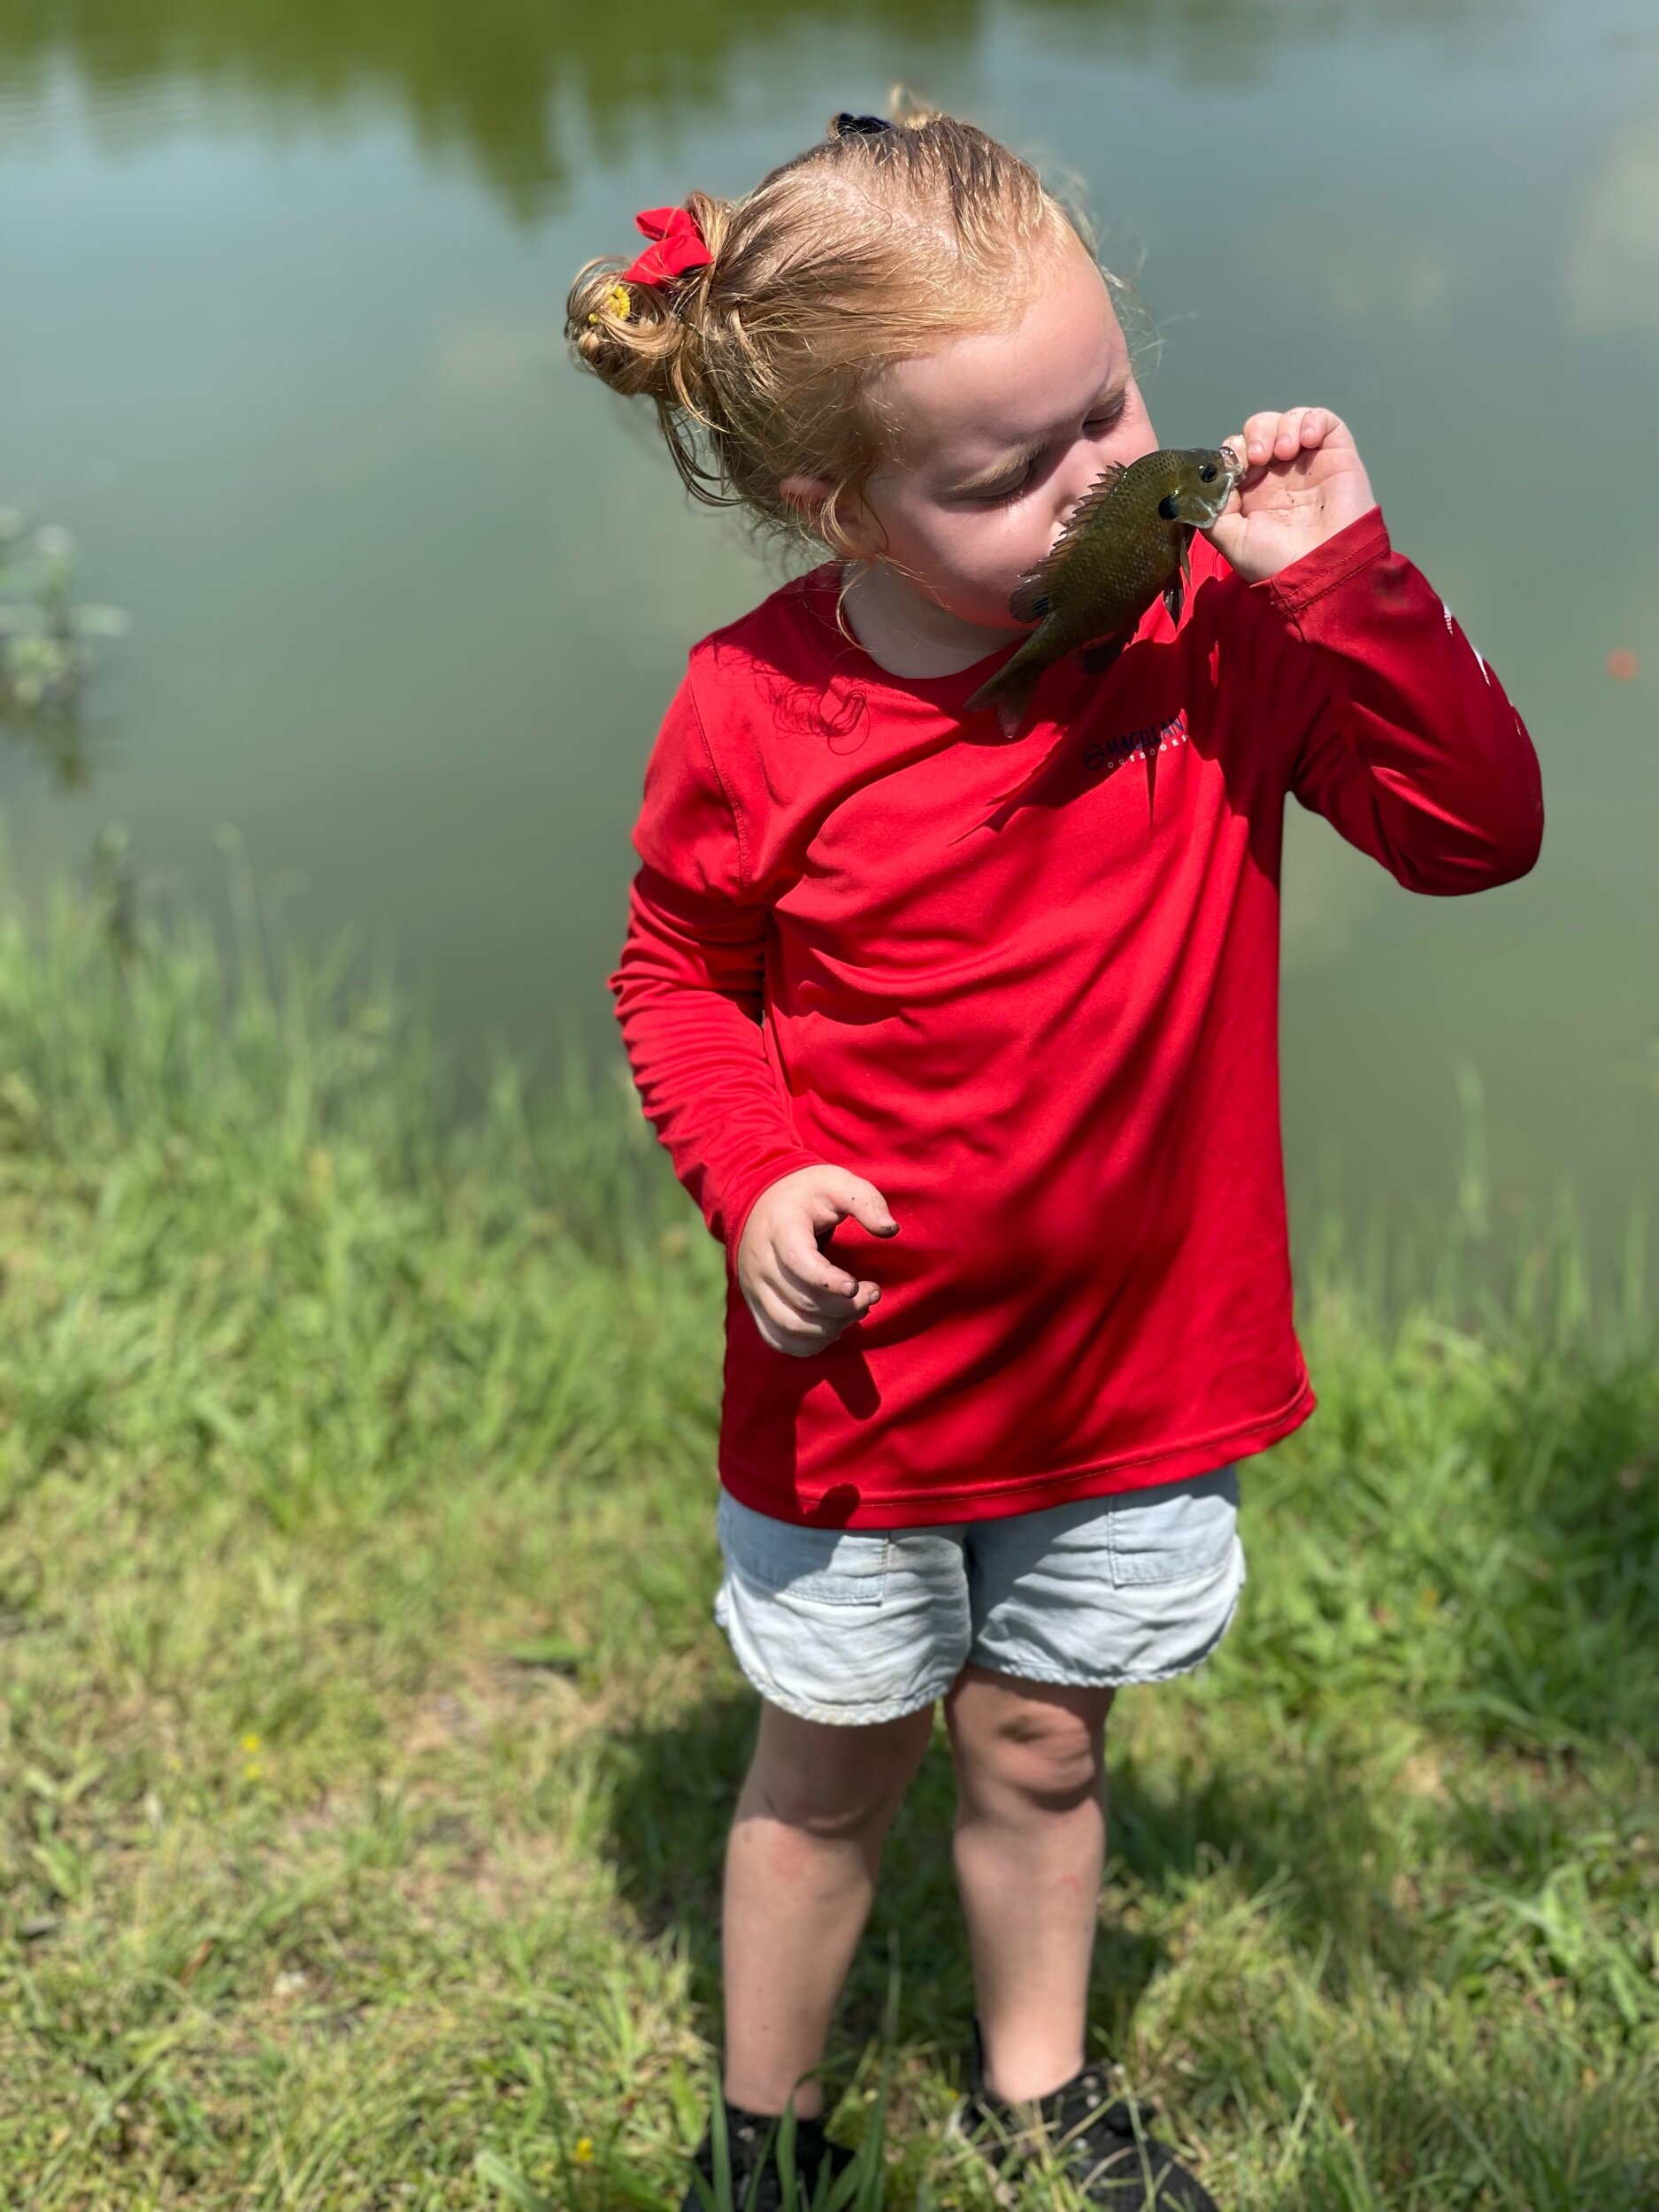
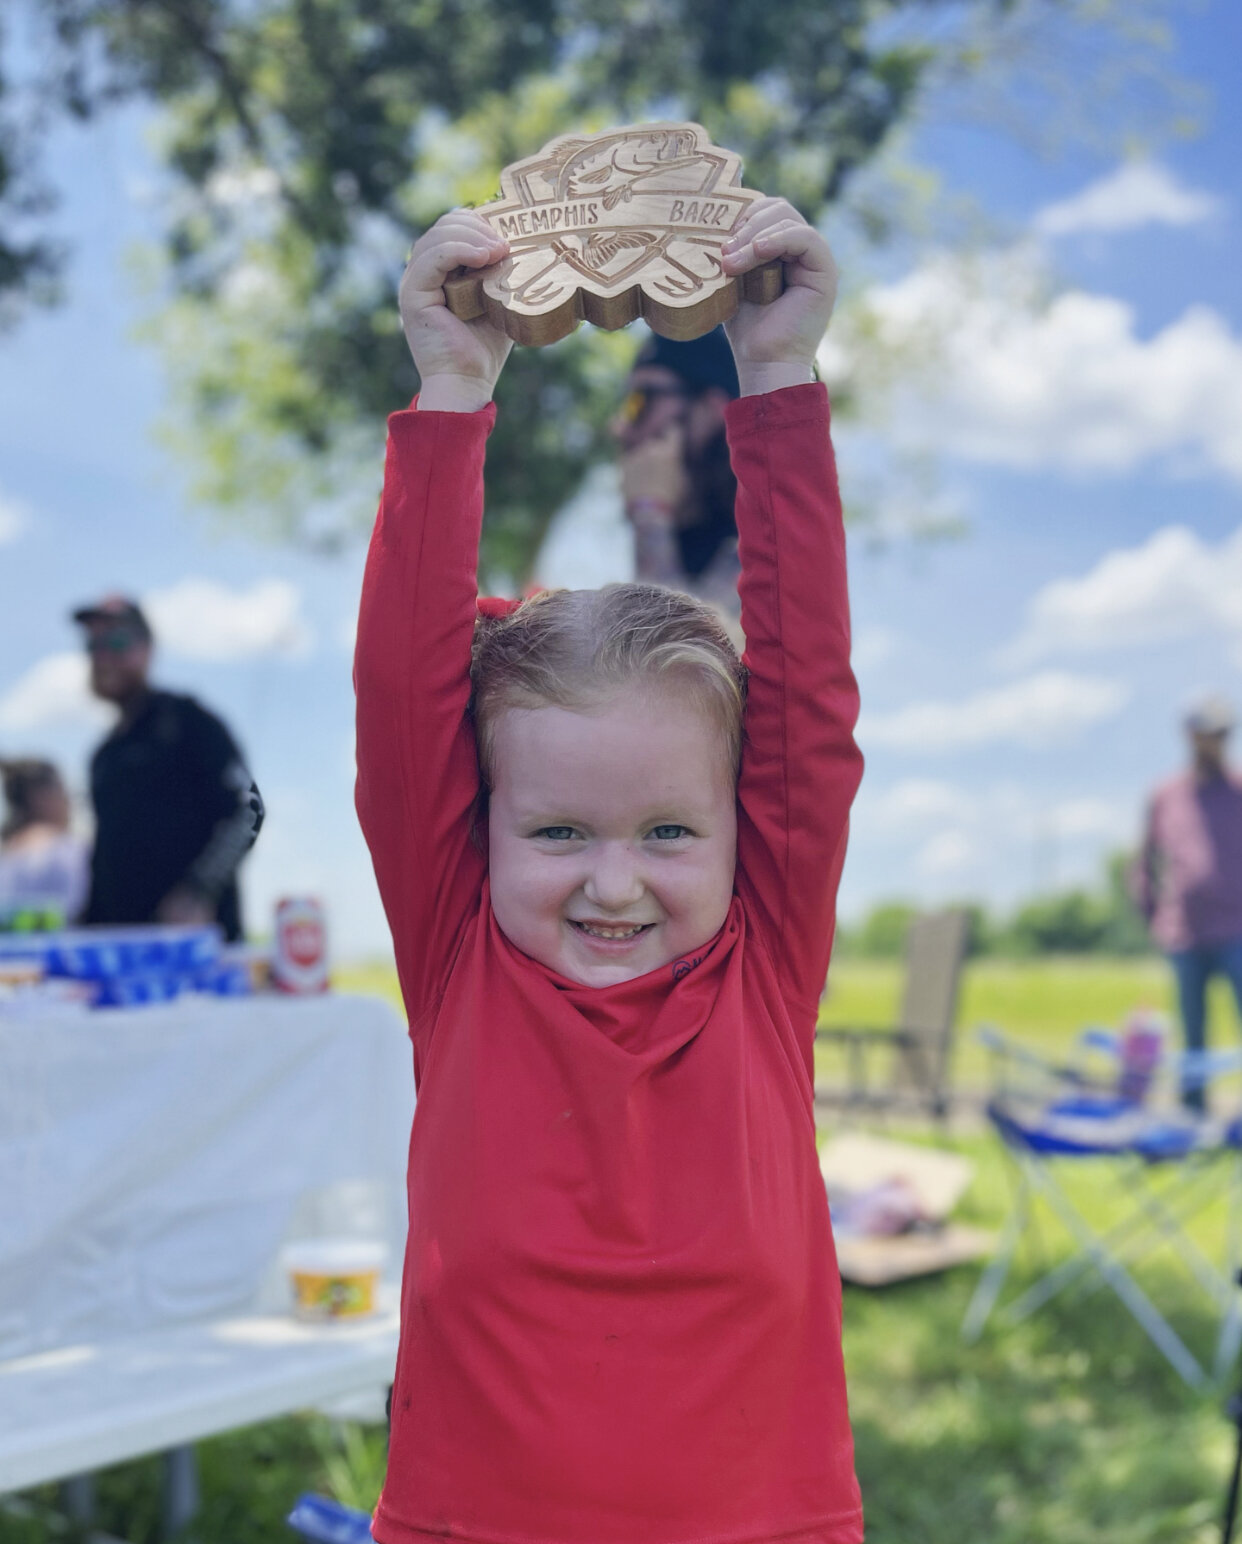
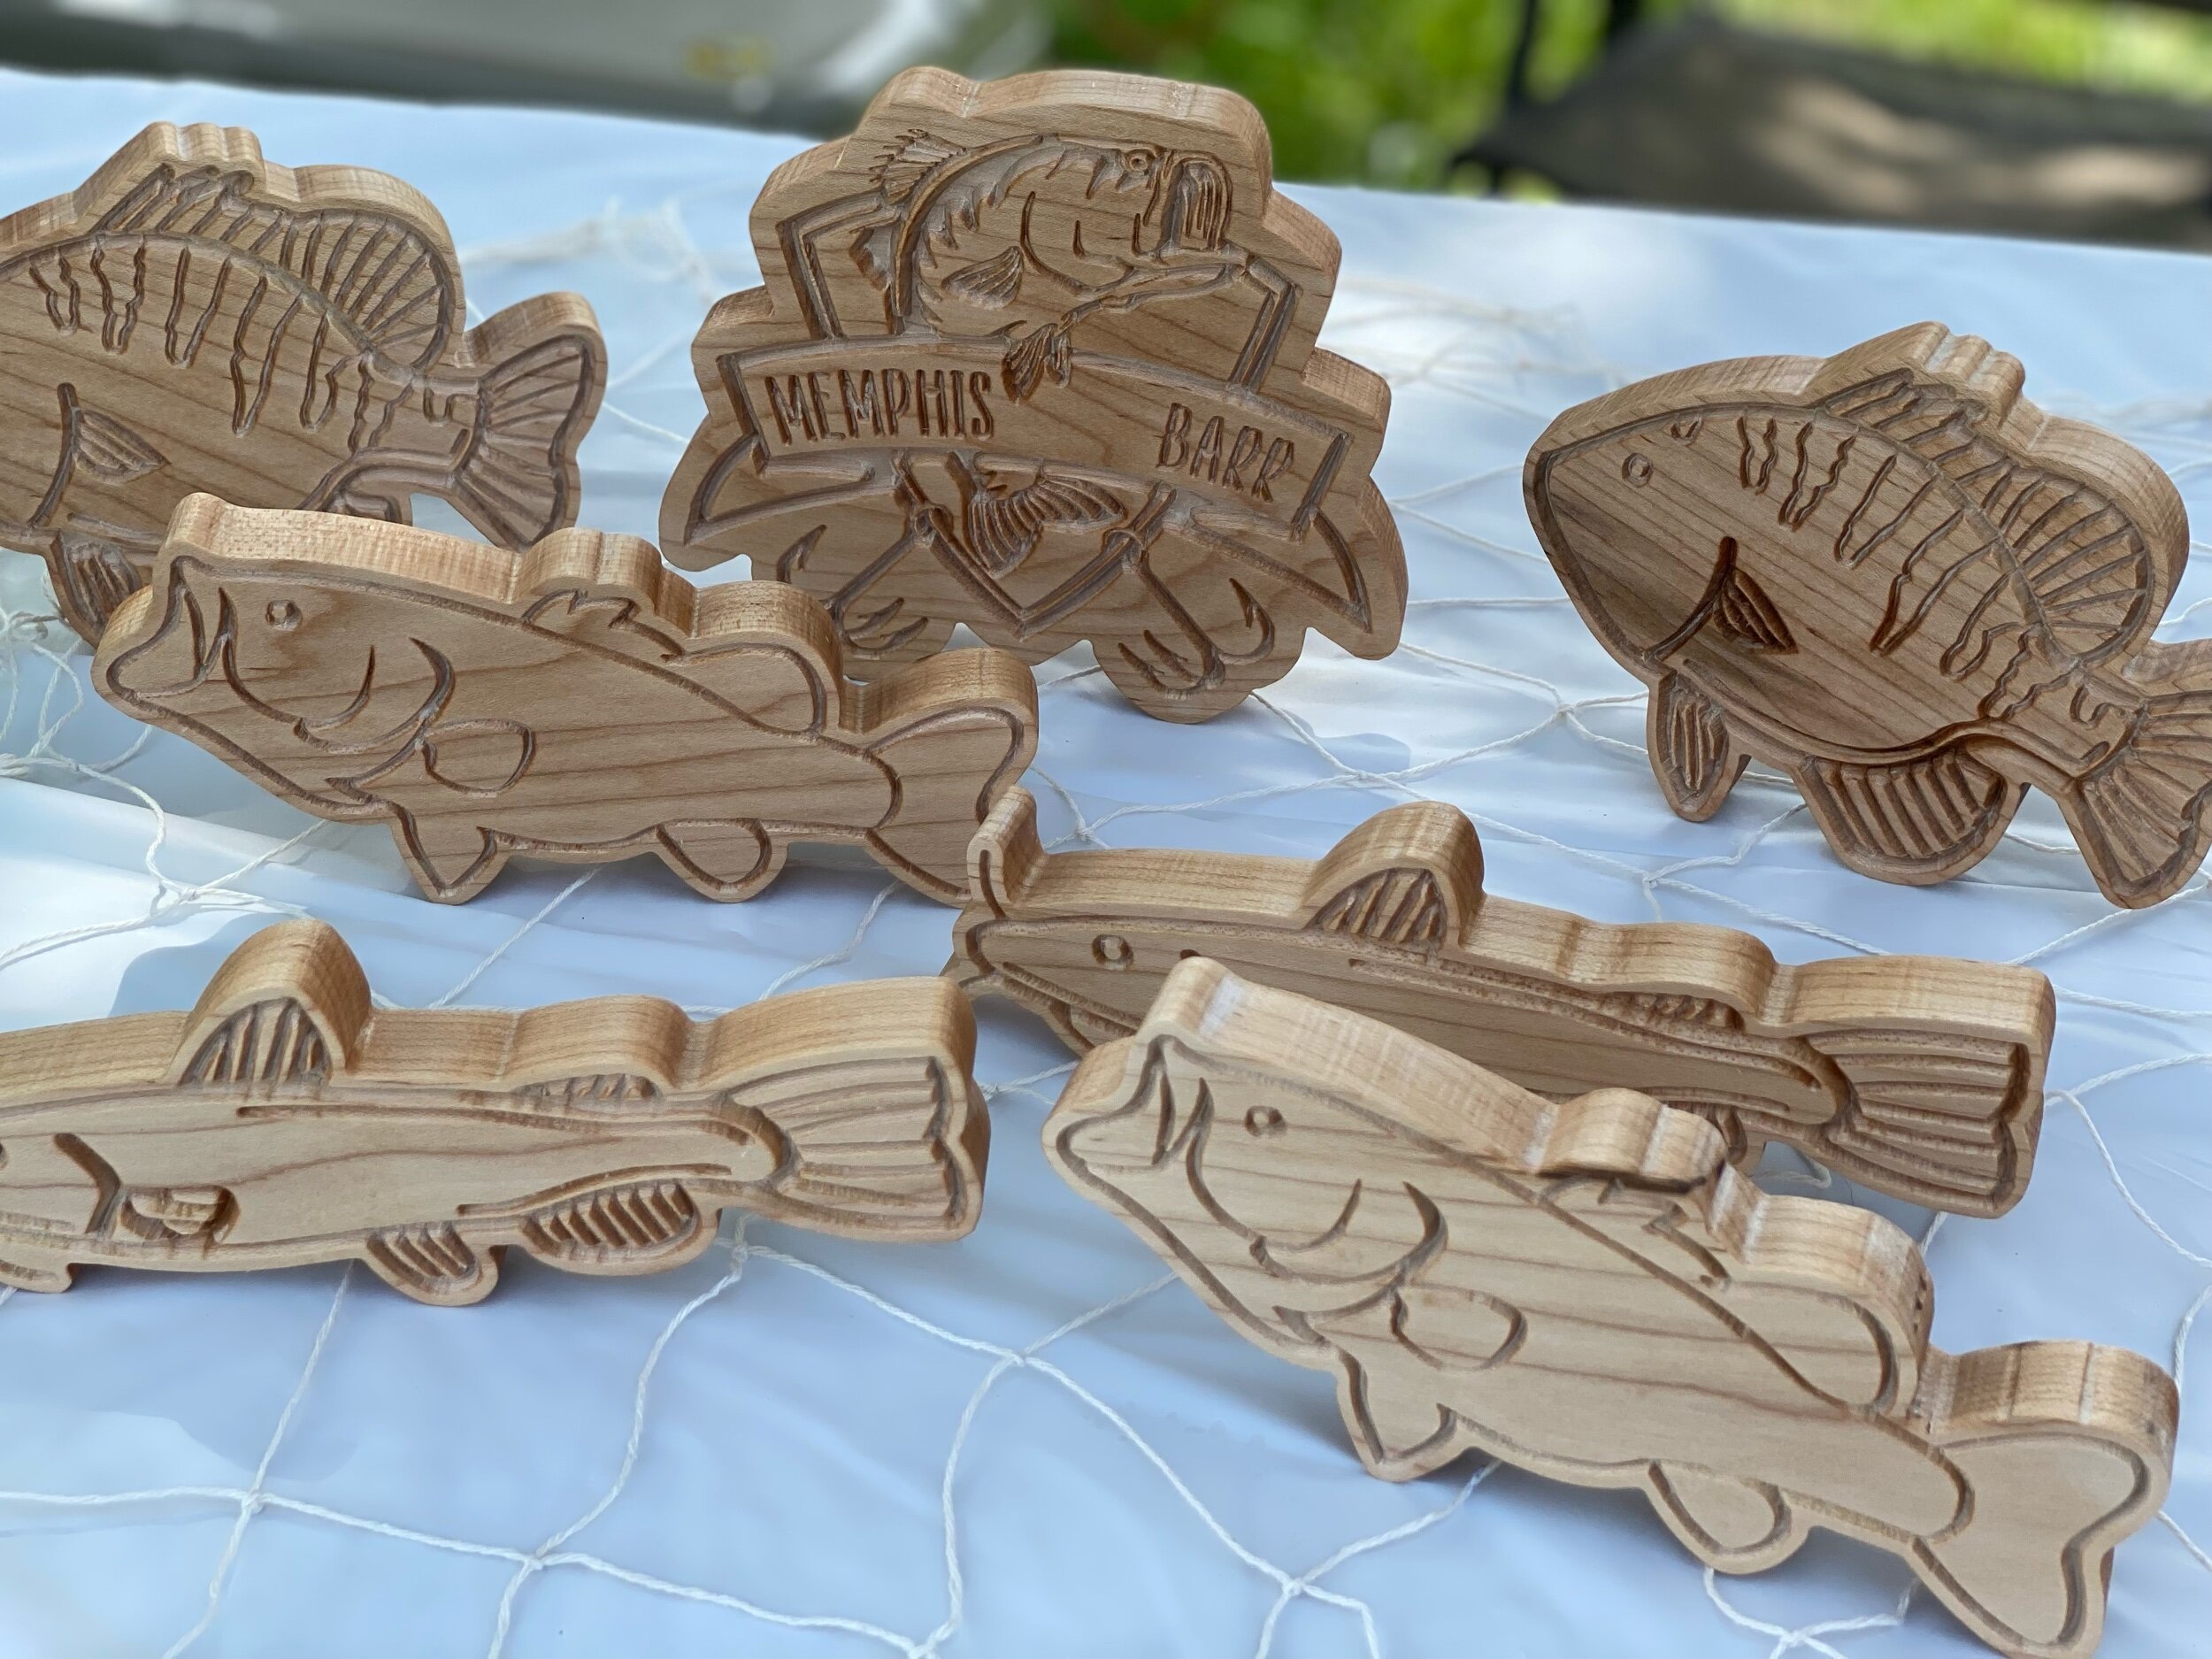
Memphis’ “Bag of 5” Fishing Tournament Birthday
If you’re looking for any additional “Bag of Five”, fishing themed, fishing tournament, or o-fish-ally birthday ideas - check out a few of the photos from our daughter’s day below!